When you decide to replace your roof, you'll find it involves several key steps that can feel overwhelming at first. You'll start with an inspection to assess any damage and determine the right materials for your home. As you prepare your property and work with your contractor, understanding what comes next can make all the difference in your experience. The replacement process itself holds some surprises, and knowing how to navigate them is essential for a successful outcome. What happens during the installation, and how can you ensure everything goes smoothly?
Initial Inspection and Assessment
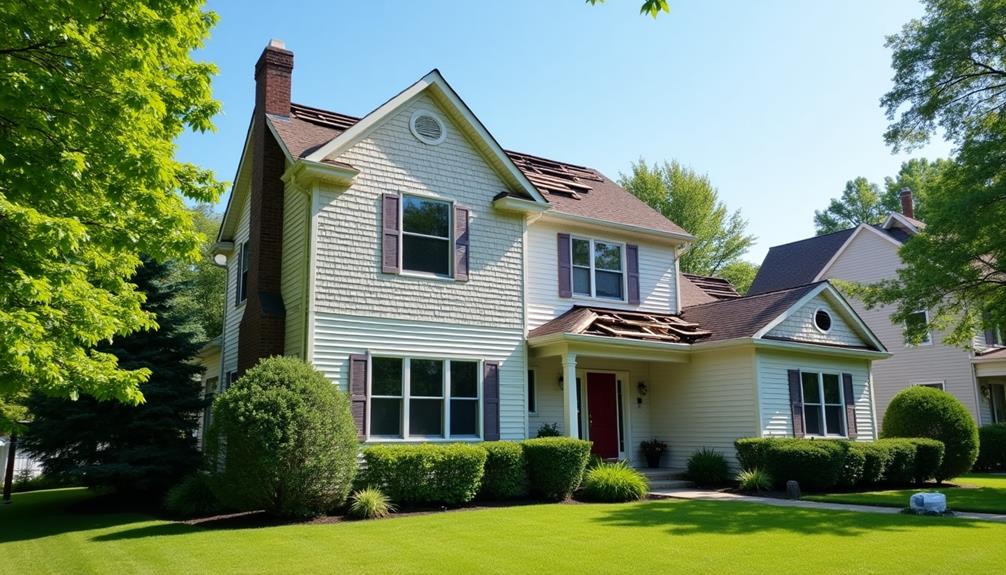
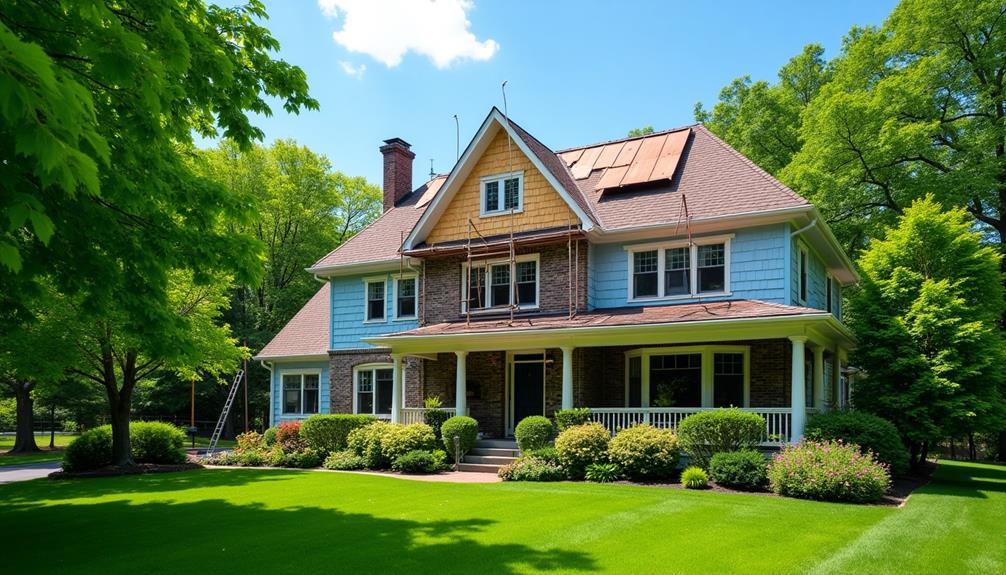
Before diving into a roof replacement project, you should conduct a thorough initial inspection and assessment to identify any underlying issues. Start with an inspection checklist to systematically evaluate your roof's condition. Look for signs of roof damage, such as missing shingles, leaks, or sagging areas.
Examine the flashing around chimneys and vents, as this is often a weak point where water can infiltrate. Next, check the gutters for granules from shingles, which can indicate wear.
Pay attention to the interior as well; inspect the attic for water stains or mold, which can suggest roof leaks. Don't forget to assess the ventilation system, as poor airflow can lead to moisture buildup and subsequent damage.
If you notice any significant issues, it's crucial to address them before proceeding with the replacement. Document your findings, as this information will be invaluable when discussing the project with your contractor.
Choosing the Right Materials
When selecting materials for your roof replacement, it's essential to consider both durability and aesthetic appeal to ensure long-term satisfaction.
Start by evaluating shingle types; asphalt shingles are popular for affordability, while architectural shingles offer enhanced durability. If you're looking for longevity and a modern look, consider metal roofing, which can withstand harsh weather conditions.
Next, explore insulation options to improve energy efficiency. Proper insulation not only keeps your home comfortable but can also lower your energy bills.
Pair your choice with suitable underlayment materials, as they provide additional waterproofing and protection against leaks.
Don't overlook color choices; the right hue can enhance your home's curb appeal and reflect heat, impacting energy efficiency.
When weighing cost factors, factor in both the upfront expenses and potential long-term savings from energy efficiency improvements.
Lastly, review warranty considerations for the materials you choose. A robust warranty can provide peace of mind, ensuring that you're protected from defects or premature wear.
Preparing Your Property
After selecting the right materials for your roof replacement, preparing your property is the next step to ensure a smooth process. Start by clearing the area around your home. Remove any outdoor furniture, decorations, or potted plants that could be damaged or obstruct the work. This creates a safe working environment and allows the crew to access the roof easily.
Safety precautions are crucial during this phase. Make sure to cover any windows and vulnerable areas with plywood or tarps to prevent accidental damage from falling debris. If you have any pets, consider keeping them indoors or away from the job site to avoid stress and potential injury.
It's also essential to notify your neighbors about the upcoming work. Inform them of the start date and any expected noise levels, as roofing can be disruptive. Providing this heads-up fosters good neighborly relations and helps them prepare for the temporary changes.
Lastly, check local building codes and homeowner association regulations to ensure compliance. This diligence will prevent any issues during the replacement process and keep your project on schedule.
The Replacement Process
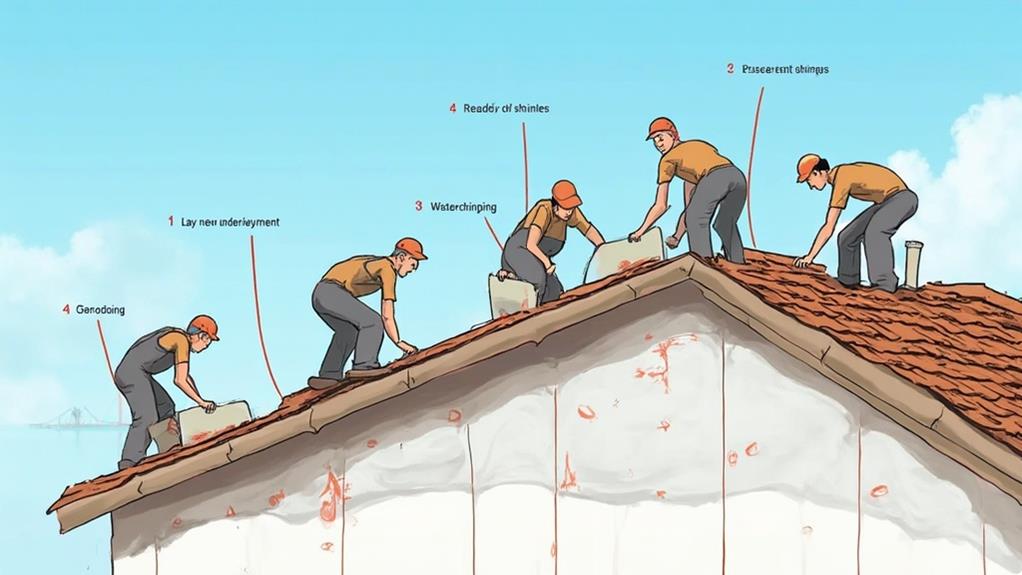
The replacement process begins with a thorough assessment of your existing roof to determine what needs to be done. Your contractor will inspect the shingles, underlayment, and structural integrity to identify any damage or areas requiring special attention. This evaluation helps establish a comprehensive roofing timeline, outlining each step of the project.
Once the assessment is complete, your contractor will discuss the findings and provide you with options. Effective contractor communication is vital at this stage; you should feel comfortable asking questions about materials, costs, and any concerns you might have.
After you agree on the scope, the contractor will secure necessary permits and schedule the start date.
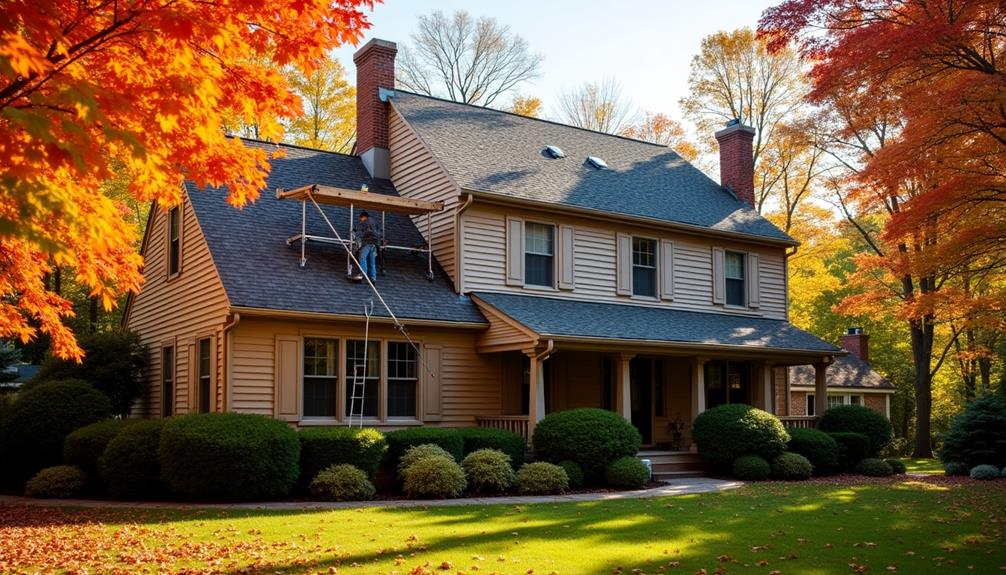
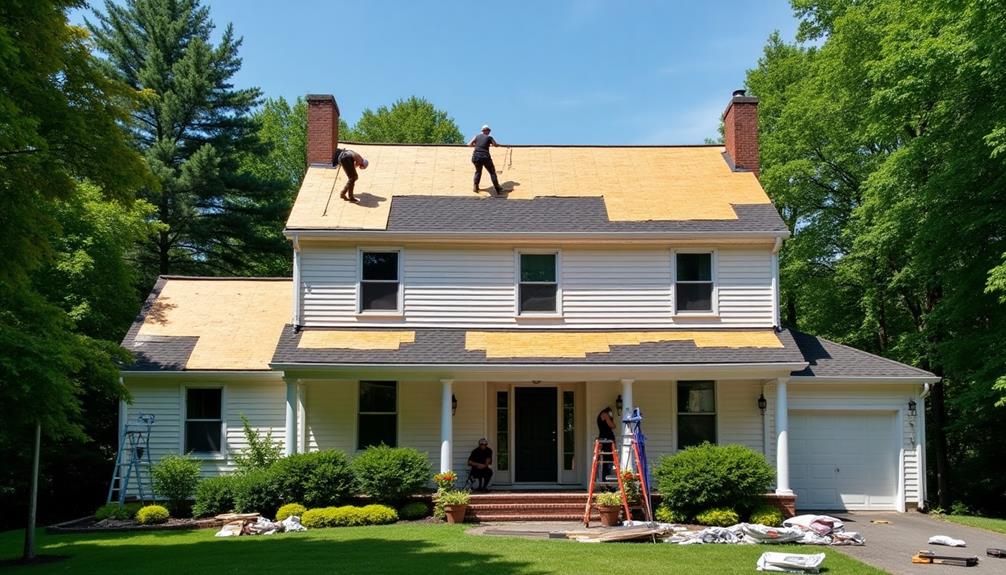
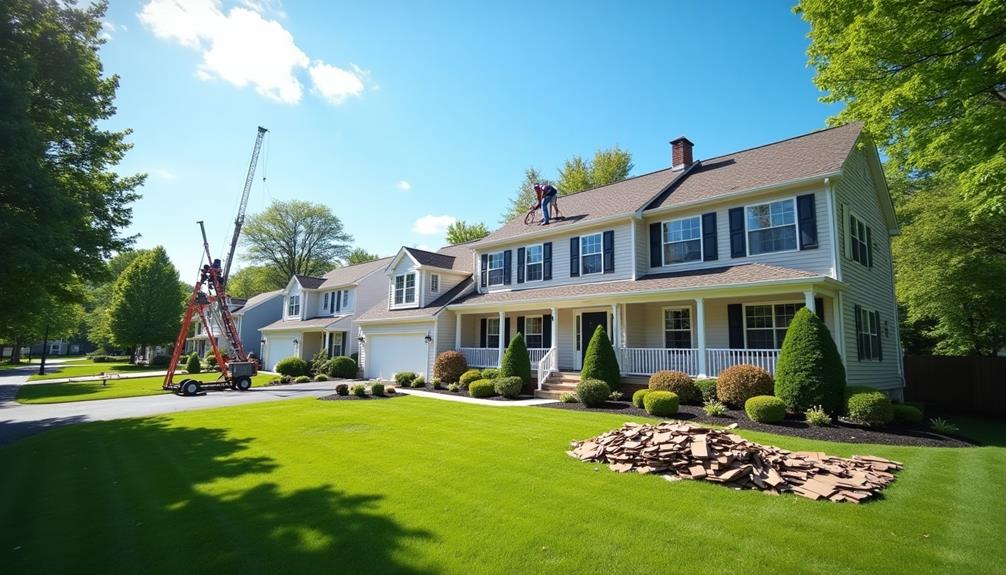
On the scheduled day, the team will arrive early to set up safety measures and equipment. They'll begin by removing your old roofing material, which may involve stripping away multiple layers if necessary.
As they work, it's crucial to maintain open lines of communication with your contractor, ensuring you're updated on any unexpected issues that arise.
Throughout the project, you'll witness the transformation of your roof, culminating in the installation of new materials that enhance both aesthetics and functionality.
Final Inspection and Cleanup
Once the roof replacement is complete, you'll need to conduct a final inspection to ensure everything meets your standards and local codes.
This involves checking for any missed areas, proper sealing, and verifying that all materials are correctly installed.
After the inspection, the site cleanup process is crucial to remove debris and materials, leaving your property safe and looking pristine.
Final Roof Inspection
Completing a roof replacement project involves a crucial step: the final roof inspection. This inspection is your opportunity to ensure that everything meets industry standards and your expectations. A qualified inspector will examine the workmanship, materials used, and overall installation quality.
They'll check for issues like proper flashing, shingle alignment, and ventilation, which are vital for the roof's longevity. During this phase, you should discuss any cost considerations related to repairs or adjustments that may arise. If the inspector identifies problems, you'll need to factor in the potential costs of resolving these issues before finalizing payments to your contractor.
Timeline expectations are also a key element. This inspection often occurs shortly after the installation is complete, but scheduling can vary based on weather conditions and contractor availability. Be proactive in setting a date to avoid delays in project completion.
Once the inspection passes, you can confidently move forward, knowing that your new roof is sound and ready to withstand the elements. This step not only ensures quality but also protects your investment in the long run.
Site Cleanup Process
After your final roof inspection, the next step involves a thorough site cleanup process to ensure the work area is left tidy and safe. This stage is crucial for both aesthetics and safety, as leftover materials can pose hazards.
Your roofing contractor will begin by conducting comprehensive debris removal, collecting any shingles, nails, and underlayment that may have accumulated during the installation.
They'll utilize tarps or containers to gather larger debris, minimizing the risk of injury or damage to your property. Once the initial cleanup is complete, the contractor will perform a meticulous ground inspection for any stray nails or small materials that may have escaped notice. This often involves using a magnetic roller to capture metal debris effectively.
Next, waste disposal will be addressed. The contractor will ensure that all collected materials are disposed of properly, adhering to local regulations and promoting environmentally responsible practices.
Upon completion of the cleanup, you can expect to see your yard returned to its pre-work condition, making it safe for you and your family. This final cleanup not only enhances the overall appearance but also ensures that your roofing project is concluded with professionalism.
Maintenance Tips After Replacement
To ensure your new roof remains in excellent condition, regular maintenance is essential. Start by scheduling routine inspections at least twice a year—once in spring and once in fall.
During these inspections, check for missing or damaged shingles, rust on flashing, and debris accumulation in gutters. Remove any leaves, branches, or dirt that can trap moisture and lead to mold or rot.
Additionally, perform seasonal maintenance after heavy storms or extreme weather conditions. Look for signs of leaks in your attic or ceilings, which can indicate compromised roofing. If you notice any issues, address them promptly to prevent more extensive damage.
Keep your gutters clean and functional, as clogged gutters can cause water to back up and damage your roof's edge.
Consider trimming overhanging branches to minimize debris and reduce the risk of tree damage during storms.

