Updating your cabinets can transform your entire home into a palace of elegance—if only it were that simple. You might think it requires a complete overhaul, but with the right DIY techniques, you can achieve stunning results without breaking the bank. By assessing your cabinet's condition and choosing the right paint or stain, you'll be well on your way. But what about those little details that can make a big impact? Let's explore the techniques that could elevate your cabinets beyond your expectations.
Assessing Your Cabinet Condition
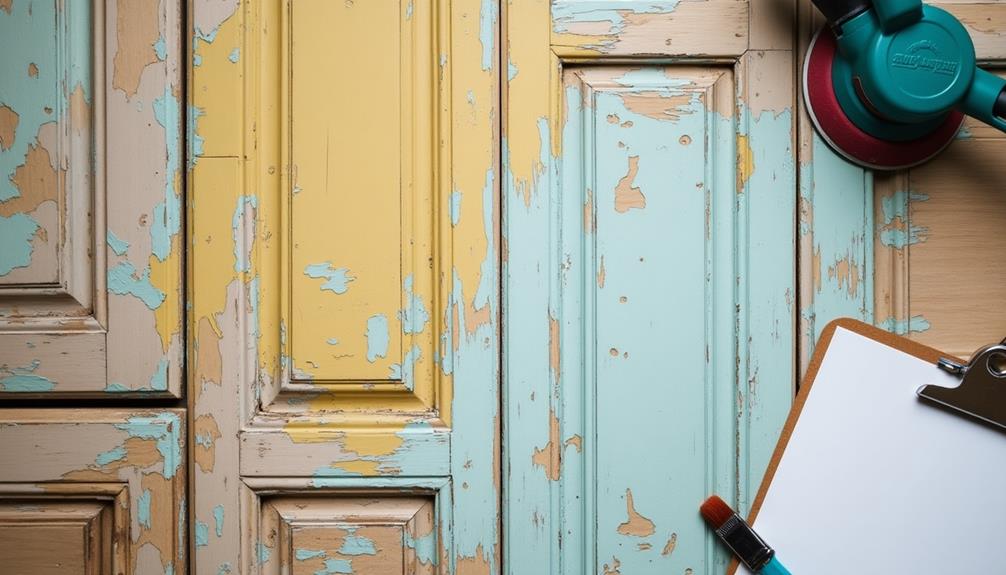
Before diving into any DIY cabinet upgrades, you need to assess your cabinets' condition thoroughly. Start by identifying the cabinet types you have, as different materials require different approaches. Look for signs of wear, such as scratches, dents, or peeling veneer. A damage assessment is crucial; even minor issues can escalate if not addressed promptly.
Next, check the structural integrity of your cabinets. Open and close doors to see if they're aligned properly. Are the hinges rusted or squeaky? Make a note of any loose screws or broken parts that need fixing.
If your cabinets are made of wood, inspect for water damage or signs of mold, especially under the sink.
Don't forget to evaluate the interiors too. Look for stains, odors, or pest infestations that could affect your overall project.
Once you've completed this thorough examination, you'll have a clear understanding of what needs repair and what can be repurposed. With this knowledge, you'll be ready to move forward with your DIY cabinet updates, ensuring you achieve the best results possible.
Choosing the Right Paint
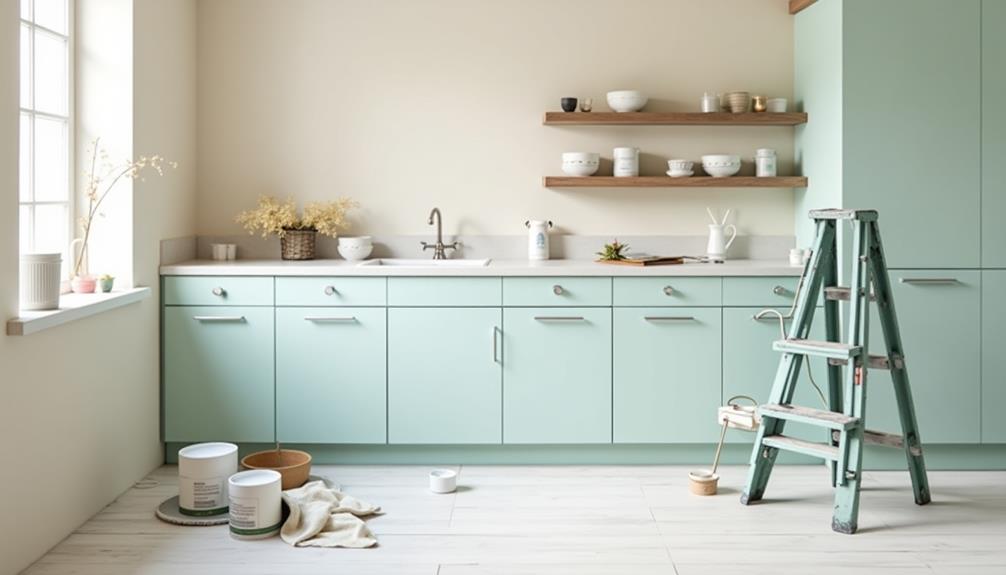
When it comes to choosing the right paint for your cabinets, you'll want to consider both the finish and the type of paint that best suits your needs.
Start by thinking about the finish—do you prefer a matte, satin, or glossy look? Glossy finishes aren't only stylish but also offer excellent paint durability, making them easier to clean and resistant to wear and tear.
Next, consider the color. Color psychology plays a crucial role in how a space feels. For instance, softer colors like blues and greens can create a calming environment, while bold colors like red or yellow can energize a room. Choose a color that complements your overall décor and reflects your personality.
Don't forget about the type of paint! Opt for high-quality acrylic or enamel paint, as these options typically provide better durability and finish.
Techniques for Painting Cabinets
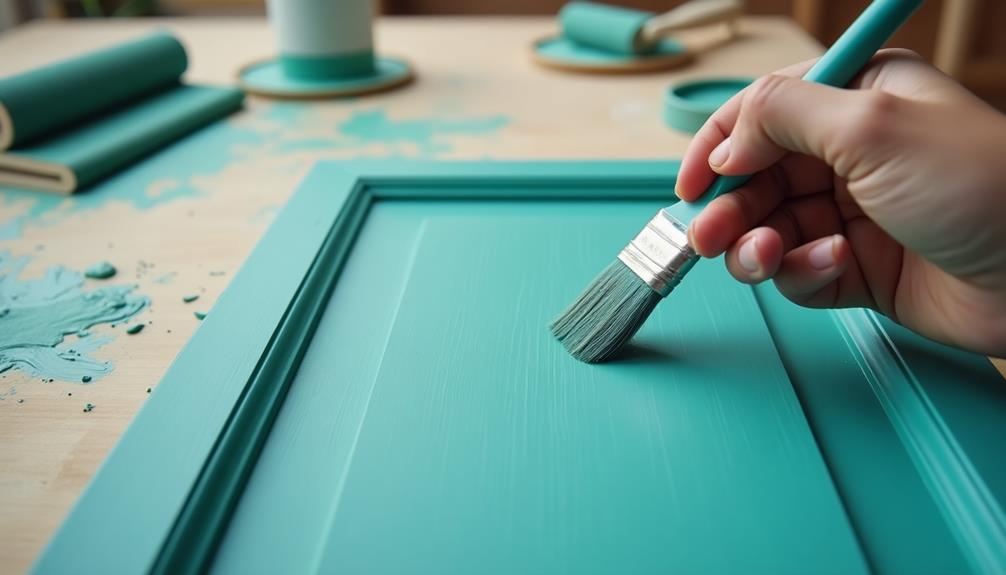
Painting cabinets can seem daunting, but with the right techniques, you can achieve a professional-looking finish.
First, focus on surface preparation. Remove all cabinet doors and hardware, and clean surfaces thoroughly to eliminate grease and dirt. Sand the surfaces lightly to create a smooth base for your paint. If you're dealing with a glossy finish, using a primer can help the new paint adhere better.
Next, choose your brush techniques wisely. A high-quality angled brush works wonders for corners and edges, while a foam roller is perfect for large flat areas.
Start by applying paint in thin, even coats, allowing each coat to dry completely before adding another. This prevents drips and ensures a smooth finish.
When painting the cabinet doors, lay them flat on a stable surface to avoid runs.
Upgrading Cabinet Hardware
Upgrading your cabinet hardware can make a huge difference in your kitchen or bathroom's overall look.
You'll want to consider the right styles and finishes to match your decor, as well as how to install them effectively.
Let's explore some tips for selecting and installing the perfect hardware for your cabinets.
Selecting the Right Hardware
Choosing the right hardware can dramatically enhance the look and functionality of your cabinets. Start by exploring various hardware materials like brass, stainless steel, or ceramic. Each material offers a unique aesthetic and durability, so pick one that suits your style and needs.
Next, consider the different hardware styles available—modern, traditional, or rustic. Don't forget to check out the hardware finishes, which range from matte to polished. These finishes can make a huge difference in achieving your desired look.
When it comes to hardware placement, think about how it affects both style and usability. You'll want your functional hardware to be easy to access while also complementing the overall design. Choose between cabinet pulls and knob options based on the cabinet's size and design.
For larger cabinets, pulls often provide better grip, while knobs can be a charming detail on smaller doors. Finally, gather your installation tools and prepare for your DIY hardware upgrade. With the right choices, you'll create a stunning and functional update to your cabinets that reflects your personal style.
Installation Tips and Tricks
Once you've selected the perfect hardware for your cabinets, it's time to focus on the installation process to ensure everything looks polished and functions effectively.
Start by gathering your tools: a screwdriver, a level, a measuring tape, and a drill if necessary.
Before you attach the new hardware, make sure your cabinet doors are properly aligned. If they're misaligned, you'll need to make some door adjustments. Loosen the screws on the hinges slightly, adjust the door until it's straight, and then retighten the screws. This step is crucial for achieving a professional look.
Next, measure the distance from the top of the cabinet door to where you want to place the new handles or knobs. Mark the spots clearly with a pencil. Use a level to ensure your markings are straight; this helps maintain cabinet alignment across all doors.
Once you've drilled the necessary holes, attach the hardware, ensuring you secure each piece tightly.
Double-check the alignment again after installation to confirm everything still looks great. With these tips, your upgraded cabinet hardware won't only enhance the aesthetics but function smoothly as well!
Styles and Finishes Options
When it comes to cabinet hardware, there's a world of styles and finishes to explore that can completely transform your space. You can opt for modern designs featuring sleek lines and high gloss finishes for a contemporary look, or choose vintage finishes to evoke a sense of nostalgia.
If you prefer simplicity, minimalist styles with matte textures can bring a clean, understated elegance to your cabinets. For those looking to make a statement, bold colors can add vibrancy and personality to your kitchen or bathroom.
Alternatively, distressed looks can create a rustic charm that complements natural wood elements beautifully. You might also consider two-tone combinations, where you mix different colors or finishes to add depth and interest.
Color blocking is another trendy technique that allows you to play with contrasting shades, giving your cabinets a unique flair. Whichever style or finish you choose, upgrading your cabinet hardware can significantly enhance the overall aesthetic of your space.
Refacing Cabinets: Step-by-Step
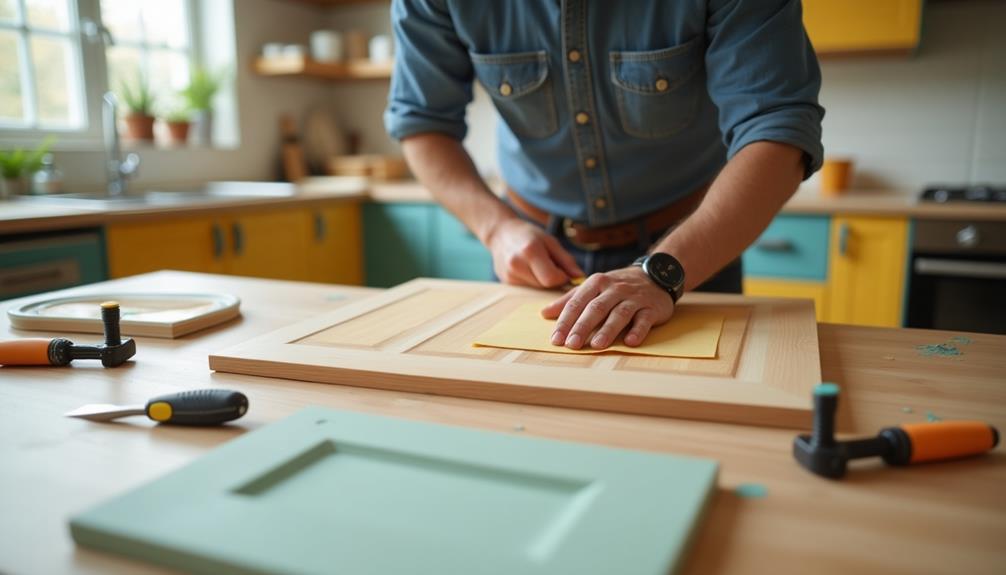
Refacing cabinets can breathe new life into your kitchen without the hefty price tag of a full remodel. To get started, you'll need to choose your refacing materials, which typically include laminate, wood veneer, or solid wood. Each option has its own unique look and durability, so pick one that suits your desired cabinet styles.
First, remove the cabinet doors and drawers. This gives you easy access to the frames. Next, clean the surfaces thoroughly to ensure good adhesion. If you're using laminate, measure and cut the sheets to fit your cabinet frames. Apply adhesive, then press the laminate onto the surfaces, smoothing out any bubbles.
After the frames are done, focus on the doors and drawers. You can either apply the same refacing materials or opt for a complementary style. Once everything is covered and dry, reattach the doors and drawers.
Don't forget to upgrade the hardware—new knobs or pulls can make a significant difference. Finally, step back and admire your transformed kitchen! Refacing cabinets is a rewarding DIY project that elevates your space without the expense of a full remodel.
Adding Decorative Molding
Adding decorative molding can instantly elevate the look of your cabinets and create a more polished appearance in your kitchen. Choosing the right molding styles can make all the difference.
For a traditional look, consider crown molding, which adds height and sophistication. If you prefer a modern touch, opt for sleek, simple designs.
Before you begin, gather your materials: molding, a miter saw, adhesive, and finishing nails. Measure the cabinet edges carefully to ensure a perfect fit.
When cutting your molding, remember to use a miter saw for precise angles, especially at corners.
For installation, apply adhesive to the back of the molding and press it firmly against the cabinet. Use finishing nails to secure it in place, ensuring to countersink the nails for a clean finish.
Don't forget to fill any gaps with wood filler and sand it down for a smooth surface.
Incorporating Open Shelving
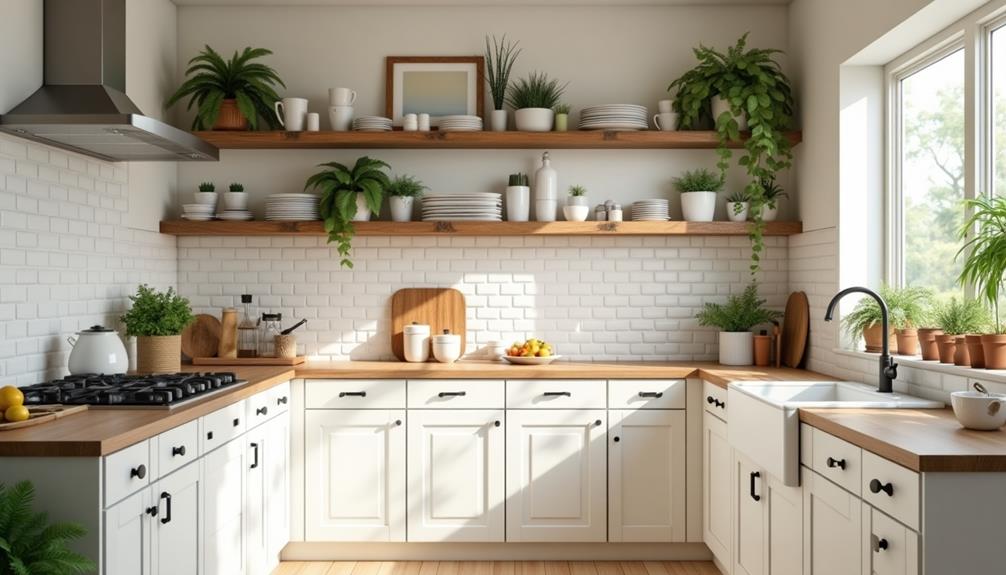
Open shelving can dramatically transform your kitchen's aesthetic, making it feel more spacious and inviting. By removing traditional cabinet doors, you're not only showcasing your favorite dishes but also creating an open, airy vibe.
One of the major open shelf benefits is that it encourages organization; you'll be more inclined to keep your items neat since they're always on display.
To make the most of your new shelves, consider some creative display ideas. Mix and match dishware with accent pieces like potted herbs, colorful cookbooks, or stylish containers. This variety adds visual interest and a personal touch to your space.
You can also arrange items by color or size to create a cohesive look that's pleasing to the eye.
Don't forget to take advantage of vertical space. Use taller shelves for larger items and lower ones for smaller, everyday essentials. This way, you keep frequently used items within reach while displaying your more decorative pieces above.
Incorporating open shelving not only updates your kitchen's style but also enhances functionality, making it a win-win DIY project.
Staining vs. Painting Cabinets
When it comes to refreshing your cabinets, choosing between staining and painting can feel overwhelming. Both options have their pros and cons, and your decision will depend on the look you want and the condition of your cabinets.
If you opt for staining methods, you'll highlight the natural beauty of the wood. Stains penetrate the wood, enhancing grain patterns and offering a warm, rich finish. However, this means you'll need to ensure your cabinets are in good shape, as stains can accentuate imperfections.
On the other hand, if you're leaning towards paint types, you'll find a wide range of colors and finishes to choose from. Painting can completely transform your cabinets, giving them a fresh, modern look.
Plus, it can be a great option if your cabinets are worn or damaged since paint can cover up imperfections. Keep in mind, though, that paint can chip over time, especially in high-traffic areas.
Ultimately, consider the style you want to achieve, the condition of your cabinets, and the maintenance level you're willing to commit to. Whichever route you choose, both staining and painting can breathe new life into your kitchen.
Organizing Interior Spaces
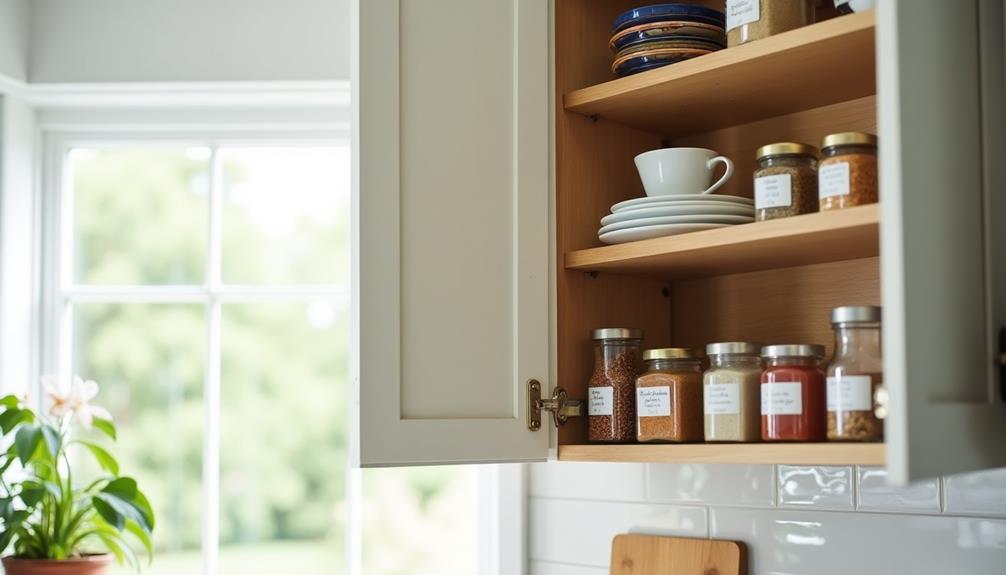
After you've decided on staining or painting your cabinets, the next step is maximizing the functionality of your interior spaces.
Start by assessing your current layout and identifying areas that could benefit from space optimization. Consider the items you use most frequently and ensure they're easily accessible.
Utilize drawer organizers and shelf dividers to create designated spots for utensils, pots, and pans. This not only keeps things tidy but also enhances your storage solutions.
For deeper cabinets, pull-out shelves can make it easier to reach the back, eliminating the frustration of digging through clutter.
Don't forget vertical space! Installing shelves or hooks can help you store items like cutting boards or pots, freeing up valuable counter space.
If you have limited cabinet space, think about using clear storage bins to group similar items together. Labeling these bins can aid in quick identification, streamlining your cooking process.
Lastly, regularly evaluate your organization system. As your needs change, adapt your storage solutions to maintain an efficient and organized kitchen.
Maintaining Your Updated Cabinets
Maintaining your updated cabinets is crucial for keeping them looking fresh and new. Start with regular cleaning routines to remove dust and grease. Use a mild soap solution and a soft cloth to avoid scratching the surface. Be sure to wipe spills immediately to prevent stains and damage.
Moisture control is vital in maintaining your cabinets. Avoid placing hot or wet items directly on them, as this can warp the material. If your cabinets are near a sink or dishwasher, consider using a dehumidifier to keep humidity levels in check.
For any minor scratches or dents, employ simple repair techniques. A wood filler can work wonders for deeper gouges, while a touch-up pen or stain can blend surface scratches seamlessly. Always test these products in an inconspicuous area first.

