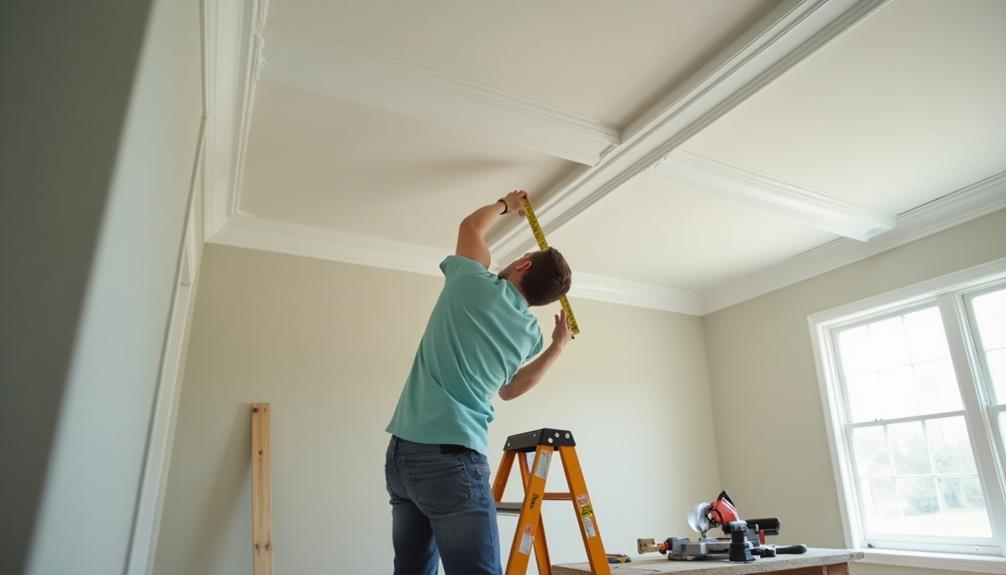
When you walk into a room with beautifully installed crown molding, you can't help but admire the elegance it brings. If you're considering tackling this project yourself, you'll find that the right tools and techniques can make all the difference. You might be wondering where to start, or how to ensure your cuts are precise. With a bit of preparation and attention to detail, you can achieve a professional look without hiring help. But what are the essential steps you need to take to avoid common pitfalls?
Tools You'll Need
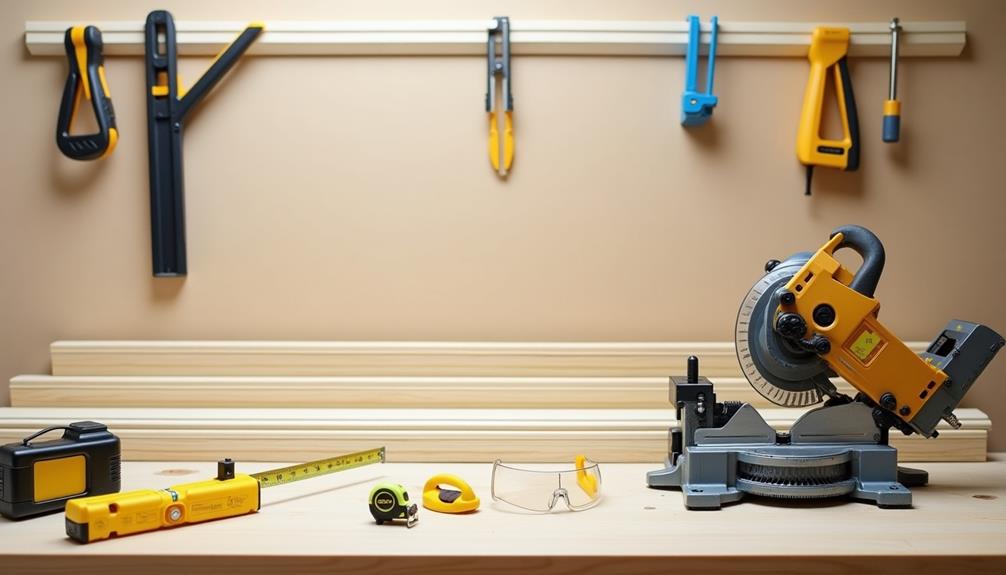
Before you dive into installing crown molding, you'll often find that having the right tools makes all the difference. Start with a miter saw; it's essential for making precise angled cuts. A tape measure will help you accurately gauge your space, while a level ensures your molding is straight. Don't forget a nail gun to secure the pieces efficiently, and a hammer for any stubborn nails.
Safety precautions are crucial when working with power tools. Always wear safety goggles to protect your eyes from flying debris, and use ear protection if you're working with loud equipment. Keep your workspace tidy to prevent accidents; clutter can lead to slips or falls.
Additionally, tool maintenance is key to a successful project. Before you begin, check your tools to ensure they're clean and in good working order. Sharpen blades if necessary, and make sure all power tools are functioning properly.
Regular maintenance not only extends the life of your tools but also enhances safety. With the right tools and precautions in place, you'll be well on your way to achieving a beautiful crown molding installation.
Measuring Your Space
Accurate measurements are crucial when installing crown molding, as even a small mistake can lead to gaps or misalignment. Start by measuring the length of each wall where you'll install the molding. Use a tape measure to get precise readings, and don't forget to account for any angles or corners.
When dealing with corners, measuring angles accurately is essential. If your walls aren't perfectly square, you may need to adjust your cuts accordingly. A pro tip is to use a protractor to ensure you've got the right angle for your crown molding.
For added accuracy, consider using laser tools. A laser level can help you visualize the line where the molding will sit, giving you a clearer picture of how everything will align. Simply set the laser at the height where you want the bottom of the molding to rest and take note of your measurements along each wall.
Double-check all your measurements before making any cuts. It might seem tedious, but taking the time to measure carefully will save you from headaches later in the installation process.
Choosing the Right Molding
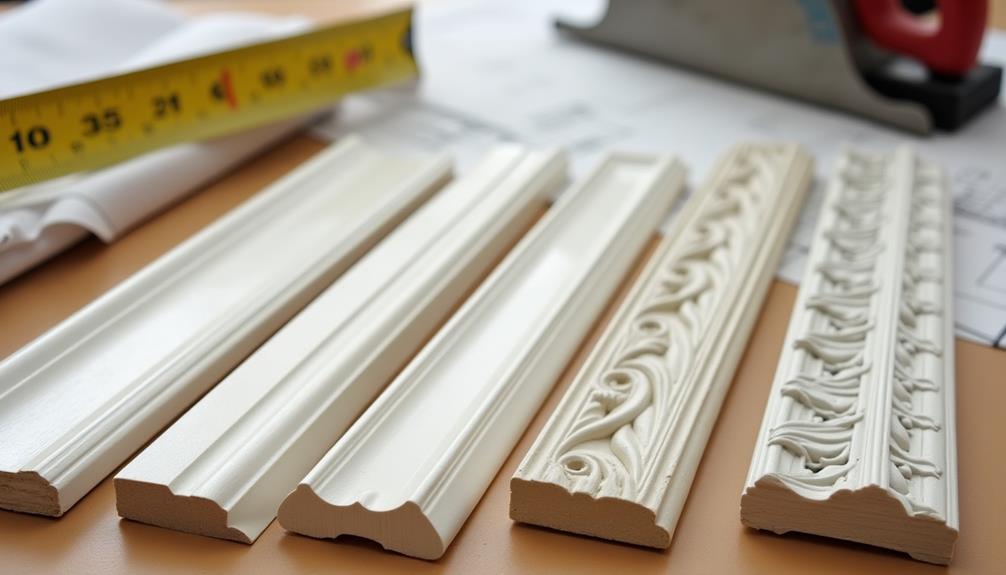
When choosing the right crown molding, consider the material options available to you, as each has its own benefits.
You'll also want to think about the style and design that best complements your room's aesthetic.
Molding Material Options
Choosing the right molding material is crucial to achieving the desired look and durability for your crown molding project.
You'll mainly consider wood and polyurethane, each offering unique benefits to fit your style and needs.
Wood remains the traditional choice, providing a classic, warm aesthetic that many homeowners love. It can be stained or painted to match your decor, and it's durable, but it can also be more expensive and may require more maintenance over time.
Think about how it'll hold up in different environments, especially if humidity is a concern.
On the other hand, polyurethane is a modern alternative that's gaining popularity due to its lightweight nature and ease of installation.
It's resistant to moisture and won't warp or crack like wood, making it a practical choice for various settings. Plus, it's less expensive, allowing you to achieve a similar look to wood without breaking the bank.
Ultimately, your choice between wood and polyurethane should reflect your design vision, budget, and the specific requirements of your space.
Consider these factors carefully to ensure you select the best material for your crown molding project.
Style and Design Choices
Selecting the right style for your crown molding can dramatically enhance your room's overall aesthetic, blending seamlessly with both traditional and contemporary decor.
Think about the architectural styles that define your space. If you're leaning towards traditional styles, ornate moldings with intricate patterns can add a timeless elegance. On the other hand, modern aesthetics may call for cleaner lines and simpler profiles that complement minimalist designs.
Consider height considerations when choosing your molding. Taller ceilings can handle wider, more detailed moldings, while shorter spaces benefit from slimmer profiles that don't overwhelm the room.
Color combinations are also crucial; opt for shades that either match or contrast beautifully with your walls to create visual interest.
Don't forget about pattern variations! Whether you prefer a smooth finish or something more textured, the choice can affect the overall vibe.
Lastly, think about your room themes. If you're going for a rustic look, wood or painted moldings can work well, while sleek, high-gloss finishes are perfect for modern spaces.
With these factors in mind, you can find the perfect crown molding that serves as DIY inspiration for your project!
Measuring Room Dimensions
Before diving into the installation of crown molding, it's essential to accurately measure your room dimensions. Start by assessing the room shape—whether it's square, rectangular, or even more complex. This will help you determine how much molding you'll need and how it'll fit into the space.
Next, measure the ceiling height. Crown molding comes in various sizes, and your ceiling height will influence your choice. For lower ceilings, opt for narrower profiles, as they create an illusion of height. Conversely, if you have tall ceilings, you can use wider and more elaborate designs to make a statement.
To get accurate measurements, use a tape measure to record the lengths of each wall where you plan to install the molding. Don't forget to account for any doors or windows that might interrupt the flow of the molding.
It's a good idea to sketch a simple layout of the room, marking the measurements to visualize the installation better.
With precise measurements in hand, you'll choose the right molding that complements your space, ensuring a stunning finish that enhances your room's overall aesthetic.
Cutting Techniques
When it comes to cutting crown molding, understanding miter cuts and the coping technique is essential.
Miter cuts allow for clean, angled joints, while coping offers a more seamless fit for intricate corners.
Mastering these techniques will ensure your installation looks professional and polished.
Miter Cuts Explained
How do you achieve precise corners when installing crown molding? With the right cutting techniques, you can create perfect miter angles for your corner joints.
Start by using a miter saw, which allows you to make accurate precision cuts. For standard corners, you'll typically set your miter saw to 45 degrees, but remember that some angles may require adjustments.
When working with crown molding, you might need to use a compound miter saw. This tool lets you make both miter cuts and bevel cuts simultaneously, ensuring the molding fits snugly against the wall and ceiling.
Always double-check your measurements before cutting to avoid wasting material.
Safety measures are crucial when operating a miter saw. Always wear eye protection and secure the workpiece firmly to prevent it from moving during cuts.
Take your time and don't rush through the process. If you make a mistake, it's better to re-cut a piece than to force it into place.
Coping Technique Overview
Coping is an essential technique for achieving seamless joints in crown molding, especially at inside corners. This method allows you to create tight-fitting coping joints that enhance the appearance of your work. While miter cuts are popular, they can sometimes lead to gaps due to the natural settling of the house over time.
Coping, on the other hand, provides a more reliable and professional finish.
To use the coping technique, start by making a miter cut at a 45-degree angle on the first piece of molding, which will fit against the wall. Next, take the second piece and cut it straight, following the profile of the molding. You'll want to carefully remove material from the back edge of this piece to create a custom fit that hugs the contours of the first piece.
When dealing with different corner angles, adjust your technique slightly to ensure each joint remains tight.
With practice, you'll find that coping can significantly improve the quality of your crown molding installation, making those corners look flawless and professional. Embrace the coping technique, and you'll elevate your crown molding project to new heights.
Installing the Molding
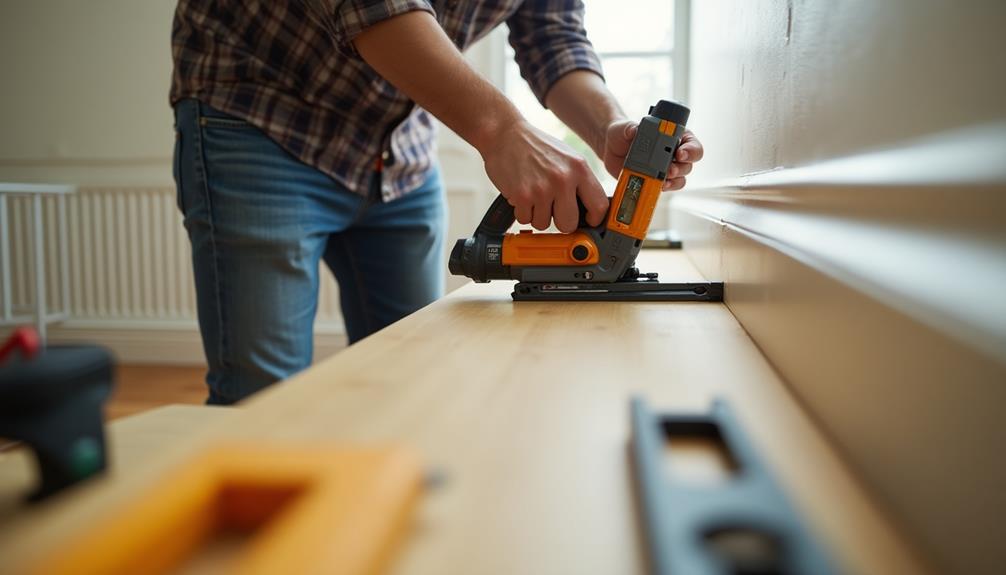
With your materials ready and the walls prepped, it's time to dive into installing the molding. Start by measuring the lengths of your walls, cutting your pieces with a miter saw at a 45-degree angle for clean corners. Use a coping technique for inside corners, as it allows for a more seamless fit. Make sure to dry-fit the pieces before securing them, ensuring everything aligns properly.
When applying the molding, use either finishing nails or a nail gun for a secure hold. Place nails every 16 inches for stability, but be cautious—over-nailing is a common mistake that can cause splitting. Check for level and alignment as you go, adjusting your pieces if necessary.
If you're working with longer sections, consider using an installation technique called "blocking," where you add small pieces of wood to support joints. This helps avoid gaps and ensures a sturdy installation.
Remember to take your time and double-check each cut and fit. Rushing can lead to common mistakes that may require extra work later. Enjoy the process, and soon you'll see your beautiful crown molding come to life!
Filling Gaps and Seams
After installing your crown molding, you might notice some gaps and seams that need attention. Don't worry; filling these gaps is a simple process that can greatly enhance the overall look of your installation.
Start by assessing where the gaps are—common areas include the corners and where the molding meets the wall or ceiling.
For small gaps, you can use gap fillers such as caulk or wood filler. Caulk is particularly useful for filling gaps between the molding and the walls or ceiling. Apply it with a caulking gun, and smooth it out with a finger or a caulk smoothing tool for a clean finish.
If you're dealing with larger gaps, opt for wood filler, which can be sanded down to a smooth surface once it dries.
Seam sealing is another step you shouldn't overlook. For seams where two pieces of molding meet, apply a thin line of caulk or wood filler to create a seamless appearance.
Again, smooth it out for a professional finish. By taking these steps, you'll ensure your crown molding looks polished and complete.
Painting and Finishing Touches
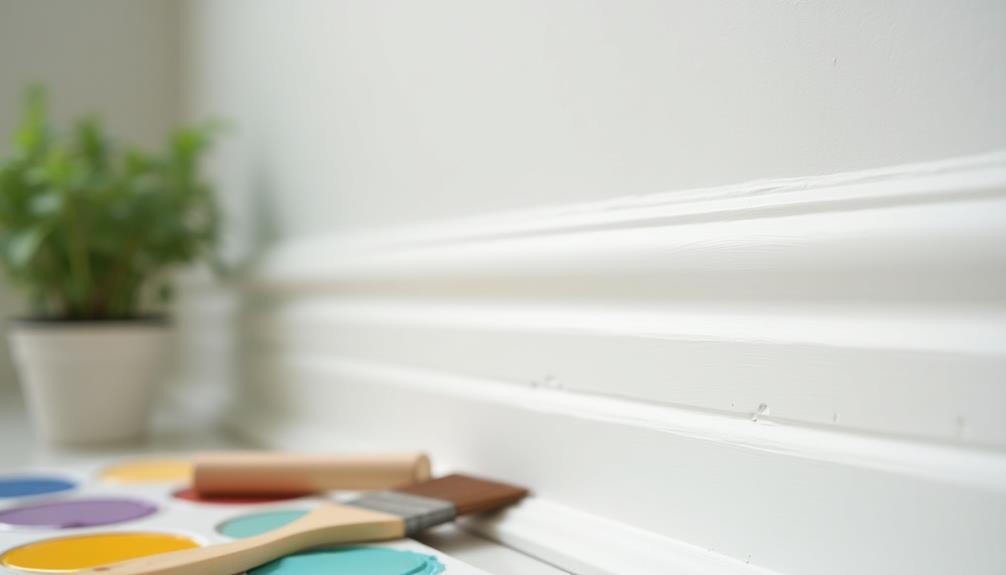
Once you've filled the gaps and seams in your crown molding, it's time to bring your installation to life with paint and finishing touches.
Start by considering your color selection. You want a hue that complements the room's decor and enhances the architectural details of the molding. Neutral colors often work well, but don't shy away from bold shades if they suit your style.
Before painting, ensure the surface is clean and smooth. Apply a primer if you're painting raw wood or making a significant color change.
For the actual painting, use a high-quality brush or roller to achieve a smooth finish. You might also consider using a spray gun for a more even coat, especially on intricate designs.
Once the paint dries, inspect for any missed spots or uneven areas. Touch up as needed.
Finally, consider adding finishing techniques like a clear coat for added durability or a glaze to highlight the details. These touches can elevate your crown molding, making it a stunning focal point in your space.
With these steps, your installation will look professional and polished!
Tips for a Successful Project
When it comes to installing crown molding, preparation is key to a successful project. Start by gathering all necessary tools and materials—measurements, miter saw, and a nail gun are essential.
Before you jump in, create a clear project timeline. This helps you stay organized and manage your time effectively.
One of the most common mistakes people make is underestimating the complexity of cutting angles. Practice on scrap pieces to ensure you're comfortable with your cuts.
Another common pitfall is neglecting to account for imperfections in your walls and ceilings. Use caulk to fill gaps and ensure a seamless finish.
Always double-check your measurements. A small error can lead to significant issues down the line.
When you're ready to nail the pieces in place, use a level to ensure everything sits straight.
Lastly, don't rush the finishing touches; a well-executed paint job can elevate your crown molding dramatically.

