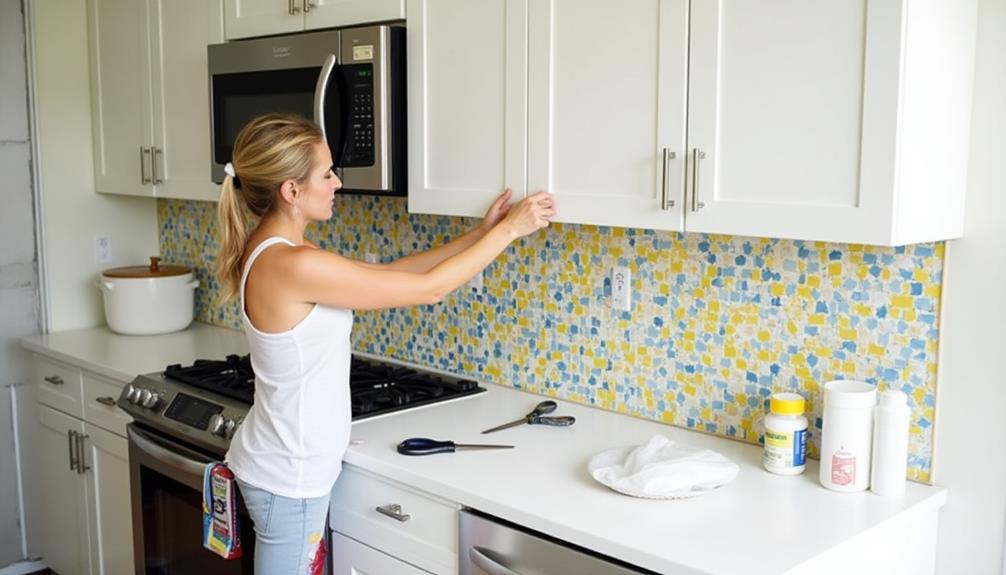
When you're considering a peel-and-stick backsplash, you're opting for a simple upgrade that can refresh your kitchen without breaking the bank. You'll want to start by ensuring your wall is clean and smooth for the best adhesion. As you measure and plan your layout, keep in mind the placement of outlets and other features. Once you begin installing the tiles, it's crucial to maintain alignment for a professional finish. But there are a few key tips and tricks that can make this process even smoother—let's explore those next.
Choosing the Right Backsplash
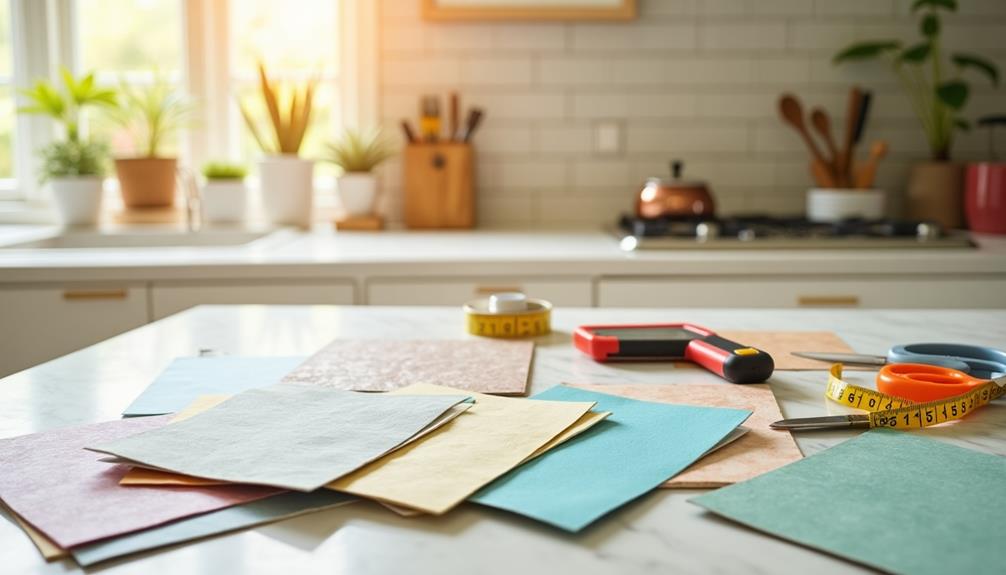
Choosing the right backsplash for your kitchen can transform the space and reflect your personal style. When you start, consider your design styles and aesthetic preferences. Are you drawn to sleek modern looks or rustic charm? Your choice will guide your color schemes and material options. For example, glass tiles can add a contemporary flair, while ceramic might suit a traditional vibe.
Next, think about durability factors. Will the backsplash withstand heat and moisture? Some materials are better suited for high-traffic areas than others.
Don't forget budget considerations. Peel-and-stick backsplashes offer an affordable and stylish option, making them a great choice for DIY projects. You'll need basic installation tools like a utility knife and a ruler, but the process is straightforward and doesn't require professional help.
As you explore DIY tips, remember to measure your space accurately to avoid unnecessary waste. Selecting the right backsplash involves balancing your preferences with practicality, ensuring that your kitchen not only looks great but also stands the test of time.
Preparing the Surface
Before you start installing your peel-and-stick backsplash, you need to clean the surface thoroughly to ensure proper adhesion.
Any dust, grease, or residue can affect how well your backsplash sticks.
Plus, aligning it correctly from the get-go will save you time and frustration later on.
Clean the Surface Thoroughly
Cleaning the surface thoroughly is crucial for a successful peel-and-stick backsplash installation. You need to ensure that the area is free from dirt, grease, and any old adhesive that might prevent the new backsplash from sticking properly.
Start by removing any existing backsplash or wall coverings. For effective surface preparation, use a putty knife or scraper to tackle any stubborn adhesive residue.
Next, grab a mild detergent mixed with warm water and a sponge. Scrub the surface to eliminate any grease or grime, ensuring you reach every corner.
Once you've cleaned the area, rinse it with clean water to remove any soap residue. After rinsing, dry the surface completely with a clean cloth. It's essential to let it air dry for at least an hour, as moisture can interfere with the adhesive's performance.
If you're dealing with particularly tough adhesive remnants, consider using a commercial adhesive remover. Follow the manufacturer's instructions for safe application.
Ensure Proper Alignment
To achieve a seamless look, you must ensure proper alignment of your peel-and-stick backsplash tiles before you start applying them. Begin by using visual guidelines to plan your layout. Measure the area carefully and mark reference points on your wall with a pencil or chalk. This gives you a clear starting point and helps maintain straight lines throughout the installation.
Next, utilize alignment tools like a level or a laser level. These tools will ensure that your tiles are evenly spaced and straight, preventing any unsightly gaps or crooked lines. Start from the center or a corner, depending on your design, and work your way outwards.
As you apply each tile, keep checking your alignment with the visual guidelines and alignment tools. If you notice any misalignment, peel the tile back and reposition it immediately.
This step is crucial for maintaining a professional appearance in your finished backsplash.
Measuring and Planning Layout
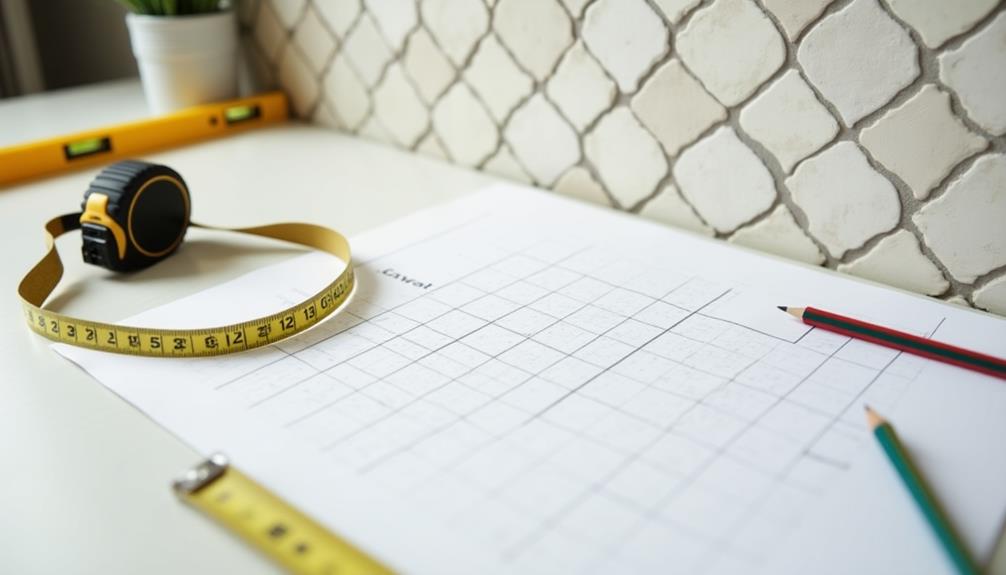
Start by accurately measuring your wall space to ensure a perfect fit for your peel-and-stick backsplash. Use a tape measure for precise measurements, noting the height and width of the area you plan to cover. It's helpful to measure in multiple spots, as walls aren't always perfectly straight.
Once you have your dimensions, sketch a rough layout of your backsplash. This gives you a visual guide and helps you see which measuring techniques might work best for your design. Consider layout options like staggered, straight, or herringbone patterns, as these will affect how you cut and place your tiles.
If your wall has outlets, switches, or other interruptions, measure their locations and incorporate them into your layout. Mark these spots clearly on your sketch.
Lastly, allow for some extra tiles in your calculations to account for mistakes or miscuts. This preparation can save you time and stress during installation.
Installing the Tiles
With your layout planned and materials ready, it's time to dive into installing the tiles. Start at the center of your backsplash area, using your chalk line as a guide. If you're using different tile types, like glass or metal, consider how their textures and colors will affect the overall look.
Peel off the backing of your first tile and press it firmly against the wall, ensuring it's level. If you're working with larger tiles, you might need to apply adhesive options like construction adhesive to ensure they stay in place. For smaller tiles, the built-in adhesive should suffice, but make sure you press them down well.
Continue installing tiles row by row, following your layout. Don't forget to leave grout lines if needed, or use spacers for a uniform look.
If you encounter any cuts required for outlets or corners, measure carefully and use a utility knife for precision. As you progress, periodically step back to check alignment. This way, you'll maintain the aesthetic flow of your design.
Once finished, you'll be one step closer to enjoying your new backsplash!
Finishing Touches
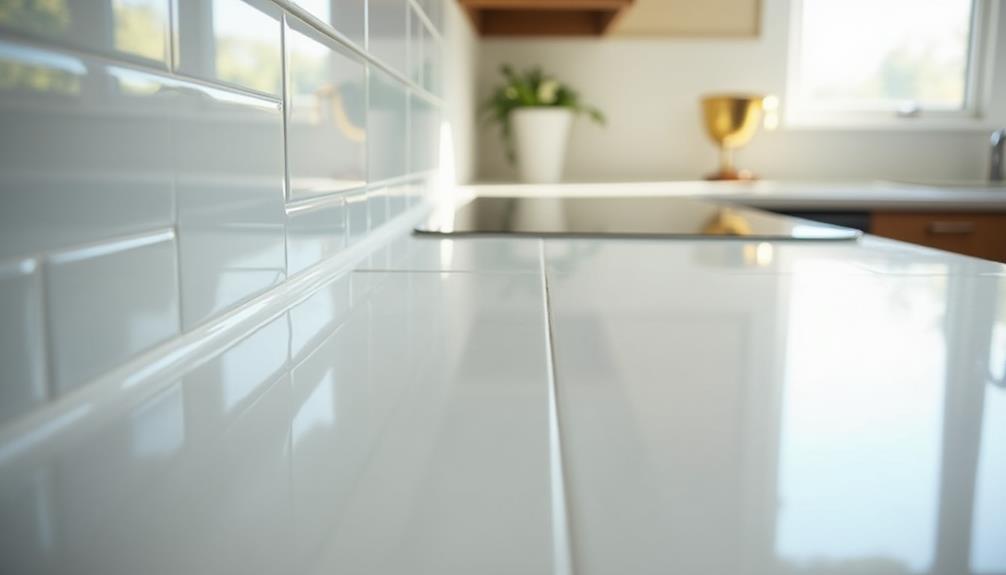
Now that you've installed your peel-and-stick backsplash, it's time for the finishing touches to ensure a polished look.
Start by aligning the edges neatly and sealing any gaps to prevent moisture from sneaking in.
Aligning the Edges
As you near the completion of your peel-and-stick backsplash project, aligning the edges is crucial for achieving a polished look.
Take a moment to step back and examine your work. Check that each tile aligns perfectly with its neighbors, especially when working with intricate design patterns or bold color combinations. Misaligned edges can draw attention away from the overall aesthetic, so it's worth taking the time to get it right.
Start by gently lifting any tiles that seem off-kilter. You might need to reposition them slightly to ensure they fit snugly against each other.
Pay special attention to corners and edges, as these areas often require more precision. If you're using tiles with repeating patterns, make sure the design flows seamlessly across the surface.
Use a level to verify that everything is straight, and adjust as necessary. Don't hesitate to remove and reposition tiles until you're satisfied with the alignment.
This final step can make a significant difference in your backsplash's appearance, enhancing the beauty of your chosen colors and designs. Once everything looks sharp, you'll be ready to enjoy your newly transformed space!
Sealing Gaps Properly
Seal any gaps between your peel-and-stick tiles to achieve a seamless finish. Even the tiniest gaps can disrupt the overall look of your backsplash, so addressing them is crucial.
Start by inspecting the area for any spaces that might've formed during installation. For filling these gaps, consider using gap fillers specifically designed for peel-and-stick applications.
These products come in various forms, including caulk or silicone, and can easily be applied to ensure a tight seal. When selecting your gap filler, check the adhesive options available to ensure compatibility with your tiles.
Apply the filler carefully, using a caulk gun or a small applicator, and smooth it out with your finger or a tool for a clean finish. Make sure to wipe away any excess material immediately to avoid unsightly marks.
Once the filler has cured, your backsplash won't only look polished but will also be protected from moisture and dirt.
Taking the time to seal those gaps will enhance the durability of your installation and maintain the beauty of your peel-and-stick tiles for years to come.
Cleaning and Maintenance Tips
After sealing any gaps, keeping your peel-and-stick backsplash looking fresh and vibrant is important. Regular cleaning won't only enhance its appearance but also prolong its lifespan.
Start by establishing a maintenance schedule; aim to clean your backsplash weekly. Use a soft cloth or sponge with mild soap and warm water for everyday cleaning. Avoid abrasive scrubbers that could damage the surface.
When it comes to stubborn stains or grease, opt for gentle cleaning products specifically designed for adhesive surfaces. Always test any cleaning product on a small, inconspicuous area first to ensure it doesn't affect the finish.
If you encounter any sticky residue, a mixture of vinegar and water can effectively lift it without harming your backsplash. It's also wise to avoid harsh chemicals or bleach, as these can lead to discoloration over time.
If you notice any peeling or lifting, address it promptly to prevent further damage. By staying consistent with your cleaning routine and using the right products, your peel-and-stick backsplash will remain a beautiful focal point in your kitchen for years to come.
Maintenance Tips
Maintaining your peel-and-stick backsplash is easier than you might think. To keep it looking great and functioning well, start with regular inspections. Check for any lifting edges or signs of damage, such as scratches or stains. If you catch these issues early, you can usually fix them before they get worse.
For damage prevention, avoid using abrasive cleaners or scrubbers, as they can scratch the surface. Instead, use a soft cloth with mild soap and water to wipe down your backsplash. If you notice any stubborn stains, a gentle vinegar solution can work wonders—just make sure to rinse thoroughly afterward.
Another tip is to keep heavy items off the backsplash, as excessive weight can cause it to peel. If you ever need to remove a panel for repair or replacement, do so carefully to avoid damaging the wall underneath.

