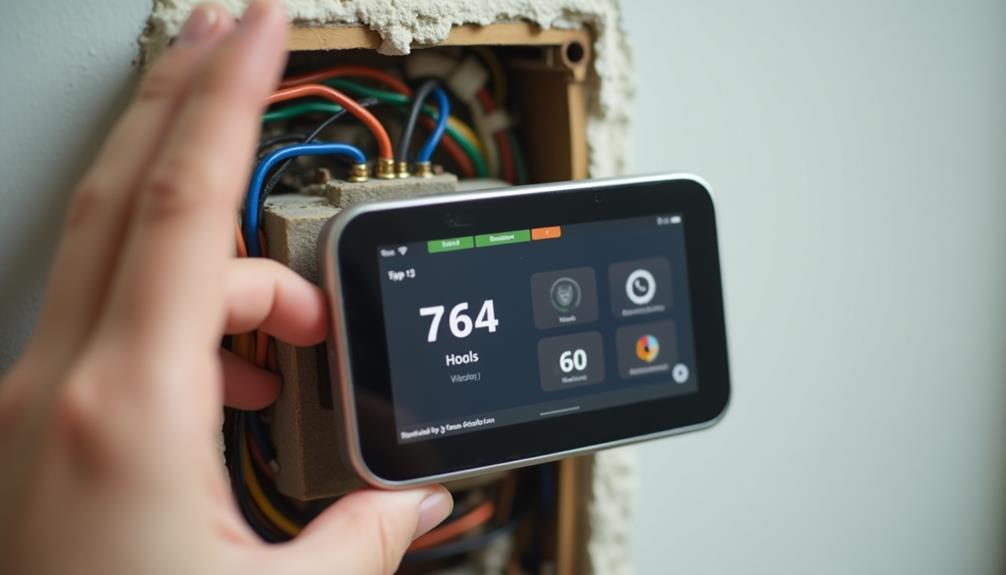
Imagine coming home to a perfectly heated or cooled space, all thanks to your new smart thermostat. You might be wondering how to transition from that outdated model to something more efficient and convenient. It's not just about installation; there are key steps and considerations that ensure you get the most out of your upgrade. By understanding the process and benefits, you can maximize comfort and efficiency in your home. So, what's the first step you should take before diving into the installation?
Benefits of Smart Thermostats
Smart thermostats bring a new level of convenience and efficiency to your home heating and cooling systems. With their advanced learning capabilities, these devices adapt to your schedule, ensuring optimal temperature control without you having to lift a finger. This not only enhances user convenience but also boosts energy efficiency, helping you save on energy bills.
You'll appreciate the cost savings that come with smart thermostats. They allow you to set schedules and adjust temperatures based on when you're home or away, which means no more wasted energy.
Plus, many models offer remote access through smartphone apps, so you can make adjustments from anywhere, whether you're at work or on vacation.
The environmental impact of using a smart thermostat is significant, too. By reducing energy consumption, you're contributing to a more sustainable future.
Moreover, smart thermostats come with various compatibility options, ensuring they work seamlessly with your existing HVAC system.
Tools and Materials Needed
Before you dive into replacing your thermostat, gather the right tools and materials to ensure a smooth process. You'll need a screwdriver, wire stripper, drill, and a level. A multimeter can be handy for checking voltage, while a step stool might help you reach high places.
Make sure you have a smart thermostat compatible with your heating and cooling system; check the smart thermostat features to confirm it meets your needs.
For installation tips, read the instructions that come with your new thermostat. You'll also want to have wire connectors handy, as these help secure the wires when you make connections. If you're working with an older system, it might be wise to have some extra wire on hand, just in case.
A notepad is useful for jotting down wire colors and connections before you start dismantling your old thermostat.
Lastly, don't forget your phone or camera; taking pictures of the wiring can simplify the reinstallation process. With the right tools and materials ready, you'll set yourself up for a successful smart thermostat upgrade!
Turn Off Power Supply
Once you've gathered your tools and materials, the next step is to ensure your safety by turning off the power supply to your heating and cooling system. This is a crucial safety precaution to prevent any electrical accidents while you're working on your thermostat.
Locate the circuit breaker that controls the power sources for your HVAC system. It's usually labeled; if not, it's best to switch off the entire breaker for that area.
Before you proceed, double-check that the power is indeed off. You can do this by using a multimeter or a non-contact voltage tester.
Simply touch the tester to the wires of the old thermostat. If there's no light or sound from the tester, you can be confident that the power supply is turned off.
Remove the Old Thermostat
Now that you've turned off the power, it's time to gather the tools you'll need for the job.
Carefully disconnect the wiring from the old thermostat, making sure to note where each wire connects. This will set you up for a smooth replacement process.
Gather Necessary Tools
To successfully remove your old thermostat, you'll need a few essential tools on hand. First, grab a screwdriver, preferably a flathead or Phillips, depending on your thermostat's screws. This will help you detach the device from the wall.
Next, you'll want a drill or a level to assist with mounting your new smart thermostat later on.
Make sure you have a pair of wire cutters or strippers too. These will come in handy if you need to trim or strip wires for your new device. Remember, checking for thermostat compatibility with your existing wiring is crucial before you start.
You might also find a small flashlight useful for illuminating tight spaces behind the thermostat.
Lastly, consider having a smartphone or tablet nearby, as many smart thermostats offer home automation apps to guide you through the installation process.
Turn Off Power
Before you start removing the old thermostat, it's crucial to turn off the power to avoid any electrical hazards. This step is one of the most important safety precautions you can take.
Locate your home's circuit breaker panel and identify the circuit that controls the thermostat. If you're unsure, it's better to turn off the main power switch to ensure complete safety.
Once the power is off, confirm that the thermostat isn't receiving any electricity. You can do this by using a voltage tester on the wires connected to the thermostat.
Different thermostat types might require specific procedures, so check the manufacturer's guidelines if needed.
Disconnect Wiring Carefully
Carefully disconnecting the wiring is a crucial step in removing your old thermostat. Start by taking a photo of the wiring connections, as this will help you later when connecting your smart thermostat.
Identify the different wiring colors, which typically indicate specific functions: red for power, white for heating, yellow for cooling, and green for the fan. However, keep in mind that wiring colors can vary depending on thermostat types, so refer to your manufacturer's guide if anything seems unclear.
Once you've documented the wiring, use a screwdriver to loosen the terminal screws. Gently pull each wire away from the terminal. Be cautious not to let any wires fall back into the wall, as retrieving them can be a hassle.
If you're unsure about the connections, label each wire with tape for easy identification later. After you've disconnected all the wires, remove the old thermostat from the wall.
Ensure that you keep all screws and parts together, as they may be useful for mounting the new device. Now, you're ready to install your smart thermostat!
Install the Smart Thermostat
How can you ensure your smart thermostat is installed correctly? First, gather all the necessary tools: a screwdriver, drill, and level.
Start by aligning your smart thermostat with the wall plate you've installed. Make sure the wires are properly inserted into their designated terminals. Each wire corresponds to a specific function, so refer to the installation manual for accurate connections.
Next, secure the thermostat to the wall plate using screws, ensuring it's level, as uneven installation can affect functionality. Many smart thermostat features, like Wi-Fi connectivity and energy-saving modes, depend on correct installation.
After securing it, gently push any excess wiring back into the wall to prevent it from being pinched or damaged.
Lastly, double-check all connections before you power it on. Following these installation tips will help you avoid common pitfalls and ensure your smart thermostat operates smoothly.
Once installed, you can look forward to enjoying the benefits of enhanced temperature control and energy efficiency in your home. Make sure to keep the user manual handy for the next steps in configuring and optimizing your new thermostat!
Configure the Settings
Now that your smart thermostat is securely installed, it's time to configure the settings to suit your home's needs. Start by connecting your thermostat to your Wi-Fi network. This step allows you to access all the smart features that make these devices so appealing. Use the accompanying app on your smartphone to guide you through the setup process.
Once connected, customize the temperature schedule according to your routine. Set different temperatures for various times of the day; for instance, lower the temperature while you're at work and raise it before you return home. This not only enhances comfort but also promotes energy savings.
Explore additional smart features like geofencing, which adjusts the temperature based on your location. This means your home will be at the perfect temperature when you arrive, without wasting energy while you're away.
You can also consider enabling alerts for maintenance reminders, ensuring your heating and cooling systems run efficiently.
Test and Optimize Performance
To ensure your thermostat is functioning at its best, it's essential to test and optimize its performance. Start by checking the performance monitoring features available on your smart thermostat. These features provide real-time feedback on your heating and cooling systems, helping you identify any inefficiencies.
Next, run a few test cycles. Set different temperatures and observe how quickly the thermostat responds. This will help you gauge its accuracy and responsiveness. If you notice any delays or inconsistencies, double-check the installation and wiring.
User customization is crucial for optimizing your thermostat's performance. Spend some time adjusting the settings to fit your lifestyle.
For instance, establish a schedule that matches your daily routine, ensuring your home is comfortable when you're there and saving energy when you're not.


