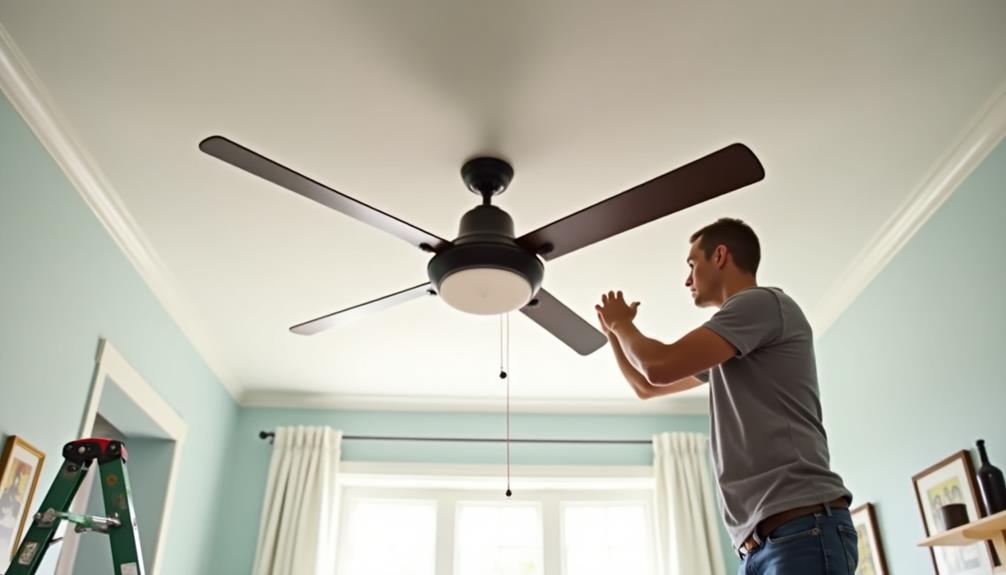
Much like unraveling a mystery, installing a new ceiling fan can seem daunting at first glance. However, you can simplify the process into five straightforward steps that even a novice can follow. Start by gathering your tools and materials, as having everything ready sets the stage for a smooth installation. Once you've done that, you'll need to prioritize safety by turning off the power. From there, you'll install the ceiling mount and connect the wiring, but there's one crucial detail that could make all the difference in your final result.
Gather Your Tools and Materials
Before diving into the installation process, you should gather all the necessary tools and materials for the job. Start by selecting the right fan types that suit your space and personal preferences.
Whether you prefer a traditional model or a modern design, ensuring it meets your energy efficiency standards is key for long-term savings.
Next, you'll need tools like a screwdriver, pliers, and a voltage tester. These are essential for installation safety, helping you avoid any electrical hazards.
Don't forget to have a ladder on hand for those hard-to-reach areas.
As you prepare, consider the noise levels of the fan you're installing. Quieter models are great for bedrooms, while more powerful fans suit larger living spaces.
Turn Off Power Supply
With your tools gathered and materials ready, the next step is to ensure your safety by turning off the power supply. This crucial action protects you from electrical shocks while you're working on your ceiling fan installation.
Start by locating your home's main circuit breaker or fuse box. Once you find it, identify the circuit that controls the power sources for the room where you'll be installing the fan. It's often labeled, but if you're unsure, you can turn off the entire house's electricity temporarily to be safe.
Once the power is off, double-check by flipping the switch on and off. If the lights in the room don't respond, you're good to go. Remember, taking safety precautions at this stage helps prevent accidents.
You might also want to use a voltage tester to ensure no current is flowing through the wires. This extra step can give you peace of mind.
After you've confirmed everything is powered down, you can proceed with the installation knowing you've minimized risks. Your next steps will be much smoother without the worry of electrical hazards.
Install the Ceiling Mount
Now that you've ensured the power is off, it's time to install the ceiling mount for your fan.
Begin by locating the mounting bracket provided with your fan. This bracket is essential for securely attaching the fan to the ceiling. Position the bracket on the ceiling, aligning it with the electrical box. Make sure it matches your ceiling design and can support the fan's weight.
Use a pencil to mark the screw holes on the ceiling, then drill pilot holes for the screws. If your ceiling is made of drywall, ensure you use the appropriate anchors to support the weight of your fan.
After drilling, attach the mounting bracket to the ceiling with screws, ensuring it's tight and secure.
Next, check that the bracket aligns with the fan styles you've chosen. Some fans may have specific mounting requirements or additional support features.
Once the bracket is installed, give it a gentle tug to confirm it's secure. This step is crucial to ensure the fan operates safely and effectively once it's up.
With the ceiling mount in place, you're one step closer to enjoying your new ceiling fan!
Connect the Wiring
Once the ceiling mount is securely in place, it's time to connect the wiring for your ceiling fan.
Begin by turning off the power at the circuit breaker to ensure wiring safety. You'll want to double-check with a voltage tester to confirm there's no power running to the wires.
Next, identify the wire colors. Typically, you'll see a black (or red) wire, which is the hot wire, a white wire for neutral, and a green or bare wire for ground.
Match the wires from the ceiling to the fan's wires—connect the black wire from the ceiling to the black wire on the fan. Then, connect the white wires together, followed by the green or bare wires for grounding.
Use wire nuts to secure each connection, ensuring they're tight and safe. If you're unsure about any connections, now's the time to consult the fan's manual or a professional.
After all connections are made, gently tuck the wires back into the ceiling box. Once everything's in place, you can proceed to the next steps to complete your ceiling fan installation.
Attach the Fan Blades
After securing the wiring, you can attach the fan blades to the motor. Start by laying out your fan blade materials. Most fans come with a set of blades crafted from wood, metal, or plastic. Choose the material that best fits your style and the room's decor.
Next, locate the blade brackets that came with your fan. These brackets will connect the blades to the motor. Align each blade with its corresponding bracket, ensuring that the design options are balanced for aesthetic appeal. If your fan has reversible blades, you can flip them to showcase a different finish or color.
Using the screws provided, secure the blades to the brackets. It's important to tighten them snugly, but be careful not to overtighten, as this could damage the blades. Repeat this process for all the blades, making sure they're evenly distributed to maintain balance when the fan is operating.
Once all blades are attached, give them a gentle tug to confirm they're secure.
With the fan blades in place, you're one step closer to enjoying the cool breeze of your new ceiling fan!


