Imagine transforming your backyard with a stylish paver walkway that enhances your outdoor space. To get started, you'll need to choose the right pavers that match your vision and ensure a solid foundation for longevity. Proper site preparation is crucial, and knowing how to execute each step can make all the difference in achieving a professional look. From selecting materials to laying them out strategically, there are important techniques to consider that can elevate your project. What's the first move you should make to ensure success?
Choosing the Right Pavers
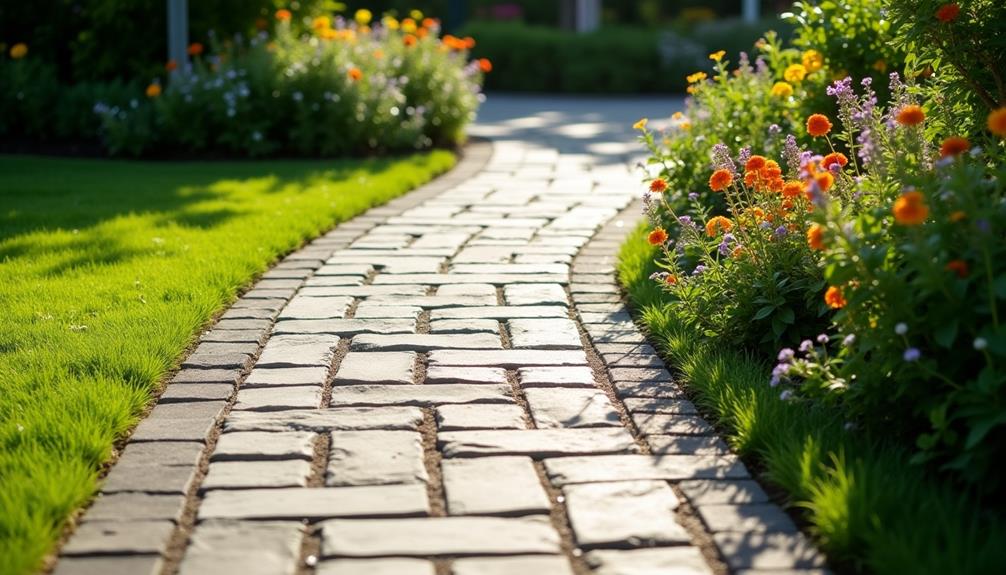
When it comes to choosing the right pavers for your walkway, you'll want to consider both style and functionality. Start by exploring different paver materials, such as concrete, brick, or stone, each offering unique benefits.
Think about color selection—do you want neutral tones to blend in, or vibrant colors to make a statement? The paver shapes also play a crucial role; larger pavers can create a modern look, while smaller, irregular shapes may evoke a more rustic vibe.
Next, consider various installation patterns. Herringbone or circular designs can add visual interest, while straight lines provide a classic touch.
Don't forget about eco-friendly options; permeable pavers can help manage stormwater and reduce runoff.
When evaluating durability factors, ensure the pavers can withstand your local climate and seasonal influences. Heavy snowfall or intense heat can impact your choice.
Finally, keep budget considerations in mind. While high-quality pavers may cost more upfront, their longevity can save you money over time.
With these factors in mind, you'll be well on your way to selecting the perfect pavers for your DIY walkway.
Tools and Materials Needed
Before you dive into your DIY walkway project, gather the right tools and materials to set yourself up for success. Start with a shovel, a level, and a rubber mallet—these are essential for digging and ensuring your pavers sit evenly.
You'll also need a measuring tape and a string line to outline your walkway accurately.
Next, choose your paver types. Options like concrete, brick, and natural stone each have unique aesthetics and durability. Make sure to select the ones that fit your vision and budget.
Don't forget to buy polymeric sand, which helps lock your pavers in place and prevents weed growth.
For installation techniques, having a landscaping fabric is a good idea to keep soil and weeds at bay. You'll also want a compacting tool to set the base properly.
A bucket or wheelbarrow will help transport materials easily. Lastly, keep a broom handy for finishing touches—sweeping sand into the joints ensures a polished look.
Gathering these tools and materials will make your walkway project smoother and more enjoyable.
Planning Your Walkway Design
With your tools and materials ready, it's time to focus on planning your walkway design. Start by considering the overall walkway aesthetics you want to achieve. Think about the style of your home and landscape. Do you prefer a modern look with clean lines, or a more traditional style with curves? Selecting paver colors and patterns that complement your surroundings will enhance the visual appeal.
Next, think about design functionality. Consider how you'll use the walkway. Will it primarily serve as a path to your front door, or will it connect different areas of your yard? Make sure to plan for adequate width and spacing between pavers to accommodate foot traffic comfortably.
Also, factor in any potential obstacles, like trees or garden beds, and adjust your design accordingly. Sketching a rough layout can help you visualize the space and ensure smooth transitions.
Preparing the Site
A well-prepared site is crucial for a successful paver walkway installation. Start by assessing the area where you plan to lay the walkway. Check for proper site drainage to ensure water doesn't pool on your new path. If you notice any low spots, consider filling them in to create a level surface. Proper drainage will prolong the life of your walkway and keep it looking great.
Next, focus on soil stability. Remove any grass, plants, or debris from the area and dig down about 4 to 6 inches. This depth will provide enough space for a solid base that supports the pavers. If your soil is loose or sandy, you might want to add a layer of compacted gravel to improve stability. Be sure to compact the soil before moving on.
Use a level to check that the ground is even. It's vital that your surface is flat; otherwise, your pavers may shift over time.
Laying the Pavers
Now that you've prepared the site, it's time to focus on laying the pavers.
Start by ensuring you have a solid base to support the weight and arrangement of your chosen pavers.
Arranging them properly won't only enhance the aesthetic but also ensure durability for your walkway.
Preparing the Base
Preparing a solid base is crucial for a durable paver walkway. Start by clearing the area of any grass, roots, or debris. You want a clean surface to work with.
Next, dig down about 4 to 6 inches, depending on your paver thickness. This depth allows adequate space for your base materials.
Once you've excavated, check the soil stability. If your soil is loose or sandy, consider adding a layer of compacted gravel to enhance stability. This layer not only supports the pavers but also helps with drainage solutions, preventing water from pooling.
After compacting the gravel, install a layer of sand, about 1 inch thick, to create a level surface for your pavers. Use a screed board to smooth it out evenly. This step is essential to ensure your pavers sit properly and don't shift over time.
Lastly, before laying the pavers, check that the base is level and firm. This preparation will save you time and effort later on, ensuring that your walkway stands the test of time. A well-prepared base is the key to a successful DIY paver project!
Arranging the Pavers
Once you've got your base ready, it's time to arrange the pavers. Start by planning your layout. Think about the paver patterns you want to use—whether it's a traditional straight lay or a more intricate herringbone design. Lay out a few pavers without setting them in place to visualize the pattern and make any necessary adjustments.
Next, consider your color selection. Choose colors that complement your home and landscape. Mixing different shades can add depth and interest to your walkway, while sticking to a single hue creates a clean, cohesive look.
Begin laying the pavers from one end of your walkway, working towards the other. Use a rubber mallet to tap each paver into place, ensuring they're level and snug against one another. If you're using a pattern that requires precise alignment, check your measurements frequently to keep everything straight.
After laying down the pavers, fill in the gaps with sand or polymeric jointing material. This not only stabilizes the pavers but also prevents weeds from sprouting.
Take a step back and admire your handiwork—your DIY walkway is coming to life!
Filling Gaps and Compaction
To create a sturdy and visually appealing walkway, filling the gaps between your pavers and ensuring proper compaction is essential. Start by choosing a joint filler, such as sand or polymeric sand, which helps with joint stabilization techniques. Pour the filler into the gaps, making sure it gets into all the spaces. Use a broom to sweep the filler into the joints and ensure they're well-packed.
Next, it's time to compact the pavers. A plate compactor works best for this task. Run the compactor over the pavers to settle them into the base material and the joint filler. This step is crucial as it helps eliminate any air pockets and ensures the pavers are secure.
To further enhance weed prevention methods, consider adding a layer of landscaping fabric beneath your walkway. This barrier prevents weeds from growing up through the gaps while allowing water to drain.
After compacting, you might need to add more filler to the gaps, as some may settle after the compaction process. Repeat this until the joints are filled flush with the pavers, ensuring both stability and aesthetic appeal.
Maintaining Your Walkway
Maintaining your walkway is essential for preserving its beauty and functionality over time. Regular upkeep not only enhances your curb appeal but also prevents damage from the elements.
Start with effective cleaning techniques; a simple solution of warm water and mild detergent can work wonders. Use a stiff broom or a pressure washer to remove dirt, leaves, and algae buildup.
Seasonal care is crucial. In spring, inspect for any loose pavers or cracks and address them promptly. Adding sand between pavers can help stabilize them and prevent weed growth.
During summer, keep an eye on weeds and remove them as they appear.
In fall, clear away fallen leaves and debris to avoid stains and mold growth.
As winter approaches, consider applying a sealant to protect your pavers from freeze-thaw cycles, which can cause cracks. Additionally, be cautious with snow and ice removal; use a plastic shovel to avoid damaging the surface.

