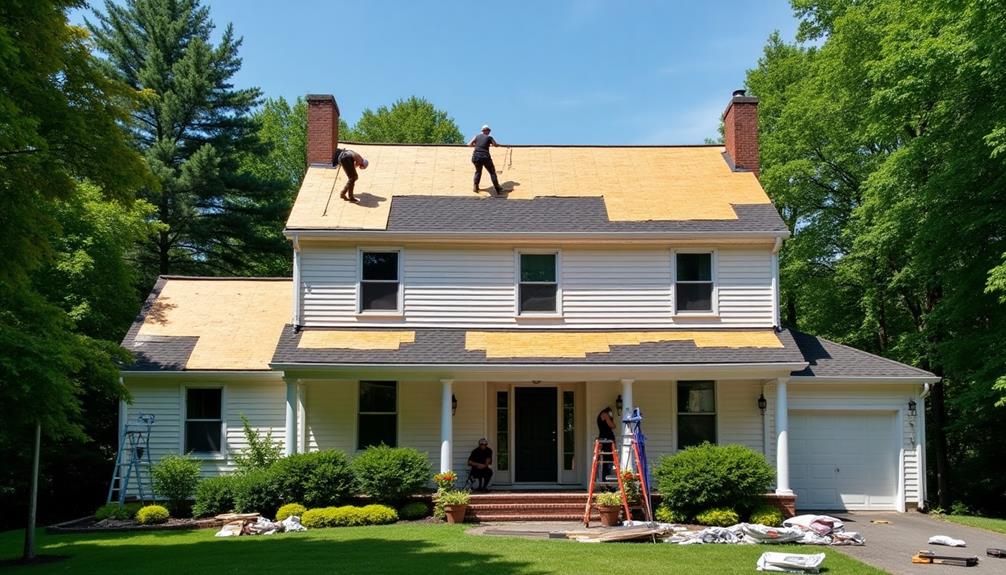
After a storm, you might think your roof is fine, but hidden damage can easily be overlooked. Start by checking for water stains on your ceilings and walls, which can point to leaks that aren't immediately visible. It's also essential to inspect the roof itself for missing shingles or any signs of wear. But what if you notice something alarming? Understanding how to perform a thorough inspection could save you from costly repairs down the line. Let's explore the steps you need to take to uncover any potential issues before they escalate.
Understanding Roof Damage
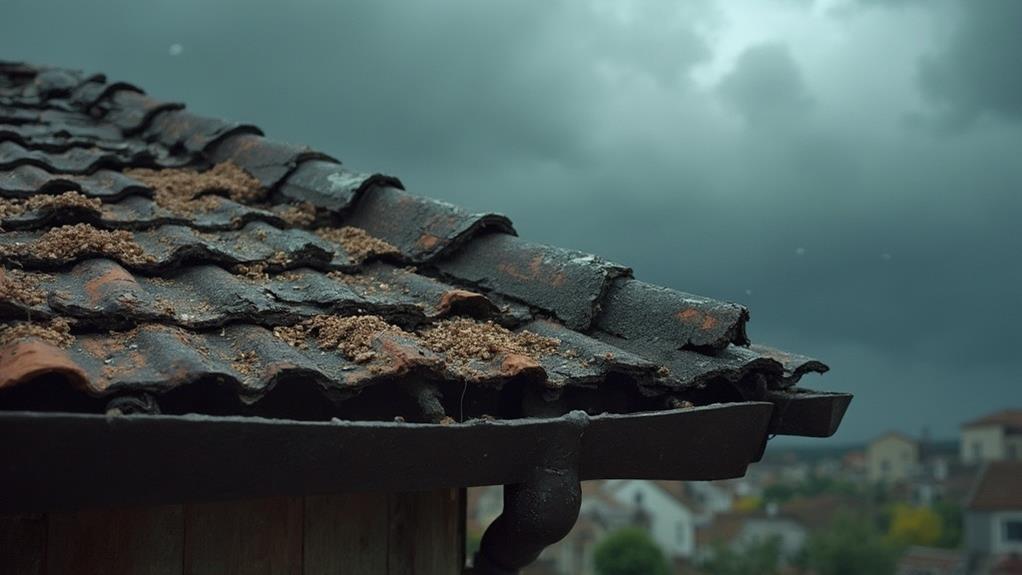
When it comes to understanding roof damage, recognizing the various types can save you time and money. Different roof material types, such as asphalt shingles, metal, tile, and flat roofs, each present their own common roof issues.
For instance, asphalt shingles may experience curling or cracking due to age or temperature fluctuations, while metal roofs might develop rust or loose panels from high winds.
Tile roofs can suffer from broken or missing tiles, leading to leaks, while flat roofs often face ponding water that can weaken the membrane. Identifying these issues early is crucial.
Look for signs like granule loss on shingles, rust spots on metal, or sagging areas on flat roofs.
Another common problem across all material types is inadequate drainage, which can lead to water pooling and subsequent leaks.
Regular inspections can help you pinpoint such issues before they escalate, potentially saving you from costly repairs.
Signs of Storm Damage
After familiarizing yourself with common roof issues, it's important to recognize the specific signs of storm damage that can arise from severe weather events.
Begin by inspecting your roof for missing or damaged shingles, as high winds can dislodge or completely remove them. Look for granule loss, where the protective granules wear off, exposing the underlying material. This can significantly affect your roof's longevity.
Next, check for visible dents or punctures in roofing materials, particularly if hail impacted your area. These can compromise the integrity of your roof, leading to leaks and further issues down the line.
Additionally, inspect the flashing around chimneys, vents, and skylights for any signs of detachment or damage, as these areas are particularly vulnerable to storm impact.
Safety Precautions Before Inspection
Before you begin your roof inspection, it's crucial to prioritize safety to prevent accidents and injuries. Start by equipping yourself with appropriate protective gear. This includes a hard hat to shield your head from falling debris, safety goggles to protect your eyes from dust and particles, and sturdy gloves to prevent cuts and scrapes.
Next, ensure you're using a reliable ladder for access to the roof. Check the ladder for any defects, and make sure it's rated for your weight. When positioning the ladder, place it on stable, level ground and extend it at a 75-degree angle for optimal stability.
Always maintain three points of contact while climbing—two hands and one foot, or two feet and one hand. If you're inspecting with a partner, communicate clearly, especially when moving the ladder or lifting any materials.
Avoid inspecting the roof during wet or windy conditions, as these increase the risk of slips and falls. Lastly, if your roof is steep or you're not comfortable with heights, consider hiring a professional to ensure a thorough and safe inspection.
Prioritize your safety above all—your well-being is paramount.
Inspecting the Interior
To effectively inspect the interior for hidden roof damage, start by checking for water stains on ceilings and walls, as these can indicate leaks.
Next, assess attic ventilation; poor airflow may lead to moisture buildup and subsequent damage.
Check for Water Stains
When inspecting the interior of your home for signs of hidden roof damage, one of the most telling indicators is the presence of water stains. These stains often appear as discolored patches on ceilings or walls, indicating a potential water leak from above.
Start by examining areas directly beneath your roof, especially around fixtures like skylights, chimneys, and vents, where leaks are more likely to occur.
Using moisture detection tools can enhance your inspection. A moisture meter can help quantify the extent of water infiltration and identify areas that may not yet show visible signs.
Pay attention to the texture and color of the stains; yellow or brown discoloration is typically a sign of prolonged exposure to moisture.
Additionally, note any peeling paint or wallpaper, as these can also signal underlying water issues.
If you find extensive water stains, it's crucial to investigate further, as they may indicate significant roof damage that requires professional attention.
Addressing water leaks promptly can prevent mold growth and structural deterioration, ensuring your home remains safe and sound.
Always document your findings for future reference or to share with a roofing professional.
Inspect Attic Ventilation
After identifying water stains in your home's interior, it's important to assess attic ventilation. Proper attic airflow is crucial for preventing moisture buildup and subsequent damage.
Begin by examining the ventilation system to identify any issues that may have arisen after the storm.
Check for the following key elements:
- Intake Vents: Ensure they're unobstructed and positioned correctly to facilitate airflow.
- Exhaust Vents: Verify that they're functioning correctly to allow hot air to escape, preventing heat accumulation.
- Insulation: Inspect for any damp or displaced insulation that could indicate poor ventilation.
Ventilation issues can lead to trapped moisture, contributing to mold growth and structural damage. If you notice any signs of blockage or malfunction, it's essential to address these immediately.
You may need to clear debris or consult a professional for complex ventilation problems. Remember, maintaining adequate attic airflow is integral to the longevity of your roof and overall home health.
Look for Mold Growth
Mold growth can be a serious consequence of hidden roof damage, and it's crucial to inspect your home's interior for any signs.
Start by examining areas prone to moisture, such as ceilings and walls near the roofline, as well as vents and windows. Pay attention to discoloration, stains, or a musty odor, which can indicate the presence of mold. Common mold types you might encounter include Aspergillus, Cladosporium, and Stachybotrys, each requiring different remediation approaches.
Once you identify mold, it's essential to address the source of moisture to prevent further growth. Inspect for leaks, condensation, or inadequate ventilation that could be contributing to the issue.
To effectively manage mold, consider prevention methods such as ensuring proper attic ventilation, using dehumidifiers, and promptly repairing any roof leaks.
If mold appears extensive, you may need to consult with a professional mold remediation service. They can assess the situation and provide the appropriate steps for safe removal.
Regularly inspecting your home after storms and maintaining a dry environment can significantly reduce the risk of mold growth and protect your home's integrity.
Inspecting the Exterior
When inspecting the exterior of your roof, start by checking for missing shingles, as their absence can lead to significant leaks.
Next, examine the integrity of the flashing around vents and chimneys, ensuring it's properly sealed and free from rust or damage.
Lastly, look for debris accumulation, which can trap moisture and cause further deterioration if not addressed promptly.
Check for Missing Shingles
One of the most crucial steps in inspecting your roof's exterior is to check for missing shingles. This task is essential because missing shingles can compromise your roof's integrity and significantly reduce its lifespan.
Different shingle types, such as asphalt, wood, or metal, each have unique characteristics that affect how they withstand storms.
As you inspect your roof, pay attention to the following:
- Uneven surfaces: Look for areas where the roof appears to sag or dip, indicating missing shingles.
- Gaps or bare spots: Notice any exposed areas that lack shingles, as these are vulnerable to leaks and further damage.
- Shingle debris: Check your yard or gutters for fallen shingle pieces, which can indicate that shingles have been dislodged.
If you find any missing shingles, it's vital to address the issue promptly. Not only can this prevent water damage and mold growth, but it can also help maintain your roof's lifespan.
Regular inspections after storms can help you catch these problems early, ensuring your roof remains in good condition for years to come.
Examine Flashing Integrity
Flashing, often made of metal, plays a critical role in protecting your roof from water intrusion, especially at joints and transitions.
After a storm, it's vital to examine the integrity of your flashing. Start by identifying the types of flashing materials used, such as aluminum, copper, or vinyl, since each has different durability levels. Look for signs of corrosion or damage, especially around areas like chimneys, vents, and valleys.
Check the flashing installation as well. Ensure that it's properly sealed and that there are no gaps or cracks that could allow water to seep through.
Pay close attention to the edges; lifted or loose flashing can indicate a need for immediate repair. Also, inspect for any signs of improper installation, such as flashing that isn't integrated adequately with the roofing materials or that's bent or misaligned.
If you notice any issues, consider consulting a roofing professional for a thorough assessment and potential repairs.
Maintaining the integrity of your flashing is essential for preventing costly leaks and ensuring the longevity of your roof.
Look for Debris
Inspecting the exterior of your roof for debris is crucial after any significant weather event. Debris types can vary widely, and recognizing them can help identify potential issues. Common debris includes branches, leaves, and shingles. Each type can pose a different risk to your roof's integrity.
When you inspect your roof, look for:
- Tree branches: These can puncture or scratch your roofing material.
- Loose shingles: Torn or missing shingles can lead to leaks and water damage.
- Accumulated leaves: They can trap moisture, leading to mold or rot.
Proper debris removal is essential to maintaining your roof's lifespan. After a storm, debris can accumulate in valleys, around vents, and near gutters, preventing proper water drainage.
If left unchecked, this can lead to serious structural problems. Carefully remove all debris, ensuring you don't cause further damage while doing so.
If you're uncomfortable with heights or the task seems extensive, it's wise to consult a professional. Regular inspections and timely debris removal will help protect your roof and extend its durability, safeguarding your home from future storm-related issues.
Using Binoculars for High Spots
Using binoculars can significantly enhance your ability to detect hidden roof damage, especially in hard-to-reach areas. By employing effective binocular techniques, you can closely inspect high spots on your roof without the need for a ladder.
Begin by positioning yourself a safe distance away from the structure, ensuring you have a clear line of sight to the roof. Adjust your binoculars for optimal focus, and scan the roof systematically.
Start from one side and work your way across, paying attention to high spots where damage might be concealed. Look for signs of wear, such as cracked tiles, dislodged shingles, or areas where the roof appears uneven.
As you identify these high spots, take notes or pictures for further analysis. This method allows you to pinpoint problem areas without risking personal safety.
Additionally, the ability to zoom in provides a more detailed view, helping you distinguish between minor wear and significant damage.
Checking for Loose Shingles
After identifying potential problem areas with binoculars, it's important to verify the condition of your shingles directly. Climbing onto your roof or using a stable ladder will allow you to inspect for loose shingles, which can compromise your roof's structural integrity and wind resistance.
Different shingle types may have varying susceptibility to wind damage, so knowing what you're dealing with is crucial.
When checking for loose shingles, look for:
- Curling or buckling: Shingles that are warped can indicate age or damage.
- Missing granules: If you notice bald spots, it's a sign the shingles are deteriorating.
- Shingles that lift easily: Test the shingles by gently lifting them; if they don't hold their position, they may need to be secured or replaced.
Ensure you assess the overall condition, as loose shingles can lead to leaks and further damage.
After storms, higher wind resistance is essential, especially if you've opted for architectural shingles versus traditional three-tab shingles.
Regular inspections will help you maintain your roof and avoid costly repairs down the line.
Assessing Gutters and Downspouts
Gutters and downspouts play a crucial role in directing water away from your roof and foundation, so assessing their condition is essential for maintaining your roof's integrity.
Start by inspecting the gutters for any signs of gutter blockages, which can occur due to accumulated debris like leaves, twigs, or even bird nests. Clear out any obstructions to ensure proper water flow.
Next, check the downspouts for blockages as well. Water should flow freely through them; if it doesn't, it can lead to overflow and potential roof damage. Use a garden hose to flush out any debris that may be lodged inside.
After clearing the gutters and downspouts, examine their alignment. Proper downspout alignment ensures that water is directed away from your home's foundation.
If you notice any misalignment, adjust the downspouts or consider securing them with brackets to maintain their position.
When to Call a Professional
Recognizing when to call a professional for roof inspections is crucial in preventing minor issues from escalating into significant problems.
After a storm, your roof may have sustained hidden damage that isn't immediately visible. If you notice any of the following signs, it's time to seek a professional inspection:
- Missing or Damaged Shingles: If shingles are cracked, worn, or missing, it can lead to leaks and further deterioration.
- Water Stains: Interior water stains on ceilings or walls often indicate roof leaks that need immediate attention.
- Sagging Roof Deck: A sagging roof suggests structural issues, which can be a result of storm damage.
These indicators can compromise your home's integrity, making it essential to address them promptly.
A professional inspection can assess the extent of storm damage and provide appropriate solutions.
Don't wait for small leaks to turn into costly repairs; ensure your roof is secure and your home remains safe.


