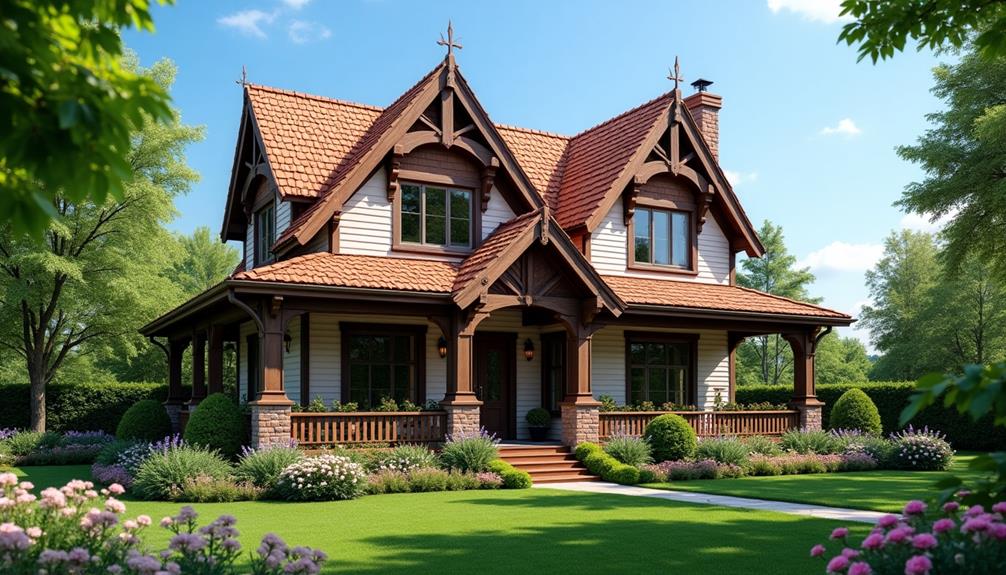
To install roof gables for enhanced aesthetic appeal, start by selecting a style that complements your home's architecture, like classic or modern designs. Gather essential tools including a circular saw and nail gun, and ensure you wear safety gear. Measure your roof accurately for proper fit, calculating dimensions for height and width. Construct the gable framework with precise cuts, adding sheathing for insulation and durability. Weatherproof using quality materials, and finish with decorative trim that matches your color scheme. Regular maintenance will preserve both aesthetics and functionality, and you'll find additional details and tips as you explore further.
Understanding Roof Gables
Understanding roof gables is essential for any roofing project, as they play a crucial role in both aesthetics and structural integrity. Gables are the triangular sections of wall that sit above the eaves, contributing to the overall silhouette of the building. Familiarizing yourself with gable design principles enables you to create visually appealing and functionally sound roofs.
When considering gable architectural styles, you'll encounter variations like the classic gable, clipped gable, and cross gable. Each style impacts not only the visual appeal but also the roof's performance under different weather conditions. For instance, a traditional gable is effective for water drainage, reducing the risk of leaks, while a clipped gable offers a contemporary twist that can complement modern designs.
Incorporating these principles and styles into your project ensures that you achieve both aesthetic beauty and structural durability. Pay close attention to the pitch, dimensions, and materials you select, as they'll influence the longevity of the roof.
Ultimately, a well-designed gable can transform a home's exterior, enhancing curb appeal while serving its functional purpose effectively.
Choosing the Right Style
After grasping the fundamentals of roof gables, selecting the right style for your project becomes a critical step.
You'll want to consider both traditional styles and modern designs, as each offers unique advantages that can complement your overall architectural vision.
Traditional styles, such as gable, hip, and gambrel, provide a classic aesthetic that enhances the charm of older homes or those aiming for a timeless look.
These designs often feature symmetrical lines, which can evoke a sense of stability and warmth. You might find that incorporating elements like decorative trim or exposed rafters enhances the traditional appeal even further.
On the other hand, modern designs lean towards minimalism and clean lines, often characterized by asymmetry and innovative materials.
A flat or shed roof gable can give your home a contemporary edge, allowing for expansive windows and open spaces.
When choosing between these styles, assess how they align with your existing architecture and neighborhood aesthetics.
Ultimately, the right style shouldn't only meet your personal taste but also enhance the overall functionality and visual coherence of your home.
Make a choice that reflects your vision while considering the practical implications of maintenance and durability.
Tools and Materials Needed
When you're ready to install roof gables, having the right tools and materials on hand is essential for a successful project. Start by gathering your primary tools, including a circular saw, hammer, level, measuring tape, and a nail gun. These will help ensure precise cuts and secure installations.
You'll also need safety gear, such as gloves and goggles, to protect yourself during the process.
Next, consider your gable design options. Depending on your chosen style, you may require additional materials like plywood or oriented strand board (OSB) for the frame. If you're opting for decorative elements, like trim or fascia, make sure to include those materials in your list.
For the roofing material choices, select from shingles, metal panels, or tiles that complement your home's overall aesthetic.
Ensure you have enough underlayment, flashing, and sealants to prevent leaks and improve durability.
Preparing Your Roof Structure
With your tools and materials gathered, the next step is to prepare your roof structure for the installation of the gables. Start by inspecting the existing roof framework for any signs of damage or wear. Ensuring the structural integrity of your roof is crucial, as the addition of gables will alter the roof load. Check for any compromised rafters or trusses and replace them as necessary.
Next, clear the area of debris and ensure a safe working environment. You'll want to assess the load-bearing capacity of your roof to accommodate the new gables. This may involve consulting with a structural engineer if you're unsure about the current conditions or if modifications are needed.
Reinforce the roof structure where gables will be installed by adding additional braces or supports. This will help distribute the roof load evenly and maintain the overall stability of the roof.
Don't overlook the importance of these preparations; they lay the groundwork for a successful gable installation and ensure the longevity of your roof. Once you've confirmed everything is secure and sound, you'll be ready to move on to the next phase of your project.
Measuring for Accurate Fit
To ensure a precise installation of roof gables, you'll need the right tools for measurement, including a level and a tape measure.
Start by measuring the roof angle accurately, as this will significantly impact the gable's fit.
Tools Needed for Measurement
Accurate measurements are crucial for a successful roof gable installation, and having the right tools on hand can make all the difference. Start with a reliable tape measure, as it's essential for taking precise linear measurements. A long tape measure, ideally 25 feet or longer, allows you to measure larger spans easily.
For more intricate dimensions, consider using a laser measuring tool; it provides quick and accurate readings, especially for hard-to-reach areas.
Next, a level is indispensable to ensure your measurements are true and straight. A carpenter's level is perfect for checking horizontal and vertical alignments. Additionally, a framing square will help you verify right angles and maintain accuracy in your measurements.
Don't forget a chalk line. This handy tool aids in marking straight lines over long distances, ensuring your gables are consistent and visually appealing.
Lastly, a notepad or digital device will help you keep track of your measurements and calculations.
Measuring Roof Angle
After gathering the necessary tools for measurement, you'll need to determine the roof angle to ensure a proper fit for your gables.
Start by identifying the roof pitch, which is the ratio of the vertical rise to the horizontal run of the roof. For accurate angle measurements, you can use a pitch gauge or a level to establish the slope.
Position the pitch gauge on the roof, aligning it with the rafters. The gauge will indicate the pitch, often expressed as a ratio (e.g., 6:12). This means that for every 12 inches horizontally, the roof rises 6 inches vertically.
If you prefer using a level, place it on a rafter and measure the vertical distance from the end of the level to the roof surface. This will help you calculate the roof pitch.
Once you have the pitch, you can convert it into degrees using a calculator or a pitch-to-angle conversion chart.
Accurate angle measurements are crucial for your gables to fit snugly against the roof, ensuring both functionality and aesthetic appeal.
With these measurements in hand, you're ready to move forward in your installation process.
Calculating Gable Dimensions
Calculating the dimensions of your gables is essential for achieving a precise fit that complements your roof structure. Begin with the gable height calculation. Measure the vertical rise of your roof from the top of the wall to the peak. This height will help you determine the overall proportions of your gables.
Next, perform a pitch ratio evaluation. The pitch is the slope of your roof, expressed as a ratio of vertical rise to horizontal run. For example, a 6:12 pitch means the roof rises 6 inches for every 12 inches of horizontal distance. To calculate the gable width, multiply the total width of your roof by the pitch ratio. This step ensures that your gables align properly with the roofline.
Once you've gathered these measurements, double-check them for accuracy. Having precise dimensions will prevent issues during installation and ensure that your gables enhance the overall aesthetic of your home.
Installing the Gable Framework
Installing the gable framework involves carefully measuring and cutting the necessary lumber to ensure structural integrity and aesthetic appeal. First, lay out your gable design on the ground, using stakes and a chalk line to mark the precise angles and lengths. This initial step is crucial, as accurate measurements will prevent structural issues later.
Next, cut the top and bottom plates to the appropriate lengths, ensuring they match the dimensions of your gable design. Use a miter saw for clean cuts and precise angles.
Assemble the triangle shape by attaching the rafters to the top plate, ensuring they're evenly spaced according to your design specifications. Secure each rafter with galvanized nails or screws to enhance the framework's structural integrity.
Once the rafters are in place, double-check that everything is level and plumb. You may need to make slight adjustments to ensure the gable framework aligns with your existing roof structure.
Adding Gable Sheathing
With the gable framework securely in place, you can now turn your attention to adding gable sheathing, a critical step that provides both structural support and a base for the roofing material.
Begin by selecting from various gable sheathing types, such as plywood, oriented strand board (OSB), or foam boards. Each type has its advantages; for instance, plywood offers durability, while foam boards can provide additional insulation.
Next, measure and cut the sheathing panels to fit your gable framework snugly. Ensure that the panels extend beyond the edges of the gable to allow for proper overlapping and sealing, which is crucial for long-term performance.
When installing, use galvanized nails or screws to secure the panels to the framing adequately.
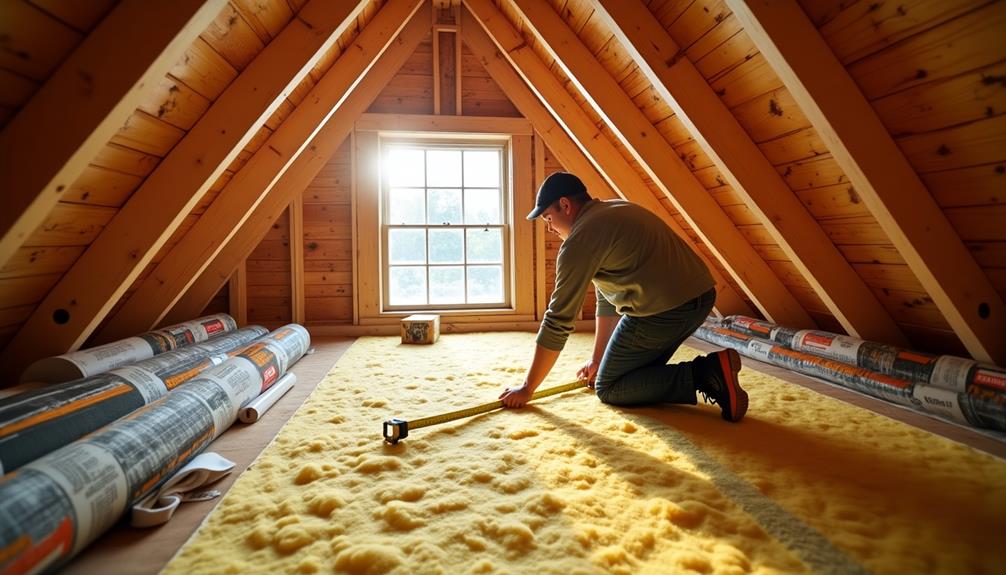
Don't overlook gable insulation options as you add sheathing. Consider incorporating rigid foam insulation between the sheathing and the gable framework for improved thermal performance and energy efficiency.
Be sure to maintain proper ventilation to prevent moisture buildup, which can lead to structural issues. By following these steps, you'll create a solid foundation for your gables and enhance their overall aesthetic appeal.
Weatherproofing Your Gables
Ensuring your gables are weatherproofed is essential for protecting your home from the elements and prolonging the life of your roofing system. Start by selecting high-quality water resistant materials for your gable installation. This includes using waterproof membranes and treated wood, which will help prevent moisture infiltration and subsequent damage.
Next, it's crucial to address gable ventilation. Proper ventilation allows air circulation, reducing humidity levels and preventing mold growth within your roofing system. Install vents at the peak of your gables and ensure that they're adequately covered to keep out water while allowing airflow. Be sure to use screens to prevent pests from entering.
Additionally, seal any joints or seams with a high-quality sealant designed for exterior applications. This step is vital in further enhancing the weatherproofing of your gables.
Regularly inspect these areas for signs of wear or damage and reapply sealant as necessary.
Finishing Touches for Aesthetic Appeal
To enhance the visual impact of your roof gables, consider incorporating decorative trim options that complement your architectural style.
You'll also want to implement effective color coordination techniques to ensure your gables harmonize with the overall aesthetic of your home.
These finishing touches not only elevate the appearance but also add value to your property.
Decorative Trim Options
Decorative trim can transform the overall appearance of roof gables, adding a touch of elegance and character to your structure. By selecting the right trim styles, you can enhance architectural features and create a cohesive look.
Consider using crown molding, which provides a classic and refined finish, or opt for beadboard for a more textured, rustic feel.
When incorporating decorative accents, you might choose scalloped edges or intricate corner brackets to further personalize your gables. These elements not only improve aesthetic appeal but also contribute to the structural integrity of the roof gables by providing added support.
Be mindful of the scale and proportion of the trim in relation to the gables. Oversized trim can overwhelm a small structure, while too delicate a trim may get lost on larger gables.
Always ensure the materials you select, whether wood, PVC, or composite, are suitable for your climate and maintenance preferences.
Ultimately, the right decorative trim options will complement your roof gables, adding both visual interest and enhanced curb appeal.
Take the time to explore various designs to find what best suits your personal taste and architectural style.
Color Coordination Techniques
After selecting the right decorative trim options, the next step involves color coordination techniques that can significantly enhance the overall aesthetic appeal of your roof gables.
Start with a thoughtful color palette selection that complements your home's overall design. Consider the existing colors of your siding, windows, and doors; these elements should harmonize with your gables.
To create visual interest, incorporate contrasting accents. For instance, if your primary color is a soft beige, using a deep navy or charcoal for your gable trim can provide a striking contrast that draws the eye.
It's crucial to maintain balance—too many contrasting colors can overwhelm the design, while too few may lack impact.
You can also utilize shades from the same color family for a cohesive look. Light and dark variations of a single hue can add depth without clashing.
Test your selected colors using swatches or samples on the gables to visualize how they interact under different lighting conditions.
This careful color coordination not only enhances aesthetic appeal but also increases your home's overall value.
Maintenance Tips for Longevity
Regular maintenance is essential for ensuring the longevity of your roof gables. Start with routine inspections at least twice a year, ideally in spring and fall. During these inspections, check for signs of wear, such as cracks, blistering, or peeling paint. Pay particular attention to the areas around fasteners, as these can be prone to leaks if not properly sealed.
Applying protective coatings is another critical step in maintenance. These coatings not only enhance aesthetic appeal but also provide a barrier against UV rays and moisture, which can degrade materials over time. Choose a high-quality, weather-resistant coating suitable for your gable materials, and reapply it every few years to maintain effectiveness.
Additionally, keep gutters and downspouts clear of debris to prevent water buildup, which can lead to rot and structural damage.
If your gables have any decorative elements, ensure they're securely fastened and free of rust or corrosion. By committing to these maintenance practices, you'll not only prolong the life of your roof gables but also preserve their visual appeal, ensuring they continue to enhance your home's aesthetics for years to come.


