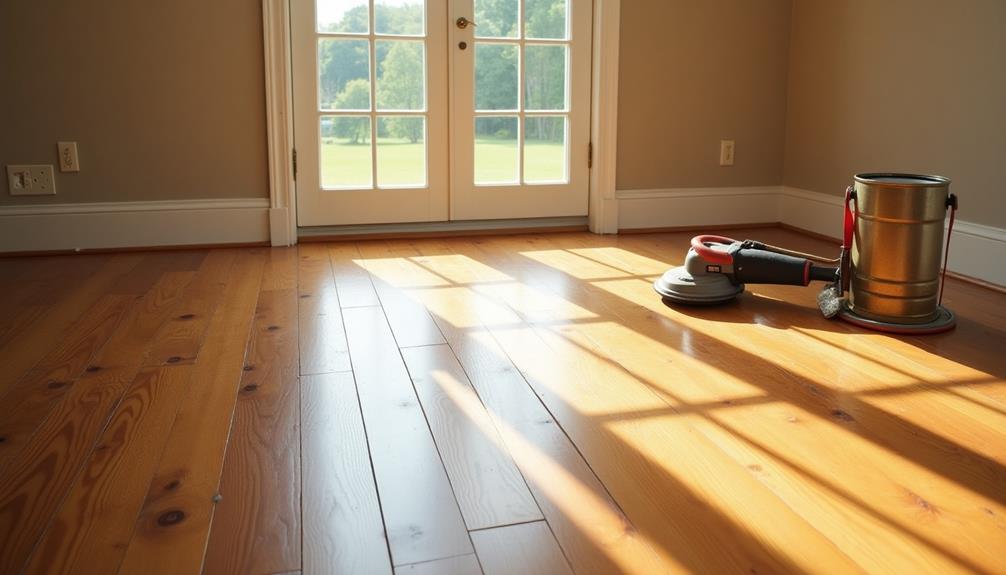
When you consider restoring your hardwood floors, it's essential to start with a clear assessment of their condition. You'll need to identify any damage and gather the right tools, like sanders and finishes, for the job. Choosing the appropriate refinishing method can significantly affect the outcome, but preparation is just as important. As you think about the steps involved, you might wonder how to avoid common mistakes and when it's best to call in a professional. The answers could guide you toward achieving the results you want.
Assessing Floor Condition
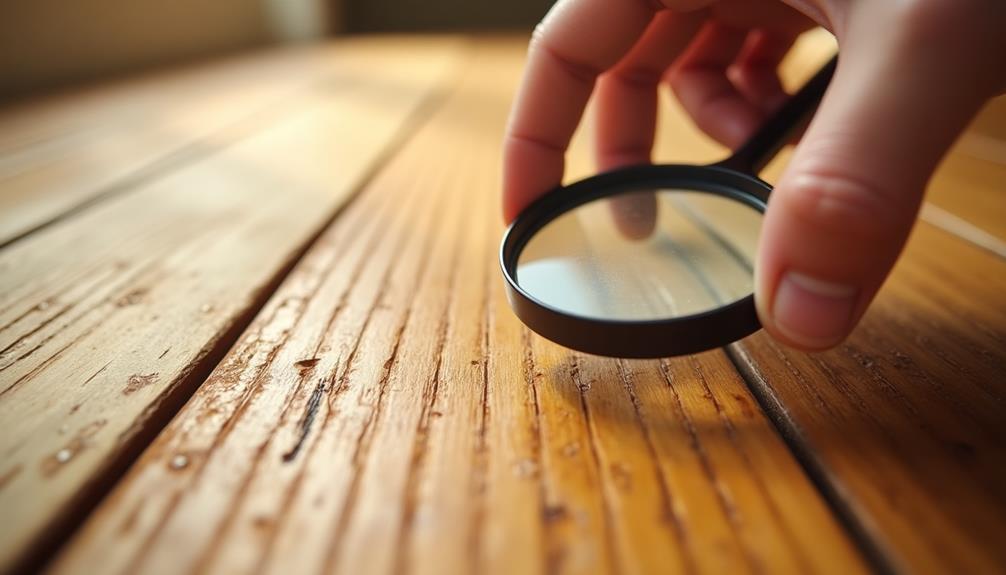
Before diving into restoring your hardwood floors, it's crucial to assess their condition thoroughly.
Start by examining the floor history—how long have they been in place? Have they undergone previous refinishing? Understanding this can help you gauge what to expect during restoration.
Next, look for damage indicators that may signal deeper issues. Check for scratches, dents, or discoloration on the surface.
If you notice any warped or buckled boards, it's essential to investigate further. Sometimes, moisture damage can lead to more serious problems, like mold or structural weakness.
Don't forget to inspect the seams between the boards; gaps can indicate that the wood is drying out or shifting.
If you see signs of wear in high-traffic areas, take note of those spots for your restoration plan.
Gathering Necessary Tools
Once you've assessed the condition of your hardwood floors, it's time to gather the necessary tools for the restoration process.
Start by compiling a list of essential equipment. You'll need a floor sander, either a drum sander for heavy-duty work or an orbital sander for lighter tasks. Don't forget sandpaper in various grits to ensure a smooth finish.
Next, grab a vacuum or a broom to clean up dust and debris as you go. For applying stains and finishes, you'll require brushes or applicators, along with rags for wiping away excess product. A putty knife is useful for filling any gaps or scratches, and a measuring tape helps to ensure accuracy in your work.
When it comes to tool selection tips, consider borrowing or renting larger equipment if you don't plan on using it again. This can save you money and space in your garage.
Choosing the Right Refinishing Method
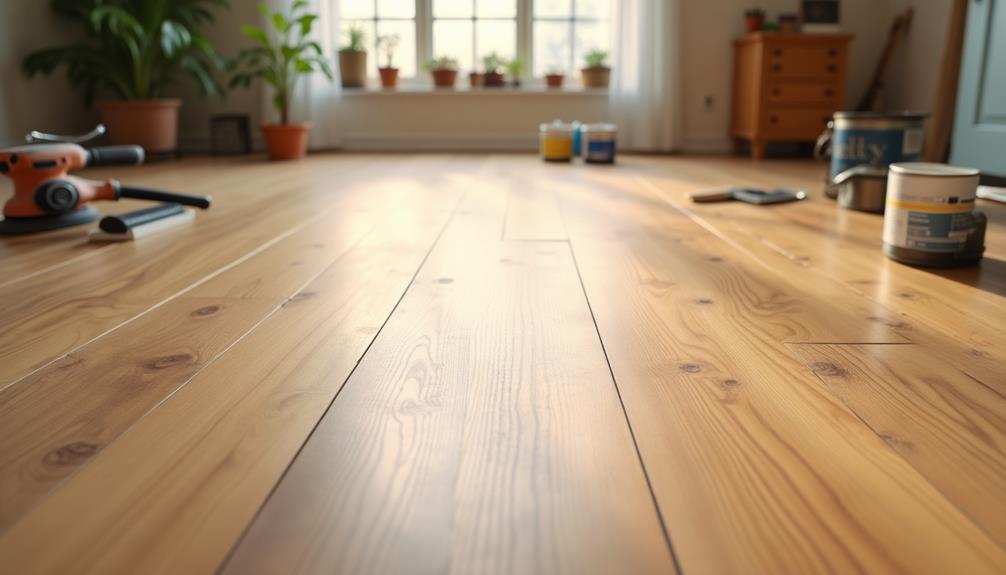
When it comes to restoring your hardwood floors, choosing the right refinishing method can significantly impact the final result. You'll want to consider various refinishing techniques, each with its own pros and cons.
For instance, a sand-and-finish approach is effective for deep scratches and heavy wear, while screening and recoating can refresh the surface without full sanding.
Before diving in, make sure you focus on floor preparation. Clean the surface thoroughly and check for any loose boards or nails. Proper preparation ensures that your chosen refinishing technique adheres well and lasts longer.
If you opt for a chemical finish, be aware of the ventilation needs and drying times.
Water-based finishes are popular for their quick drying time and low odor, but oil-based finishes provide a rich, warm tone that many homeowners love.
Ultimately, the best choice depends on your specific floors and the look you want to achieve. Take some time to weigh your options, and consider consulting professionals if you're unsure about which refinishing method suits your needs best.
Your hardwood floors deserve the right treatment to shine beautifully again!
Preparing the Workspace
A clean and organized workspace is crucial for a successful hardwood floor restoration. To start, clear the area of any furniture, rugs, and debris. This not only gives you more room to work but also prevents damage to your belongings.
Next, ensure you have all your tools and materials within reach. Proper workspace organization will save you time and frustration later on.
Before you dive into the project, it's essential to implement safety precautions. Wear appropriate protective gear like goggles, masks, and knee pads to shield yourself from dust and injury.
Make sure your workspace is well-ventilated, especially if you're using chemicals for refinishing. Additionally, check the electrical outlets and ensure your tools are in good condition to avoid any accidents.
If you're working with a power sander or other equipment, confirm that you've got a reliable extension cord and that it's safely routed to prevent tripping hazards.
Taking these steps won't only enhance your efficiency but also create a safe environment for your restoration project. With a well-prepared workspace, you'll be ready to tackle the hardwood floor restoration with confidence.
Sanding the Hardwood Floors
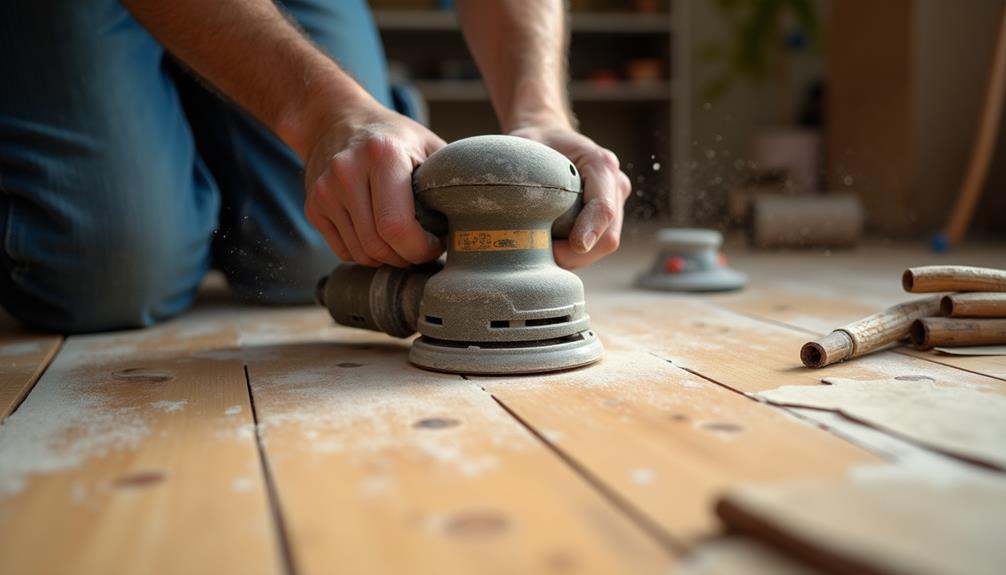
Sanding the hardwood floors is a crucial step that helps restore their natural beauty and prepares the surface for refinishing.
To get started, you'll need to choose the right sanding technique for your floor type. If your hardwood is heavily worn, you might want to use a drum sander for aggressive material removal. For lighter refinishing, a random orbital sander can do the job effectively without damaging the wood.
Next, focus on grit selection. Begin with a coarse grit, around 36 to 60, to remove old finish and scratches. After you've achieved a smooth surface, switch to a medium grit, like 80 to 100, to refine the finish further. Finally, use a fine grit, typically 120 to 150, to prepare for the final touches.
Always sand in the direction of the wood grain to avoid scratches that could mar the finish.
Make sure to vacuum thoroughly between grits to remove dust and debris, ensuring the best adhesion for your upcoming stain or finish.
With patience and attention to detail, you'll achieve beautifully sanded floors ready for the next steps in your restoration project.
Applying Stain and Finish
Applying stain and finish to your hardwood floors is where the transformation truly begins. First, you'll want to focus on color selection. Consider the overall look you want for your space. Do you prefer a rich, dark hue or a lighter, natural finish? Test samples on small areas of the floor to see how they look in different lighting before making your final decision.
Once you've chosen a color, it's time to dive into application techniques. Start by thoroughly mixing the stain to ensure an even color. Use a high-quality brush or foam applicator to apply the stain, working in small sections. Apply it in the direction of the grain and wipe off any excess with a clean cloth to avoid blotches. Allow the stain to dry completely, following the manufacturer's guidelines.
After staining, you'll need to add a protective finish. You can choose between water-based or oil-based finishes, both of which offer durability.
Apply the finish with a clean applicator, ensuring even coverage. Remember to let each coat dry before applying another, allowing your beautiful new color to shine through while protecting your floors for years to come.
Maintenance Tips for Longevity
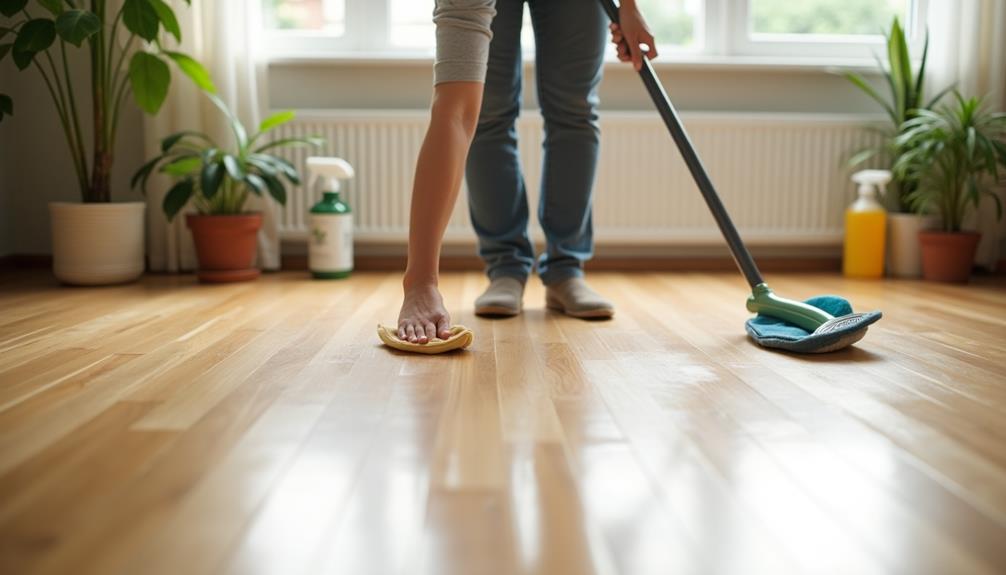
After achieving a stunning new look with your stained and finished hardwood floors, maintaining their beauty and integrity is key to ensuring they last for years.
Establishing effective cleaning routines is the first step. Regularly sweep or vacuum to remove dirt and debris that can scratch the surface. Use a damp mop with a hardwood floor cleaner, but avoid excessive water, as it can damage the wood over time.
Incorporating protective measures is equally important. Place rugs or mats at entryways to catch dirt and moisture before they reach your floors. Consider using felt pads under furniture legs to prevent scratches when moving items around.
Additionally, avoid wearing shoes with hard soles indoors; this simple change can significantly reduce wear and tear.
Keep humidity levels in check, as extreme fluctuations can cause wood to warp. If your home is particularly dry, consider using a humidifier.
Finally, schedule professional maintenance every few years to refresh the finish and repair any minor damages.
Common Mistakes to Avoid
When restoring hardwood floors, it's easy to make mistakes that can undermine your efforts. One common pitfall is over sanding. You might think more sanding equals a smoother finish, but too much can damage the wood, leading to uneven surfaces and diminished integrity.
Aim for a gentle approach, sanding just enough to remove imperfections without compromising the wood's structure.
Another mistake is improper staining. If you rush this process, you could end up with blotchy, uneven color. Always test your stain on a small, inconspicuous area first to check how it reacts with the wood.
It's essential to apply the stain evenly, using the right tools, and allowing adequate drying time between coats.
Don't forget about the finish, either. Skipping this step or using the wrong product can lead to a floor that's vulnerable to wear and tear.
Always opt for finishes designed specifically for hardwood floors.
When to Call a Professional
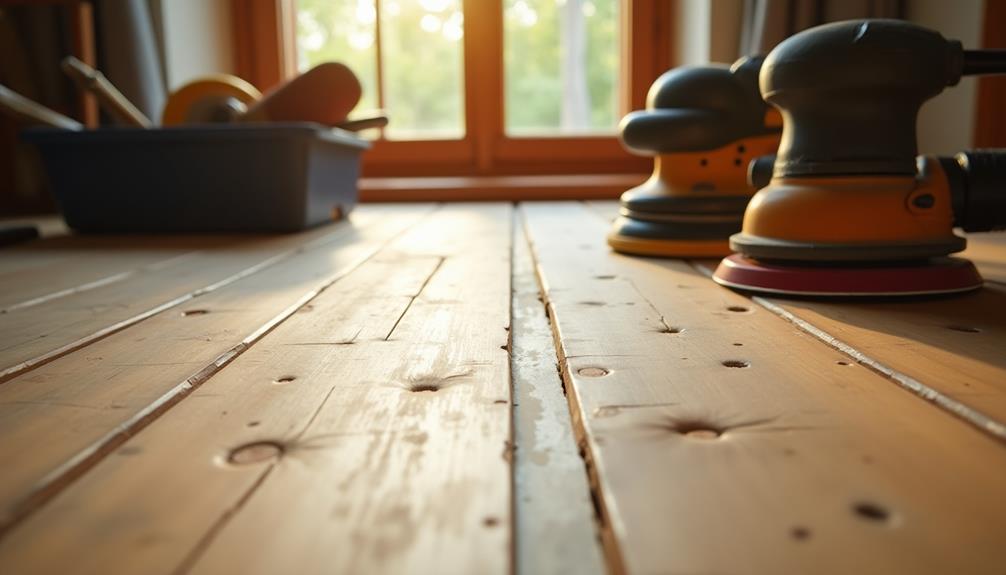
When restoring your hardwood floors, it's important to know when to call in a professional.
If you're facing extensive damage, complex refinishing techniques, or a time-consuming project, getting expert help might save you time and frustration.
Don't hesitate to reach out if the job feels overwhelming!
Extensive Damage Assessment
Assessing extensive damage to your hardwood floors can feel overwhelming, but knowing when to call a professional can save you time and money. Start by identifying damage indicators like deep scratches, warping, or water stains. If you notice these symptoms, take a closer look. Minor issues might be fixable with simple repair techniques, but significant damage often requires expert intervention.
If your floors show signs of mold or extensive warping, it's crucial to contact a professional immediately. They can accurately assess the severity of the damage and determine if any boards need replacement or if the entire flooring system is compromised.
Don't forget to check for signs of structural damage beneath the surface, as this could indicate bigger problems that require specialized knowledge.
You should also consider your skill level and the tools you have on hand. If you're unsure about executing repair techniques or lack the necessary equipment, it's best to leave it to the experts.
Investing in professional help can prevent further damage and ensure your hardwood floors are restored safely and effectively.
Complex Refinishing Techniques
Refinishing hardwood floors can transform their appearance, but complex techniques often require professional expertise. If you're considering color matching to achieve a seamless look across different sections of your flooring, it's crucial to understand that this process can be intricate. It involves selecting the right stain and applying it evenly, which might be challenging if you lack experience.
Grain enhancement is another technique that can elevate the beauty of your floors. This process emphasizes the natural patterns in the wood, giving your floors a richer and more textured appearance. However, achieving the desired effect without overdoing it requires a skilled hand and an eye for detail.
If you find yourself unsure about these processes or the right materials to use, it's best to call in a professional. They've the tools and knowledge to execute complex refinishing techniques effectively, ensuring the final result meets your expectations.
Time-Consuming Restoration Projects
Restoring hardwood floors can be a time-consuming project, especially if you're tackling extensive damage or wear. When you're faced with deep scratches, large areas of water damage, or significant discoloration, it's crucial to assess your time management skills and consider project planning. If you underestimate the time involved, you might find yourself overwhelmed and frustrated.
Before diving in, evaluate the scope of your project. Are you prepared for sanding, staining, and sealing? Each step requires attention, and some processes can take days or even weeks to complete.
If you realize you don't have the time or expertise to handle these tasks, it might be the right moment to call a professional.
Professionals not only save you time but also bring experience and specialized tools that ensure a high-quality finish. They can efficiently handle complex issues that could take you significantly longer to resolve.

