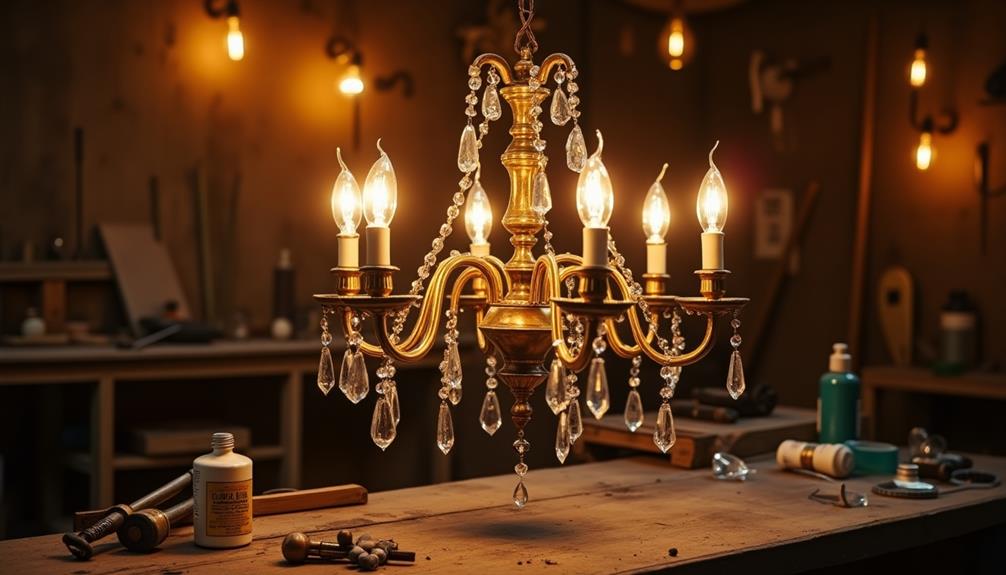
Have you ever considered how much character an old light fixture can add to your home? Refurbishing these pieces not only enhances their aesthetic appeal but also connects you with the history they carry. You'll want to start by assessing their condition and style, which can lead you to surprising decisions about modern upgrades or vintage restorations. As you think about cleaning and rewiring, keep in mind the safety and functionality that come with a thoughtful approach. What you choose next could transform your space in ways you hadn't imagined.
Assessing Your Light Fixtures
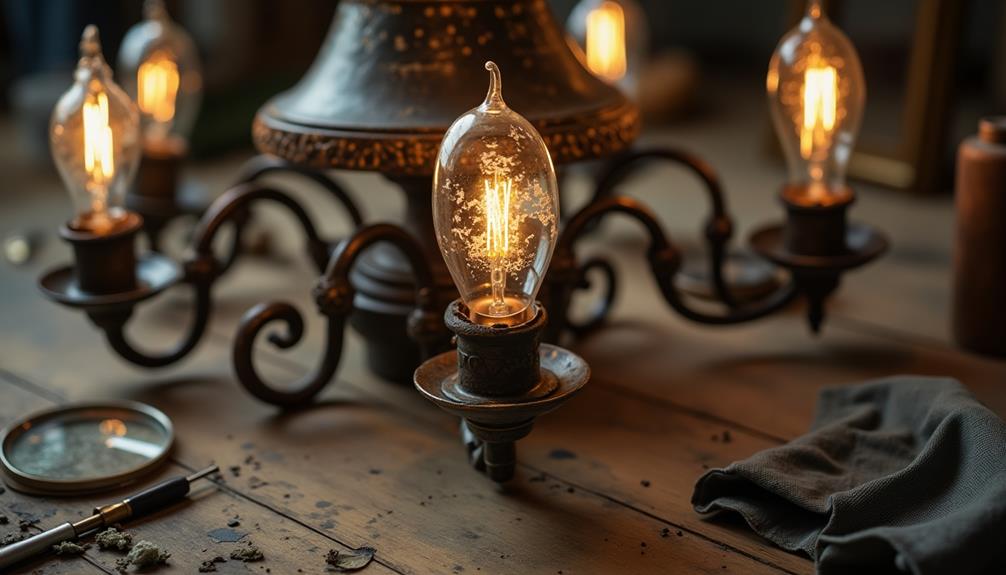
When you look at your light fixtures, it's essential to consider their condition and style. Start by examining each fixture closely for any signs of wear, rust, or damage. If a fixture's been hanging for years, it might need some attention. Look for breaks or loose connections that could affect its functionality.
Next, think about the fixture styles that complement your home's decor. Does the style fit your current aesthetic, or does it feel outdated? You might want to upgrade to a more modern design or restore a vintage piece that adds character to your space.
Don't forget to evaluate the light sources used in your fixtures. Are they energy-efficient bulbs, or do they consume more power than necessary? Switching to LED bulbs can enhance brightness while saving on energy costs.
Tools and Materials Needed
To successfully refurbish your old light fixtures, you'll need a few essential tools and materials at hand.
Start with a basic toolkit that includes screwdrivers, pliers, and a wire stripper. These tools will help you safely disassemble the fixture, regardless of the fixture styles you're working with. A ladder may also be necessary if your fixtures are mounted high.
Next, gather your materials. Depending on your chosen restoration techniques, you might need sandpaper, paint or metal polish, and a new light bulb. If you're updating the electrical components, make sure to have new wiring, sockets, and connectors ready.
For glass or decorative elements, consider a gentle adhesive if any pieces need reattachment.
Don't forget safety gear! Goggles and gloves can protect you from dust and sharp edges.
Finally, have a clean workspace prepared to keep your project organized and efficient. With these tools and materials, you'll be well-equipped to tackle your light fixture refurbishment and restore its beauty.
Cleaning and Preparing Fixtures
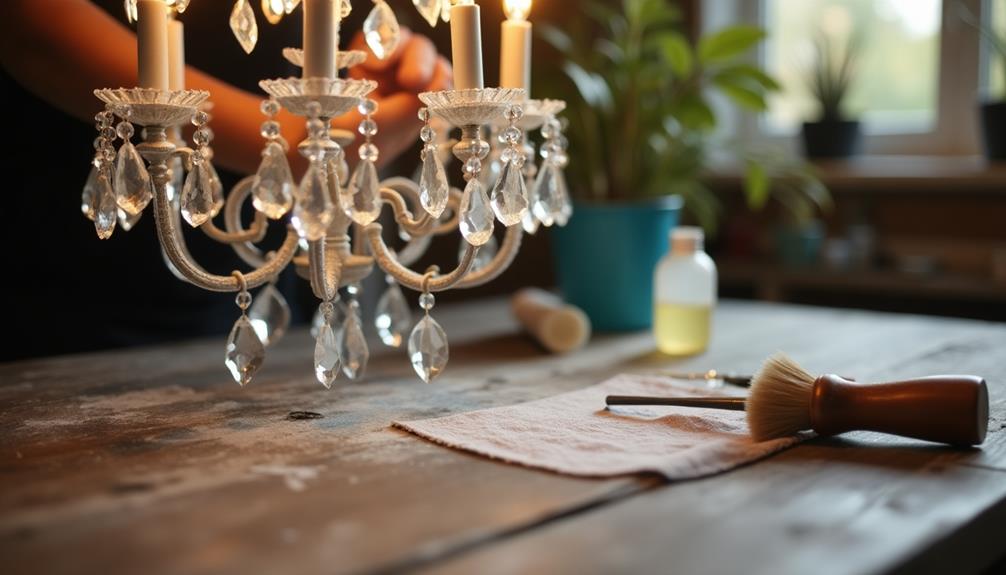
Before diving into the refurbishment process, it's crucial to clean and prepare your fixtures thoroughly. Start by disconnecting the power supply to ensure safety while you work.
Depending on the fixture types—be it chandeliers, sconces, or pendant lights—you'll need to remove any bulbs and glass components carefully. Use a soft cloth to wipe away dust and grime, and for tougher spots, a gentle cleanser can help without damaging the finish.
Next, inspect the wiring and connections. If you notice any frayed wires or loose connections, now's the time to address those issues. For metal fixtures, consider using a rust remover if you find any corrosion. This step is essential for the longevity of your restoration.
For plastic or glass components, soak them in warm soapy water to loosen dirt. Afterward, rinse and dry them completely before reassembling.
Painting and Finishing Touches
With your fixtures cleaned and prepped, it's time to add some personality through painting and finishing touches. Start by choosing your color selection wisely. Think about the room's overall vibe and how the fixture will complement existing decor.
Whether you opt for a bold hue to make a statement or a subtle shade for elegance, your choice can dramatically alter the space's feel.
Next, consider the finish types available. Glossy finishes add a modern touch and reflect light beautifully, while matte finishes lend a more traditional, understated look. If you're after a vintage feel, try an antique or distressed finish to give your fixture character.
Before you start painting, gather your materials: high-quality paint, brushes, and possibly a spray can for an even coat. Make sure to apply a primer, especially if you're changing from a dark to a light color.
Once you've painted and allowed it to dry, add any finishing touches such as decorative embellishments or new bulbs that enhance the fixture's appeal. With a little creativity and effort, your old light fixture will shine with a new personality!
Rewiring for Safety
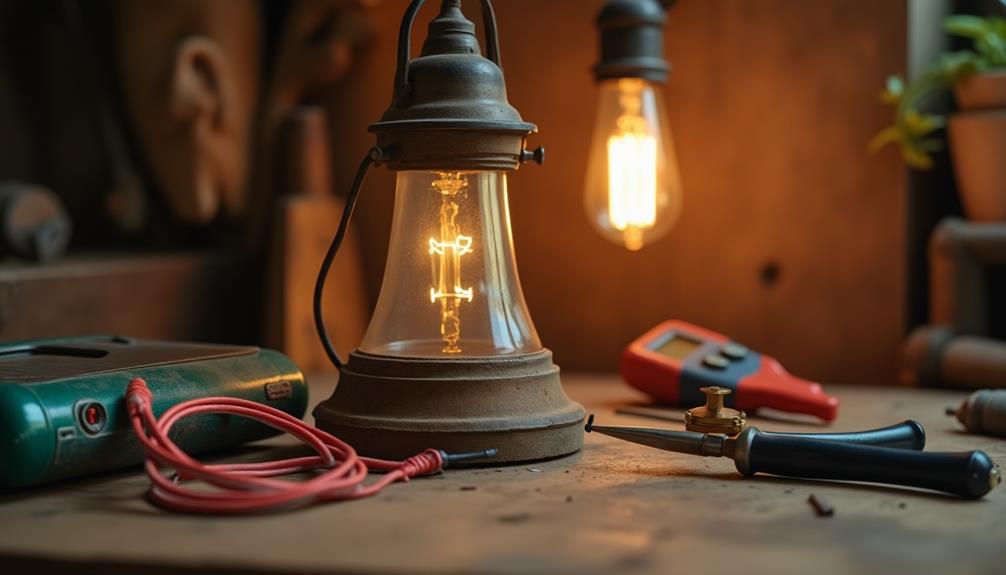
When refurbishing your old light fixtures, it's crucial to check for any wiring issues that could pose safety risks.
Choosing the right materials is just as important to ensure everything functions properly.
Let's explore how to identify these problems and select the best components for your project.
Identifying Wiring Issues
Identifying wiring issues is crucial for ensuring the safety and functionality of your refurbished light fixtures. Start by inspecting the wiring colors, which can tell you a lot about the fixture's previous use and compatibility with current electrical codes. Typically, black or red wires are hot, white wires are neutral, and green or bare wires are ground. If you see frayed or discolored wires, it's a red flag that they mightn't meet safety standards.
Next, check for any signs of corrosion or loose connections. These issues can lead to electrical shorts or even fires if not addressed.
Always make sure to follow local electrical codes when assessing the wiring. If you're unsure about what's safe, it might be best to consult with a licensed electrician.
Choosing Proper Materials
Choosing the right materials for rewiring your light fixtures is essential for ensuring safety and longevity. Start by selecting high-quality wire that matches the fixture's voltage requirements. Common material types include copper and aluminum, with copper being the preferred choice due to its conductivity and durability.
Don't overlook the insulation; it should be rated for the appropriate temperature and environment. For added safety, consider using heat-resistant materials that can withstand wear over time.
When it comes to switches and sockets, opt for those that are certified and made from robust materials. You can also explore sustainable options, such as eco-friendly wiring that minimizes environmental impact.
These materials not only enhance safety but also contribute to a greener planet. Always prioritize your safety by using materials that meet or exceed industry standards.
If you're unsure about your choices, consult with a professional electrician to ensure you're making the right decisions. By focusing on quality and sustainability, you can enjoy your refurbished light fixtures for years to come, knowing you've made safe and responsible choices.
Installing Your Refurbished Fixture
Now that you've ensured your fixture is safe to use, it's time to install it.
You'll want to gather a few essential tools and follow a step-by-step guide to make the process smooth.
Safety First Considerations
When installing your refurbished light fixture, prioritizing safety is crucial to ensure both your well-being and the longevity of the fixture. Start by disconnecting the power at the circuit breaker to eliminate any risk of electrical shock. Always double-check that the power is off using a voltage tester.
Next, conduct thorough fixture inspections before installation. Look for any frayed wires, loose connections, or signs of damage that could compromise electrical safety. If you notice any issues, address them promptly—this could mean replacing wires or re-wiring sections of the fixture.
During installation, use proper hardware and follow the manufacturer's instructions. Secure connections tightly to avoid any hazards. If you're unsure about any step, don't hesitate to consult with a professional electrician. It's better to ask for help than to risk your safety.
Once everything's securely in place, restore the power and test the fixture before finalizing your installation. Paying attention to these safety considerations not only protects you but also ensures your refurbished light fixture will shine brightly for years to come.
Tools You'll Need
Gathering the right tools is essential for a smooth installation of your refurbished light fixture. First, you'll need a screwdriver, preferably a flathead and a Phillips, to secure the fixture and connect the wiring.
A pair of wire cutters or strippers is crucial for trimming and preparing the wires. Don't forget a voltage tester to ensure the power is off before you start working.
If your fixture styles require it, you might need a drill to make new holes for mounting. A level is also handy to ensure your fixture hangs straight, adhering to modern design trends.
Finally, have some pliers on hand to help with any tight connections or difficult bends in the wiring.
Consider using a flashlight or work light to illuminate your workspace, especially if you're working in a dim room.
With these tools ready, you'll be well-prepared to tackle your installation with confidence. Remember, the right tools not only make the job easier but also help achieve a professional finish that complements your chosen fixture styles and design trends.
Step-by-Step Installation Guide
Installing your refurbished light fixture can be a straightforward process if you follow these essential steps. First, ensure that the power is off at the circuit breaker. Safety's key!
Next, gather your tools and materials. You'll need a screwdriver, wire connectors, and possibly a ladder, depending on your fixture styles.
Once you're ready, remove the old fixture carefully. Take note of how the wiring is connected; you can refer to this when installing your refurbished piece.
Now, prepare your new fixture by matching the design inspiration you'd in mind. If you're switching styles, ensure any necessary adjustments are made to the mounting bracket.
Now, connect the wires: typically, black to black (hot), white to white (neutral), and green or copper to the ground. Secure the connections with wire connectors.
Attach the fixture to the ceiling, making sure it's snug and secure.

