When it comes to installing vinyl plank flooring, you've got to consider several critical factors to ensure a smooth process. First, selecting the right planks is essential, but it doesn't stop there. You'll need to prepare your subfloor meticulously and take precise measurements to avoid costly mistakes. As you navigate through the installation techniques, little details can make all the difference. So, what are the key steps you shouldn't overlook? Let's explore those crucial elements that can elevate your project from ordinary to exceptional.
Choosing the Right Vinyl Plank

Choosing the right vinyl plank flooring is essential for achieving a stylish and functional space. When you're browsing options, consider the color selection carefully. Lighter shades can make a room feel more expansive, while darker hues add warmth and coziness.
Think about the overall aesthetic you want to create and how it complements your existing decor.
Another crucial factor is plank thickness. Thicker planks generally provide better durability and sound insulation, making them a smart choice for high-traffic areas. If you have pets or children, investing in thicker vinyl can save you from future headaches due to wear and tear.
Aim for a thickness of at least 5mm for optimal performance.
Don't forget to consider the finish as well. A textured surface can enhance grip and prevent slips, especially in kitchens and bathrooms.
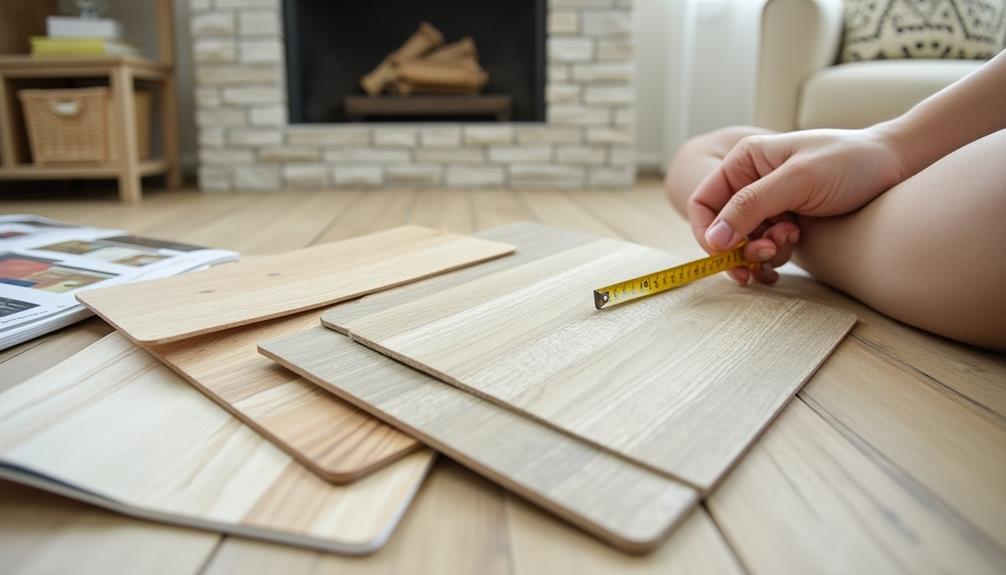
Lastly, always request samples before making a final decision. This allows you to see how the color and thickness work in your actual space, helping you make a confident choice.
With thoughtful consideration of color selection and plank thickness, you'll find the perfect vinyl plank flooring to elevate your home.
Preparing Your Subfloor
Before you lay down your vinyl plank flooring, preparing your subfloor is crucial for a successful installation.
Start by assessing the subfloor types in your space. Common options include concrete, plywood, and existing vinyl. Each type requires specific prep steps, so identify what you're working with first.
Next, ensure your subfloor is clean, dry, and level. Remove any debris, dust, or old flooring materials.
If you notice any high or low spots, use a leveling compound to even things out. This step is vital, as an uneven surface can lead to problems down the line.
Don't forget about moisture control. If your subfloor is concrete, consider using a moisture barrier to prevent potential issues from rising dampness.
Use a moisture meter to check humidity levels; ideally, they should be below 5%.
Measuring Your Space

Before you start installing your vinyl plank flooring, it's crucial to measure your space accurately.
You'll need to calculate the room dimensions, account for any obstacles, and consider layout planning strategies to ensure a seamless fit.
Taking these steps now will save you time and headaches later on.
Room Dimensions Calculation
Accurate measurements are crucial for a successful vinyl plank flooring installation. Start by determining your room shape; whether it's a square, rectangle, or an irregular layout, knowing the dimensions will guide your project. Use a tape measure to find the length and width of each area. For square or rectangular rooms, simply multiply the length by the width to calculate the total square footage.
If your room has alcoves, nooks, or other unique features, break them down into smaller, manageable sections. Measure each section individually and sum up the areas to get the total square footage.
Don't forget to account for any flooring patterns you plan to use; they can affect how much material you'll need. For instance, diagonal or herringbone patterns may require extra planks due to waste.
Once you have your dimensions, jot them down and create a simple sketch of your room layout. This visual representation will help you see how the flooring patterns will flow and assist in ensuring you order enough material for a flawless installation.
Accurate measurements now will save you time and money later!
Account for Obstacles
When measuring your space for vinyl plank flooring, it's essential to account for obstacles like furniture, doorways, and built-ins. These obstacle types can significantly impact your installation process and may lead to unexpected challenges if not addressed early on.
Start by identifying the major obstacles in the room. Move any smaller items and measure the dimensions of larger pieces like sofas or cabinets.
Next, consider doorways and transitions between rooms. Measure the width of door frames and any thresholds to ensure your planks can fit properly. Remember, installation challenges often arise from tight spaces or irregular shapes, so take extra care in these areas.
Once you've mapped out the obstacles, note their locations on your floor plan. This will help you visualize how the flooring will interact with these items and allow you to plan your plank layout accordingly.
Layout Planning Strategies
To create an effective layout for your vinyl plank flooring, start by measuring your space meticulously. Grab a tape measure and jot down the dimensions of each room, including any alcoves or nooks. This'll help you visualize how the planks will fit and flow throughout the areas.
Next, consider the pattern variations you want to use. Do you prefer a straight lay, diagonal, or perhaps a herringbone pattern? Each style can significantly impact the overall design aesthetics of your space. When deciding, think about how natural light interacts with the flooring and how the arrangement can enhance your room's features.
Once you've settled on a pattern, lay out your measurements on graph paper or use design software to visualize the layout before installation. This step allows you to experiment without any commitment.
Pay special attention to transitions between rooms, ensuring they align seamlessly to maintain a cohesive look.
Installation Techniques
For a smooth and successful vinyl plank flooring installation, mastering the right techniques is crucial. Start by choosing the right adhesive options based on your plank's specifications and the subfloor type. If you're using glue-down planks, apply the adhesive evenly with a trowel, ensuring you follow the manufacturer's recommendations.
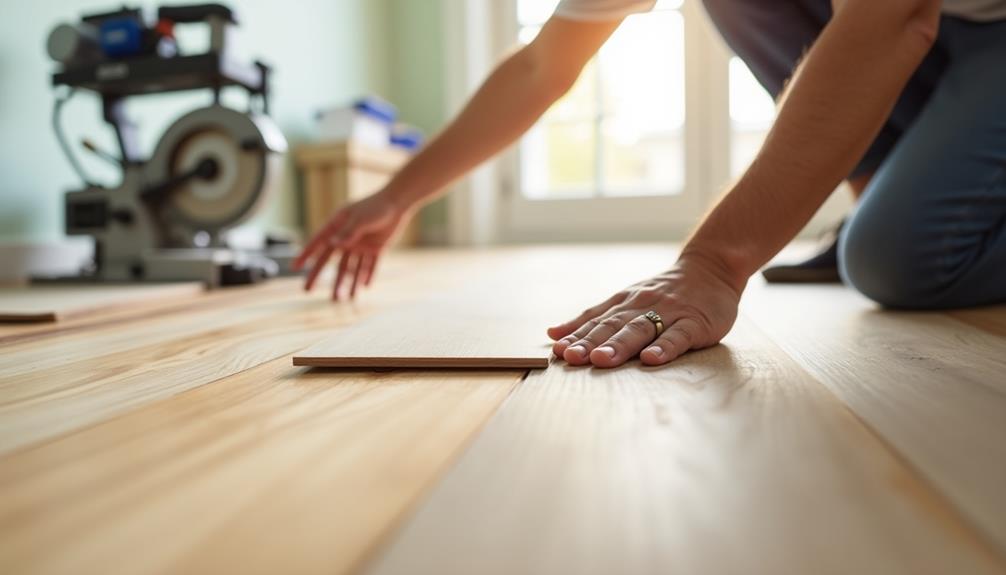
Next, focus on plank alignment as you lay your first row. Make sure it's straight and parallel to the wall, using spacers to maintain an expansion gap. This gap is vital for allowing the planks to expand and contract with temperature changes.
As you continue installing, stagger the joints of the planks by at least six inches. This not only enhances the visual appeal but also adds stability to the floor. Use a tapping block to ensure a tight fit without damaging the edges.
Keep an eye on your alignment, checking frequently to ensure everything remains straight. If you notice any misalignment, adjust immediately before the adhesive sets.
Finishing Touches

After laying down your vinyl planks, it's time to focus on the finishing touches that will enhance the overall look of your floor.
Start by installing transition strips where your new floor meets other types of flooring, like carpet or tile. These strips not only provide a smooth transition but also protect the edges of your vinyl planks from potential damage. Choose strips that match your flooring for a seamless look.
Next, consider edge sealing. This is especially important in areas prone to moisture, like kitchens or bathrooms. Applying a sealant along the edges helps prevent water from seeping under the planks, thus prolonging their lifespan.
Make sure to use a sealant that's compatible with vinyl, and apply it carefully to avoid visible lines.
Lastly, don't forget to add baseboards or quarter-round molding to cover the expansion gaps. This adds a polished finish and keeps your installation looking professional.
Maintenance and Care
Maintaining your vinyl plank flooring is essential for keeping it looking great and extending its lifespan. Regular cleaning is key, and you'll want to adopt effective cleaning methods. Start by sweeping or vacuuming to remove dirt and debris. This prevents scratches and keeps your floor pristine.
For deeper cleaning, use a damp mop with a gentle, pH-neutral cleaner specifically designed for vinyl. Avoid harsh chemicals or abrasive tools, as they can damage the surface and compromise its long-term durability.
Make sure to dry the floor after mopping to prevent moisture buildup. It's also wise to place mats at entryways to capture dirt and moisture before it reaches your flooring. Additionally, use furniture pads under heavy items to prevent indentations.
If you notice any spills, clean them up immediately to avoid stains or damage. Lastly, consider a regular maintenance routine, such as waxing or applying a floor polish, to enhance the shine and protect the surface.


