Imagine your entryway as a stage, where first impressions are made and clutter often steals the spotlight. You might find yourself frustrated with shoes strewn about or coats piled high, but there's a way to reclaim that space. By building your own storage solutions, you can blend functionality with personal style. Whether it's a bench with hidden compartments or sleek floating shelves, these ideas can transform chaos into order. But which project will suit your space best? Let's explore some practical designs that can elevate your entryway.
Bench With Shoe Storage
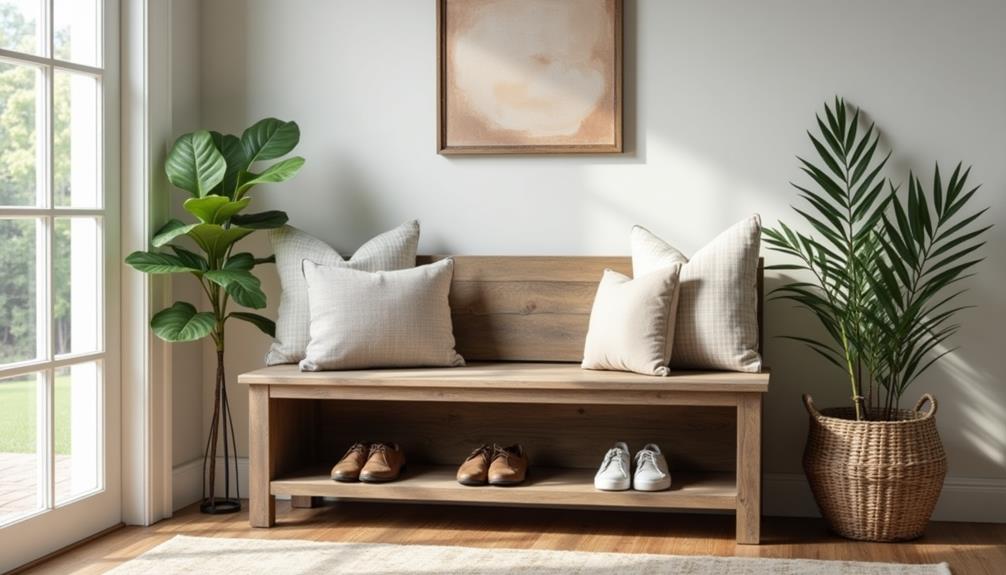
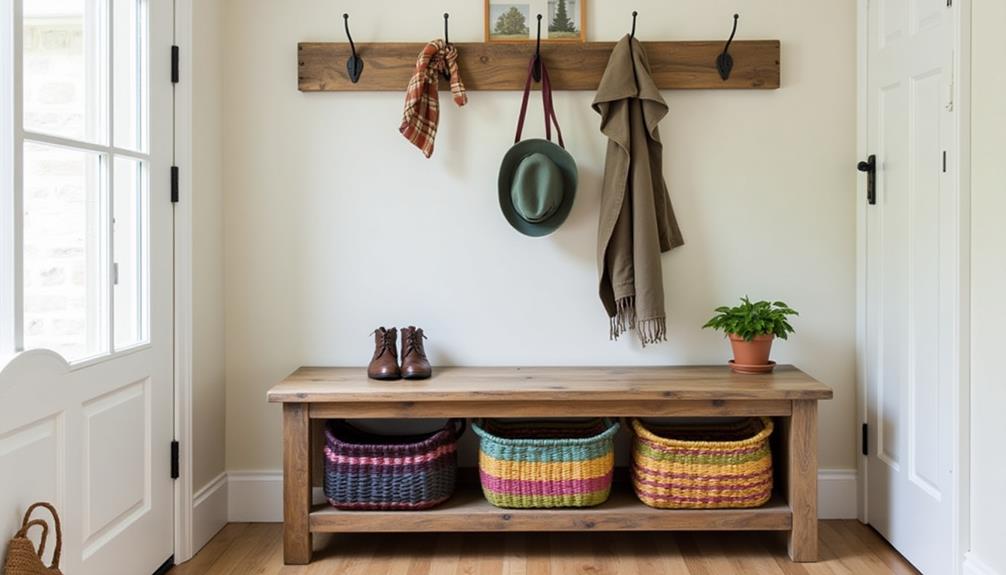
When it comes to entryway storage, a bench with shoe storage is a game changer. You've probably experienced the chaos of shoes scattered across your entryway.
This multifunctional piece not only provides a place to sit while you put on or take off your shoes, but it also offers clever shoe storage solutions that can help keep your space tidy.
Consider choosing a bench with built-in cubbies or drawers specifically designed for shoes. This way, you can easily organize your footwear by type, season, or family member.
It'll save you time searching for that missing shoe when you're in a rush.
To maximize your entryway organization, don't forget to pair your bench with additional storage options like baskets or bins for accessories.
These can hold items like hats or gloves and keep everything within reach.
Wall-Mounted Coat Rack
A wall-mounted coat rack is a simple yet effective solution for keeping your entryway organized and clutter-free. By installing one, you can take advantage of vertical space, maximizing your area for other storage options.
Look for design inspiration that complements your home's aesthetic—whether it's rustic wood, sleek metal, or a combination of materials.
When you choose the right coat rack, you not only add functionality but also style to your entryway. Consider racks with multiple hooks to accommodate coats, bags, and hats simultaneously. This approach ensures you have everything you need within arm's reach while preventing clutter from piling up on surfaces.
To enhance space optimization further, you can add a small shelf above the coat rack for keys or decorative items. This combo keeps your essentials organized while adding a personal touch to your space.
If you're feeling creative, you might even DIY your coat rack, tailoring its size and finish to suit your specific needs.
Incorporating a wall-mounted coat rack into your entryway is an easy and practical way to enhance both storage and style. You'll wonder how you ever lived without one!
Vertical Shoe Organizer
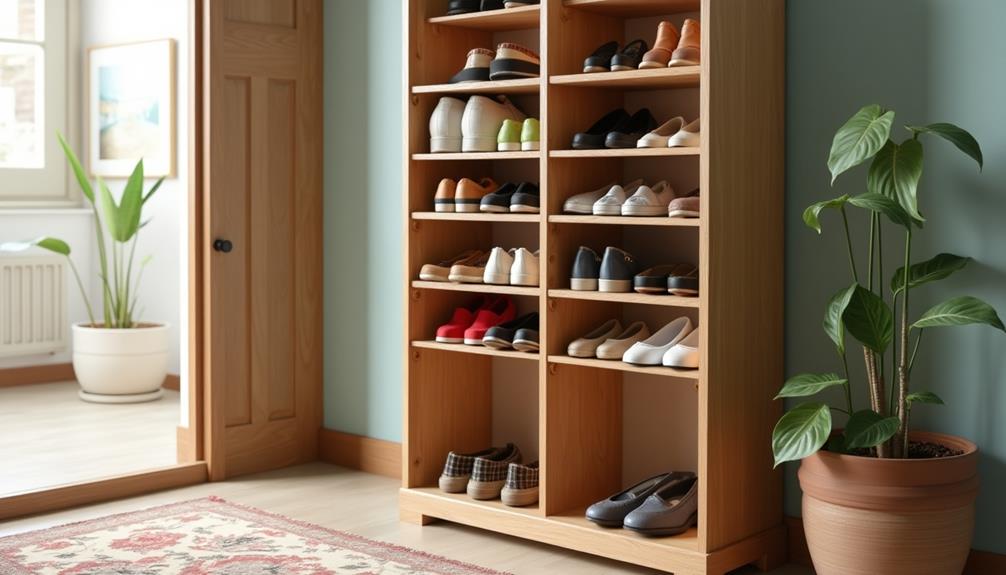
If you're tired of tripping over shoes in your entryway, a vertical shoe organizer might be the perfect solution.
You'll need some basic materials to get started, and I'll guide you through a simple assembly process.
Let's transform your space into a clutter-free zone!
Materials Needed for Construction
Creating a vertical shoe organizer requires specific materials that ensure both functionality and durability. First, you'll need to make an informed wood selection. Plywood or solid wood like pine or oak works best, offering sturdiness for your shoes.
Consider the size and style of the organizer, as this will influence how much wood you'll need.
Next, gather your tool requirements. A saw will be essential for cutting the wood to your desired dimensions. A drill will help you create holes for screws, while a screwdriver is necessary for assembly.
Don't forget a measuring tape to ensure accuracy and a square for perfect right angles. Sandpaper or a sander will smooth out any rough edges, giving your organizer a polished finish.
Step-by-Step Assembly Guide
How do you turn your materials into a functional vertical shoe organizer? Start by cutting your plywood into six identical rectangles for the shelves, and two long pieces for the sides. Sand the edges smooth to avoid splinters.
Next, assemble the side pieces upright and secure them to a sturdy base for stability.
Now, you'll want to attach the shelves. Mark even intervals on the side pieces where you'll place the shelves, ensuring you prioritize space optimization. Use wood glue and screws to secure each shelf at your marked spots, allowing for a compact yet accessible design.
Once everything's assembled, apply a finish or paint to match your entryway decor. Allow it to dry completely.
Finally, place your new vertical shoe organizer against the wall in your entryway.
This DIY project promotes entryway organization by keeping shoes off the floor and neatly tucked away, making your space feel larger and more inviting.
You'll be thrilled to see how much more functional your entryway becomes! Now, enjoy your organized space and easily reach for your shoes whenever you need them.
Storage Cubes for Baskets
Storage cubes for baskets offer a practical solution to keep your entryway organized and stylish. These cubes can be customized to fit various basket sizes, ensuring that you make the most of your space. You can choose from a variety of cube designs, whether you prefer sleek modern lines or more rustic styles that complement your home's aesthetic.
To get started, measure your available space and select baskets that fit comfortably within the cubes. Consider using fabric or wicker baskets for a softer look, or opt for wire baskets for a more industrial feel. Once you've chosen your basket sizes, you can build or purchase cubes that match those dimensions.
If you're feeling crafty, you can create your own storage cubes using plywood or MDF. Just remember to consider the weight capacity, especially if you plan to fill the baskets with heavier items like shoes or bags.
Paint or stain the cubes to match your entryway decor, and you'll have a stylish and functional storage solution. With these storage cubes, you'll find it easy to keep your entryway neat, making a great first impression on guests.
DIY Floating Shelves
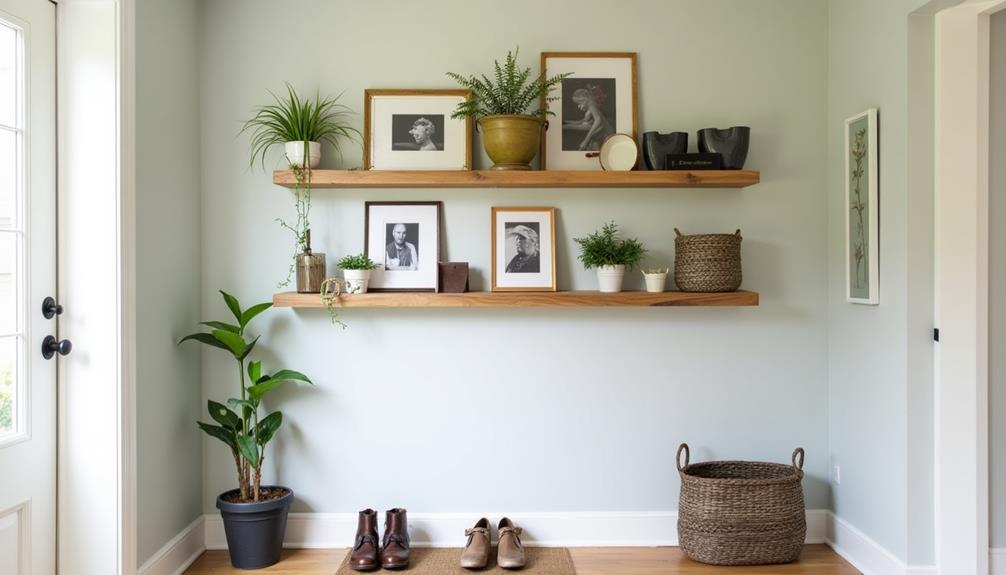
If you're looking to maximize your entryway space, DIY floating shelves can be a game-changer.
You'll need some basic materials and a few simple steps to install them, making it an accessible project for anyone.
Plus, we'll share tips on how to style and decorate your new shelves to enhance your entryway's charm.
Materials Needed for Project
To create your own DIY floating shelves, you'll need a few essential materials to get started. First, focus on your wood selection. Choose a sturdy material like pine, oak, or plywood, depending on your desired aesthetic and weight capacity. Make sure the wood is free of knots and imperfections for a polished look.
Next, gather your tool requirements. You'll need a saw for cutting the wood to your desired length, a drill for making holes, and screws to secure the shelves. A level will help you ensure your shelves are straight, while a stud finder is crucial for locating wall studs, providing the best support.
Don't forget sandpaper to smooth the edges and a measuring tape to get accurate dimensions.
Lastly, consider applying paint or stain to finish the shelves and match your decor. With the right materials and tools in hand, you're set to create beautiful and functional floating shelves that enhance your entryway.
Installation Steps Overview
Installing your DIY floating shelves can be a straightforward process when you follow these steps.
First, start by determining the best location for your shelves. Consider design considerations, like the height and spacing, to ensure they fit well within your entryway and serve your storage needs effectively.
Next, measure and mark where you'll install the brackets. It's crucial to find wall studs for secure mounting, so use a stud finder to locate them.
Once you've marked your spots, drill holes for the brackets, ensuring they're level. After that, install the brackets according to the manufacturer's instructions, securing them tightly.
Now it's time to prepare your shelves. Cut the wood to your desired length, ensuring it matches your design considerations.
Sand the edges for a smooth finish. If you choose to stain or paint, allow sufficient drying time.
Styling and Decor Tips
Once your floating shelves are securely installed, it's time to think about how to style and decorate them effectively. Start by choosing a cohesive color scheme that complements your entryway. Utilize decorative accents like unique vases or framed photos to add personality.
Don't forget to incorporate wall art above the shelves to create visual interest. For space optimization, arrange items in groups of three or five, varying their heights to create depth. Mix textures—combine wooden elements with metal or ceramic pieces to keep the design dynamic.
Integrating plants not only adds a fresh touch but also enhances the air quality, making your entryway more inviting. Consider lighting options, too; small sconces or fairy lights can highlight your shelves, adding warmth.
As seasons change, think about seasonal decor. Swap out items for different holidays or themes, keeping your space feeling fresh and exciting. This way, your floating shelves won't only serve as storage but also as a stylish focal point in your entryway.
Under-Bench Storage Bins
Under-bench storage bins can transform your entryway into a tidy, organized space. By utilizing the area beneath your bench, you can create functional storage solutions that keep clutter at bay.
Start by measuring the space under your bench to determine the size of bins that will fit.
Consider creative bin designs that not only serve a purpose but also complement your entryway decor. For instance, you might choose woven baskets for a rustic feel, or sleek, modern boxes for a contemporary touch.
Painting or staining wooden bins to match your bench can also enhance the overall aesthetic.
You can label each bin to make finding items quick and easy. Use one for shoes, another for seasonal accessories, and perhaps a third for dog leashes or outdoor gear. The key is to customize your bins to suit your needs.
With just a little effort, these under-bench storage solutions can seamlessly organize your entryway while adding visual appeal.
Entryway Hooks and Hangers
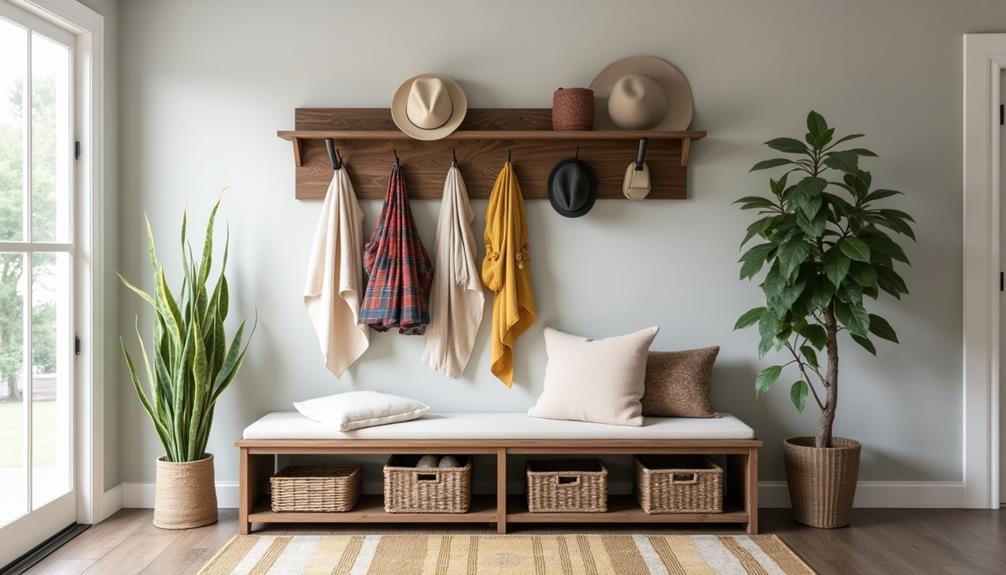
Entryway hooks and hangers are essential for keeping your space organized and functional. With the right setup, you can create an inviting entrance that showcases your style while maximizing space.
Start by assessing your needs—do you have coats, bags, or hats that need a dedicated spot? Installing wall-mounted hooks or a pegboard allows you to customize the layout to suit your entryway organization.
Consider adding a few decorative hangers for seasonal storage. For instance, you might want to switch out your hooks for heavier-duty ones during winter to accommodate bulky coats. You can also designate hooks for specific items, making it easier to grab what you need when you're in a hurry.
If you have limited wall space, look for over-the-door options that can provide additional hanging surfaces without requiring extensive renovations.
Don't shy away from mixing and matching styles; eclectic hooks can add personality to your entryway while keeping it functional.
Multi-Functional Console Table
A multi-functional console table not only adds style to your entryway but also enhances its practicality. You can create a versatile piece that meets your needs by exploring various console table designs.
Consider incorporating drawers or shelves to keep essentials organized and easily accessible. This way, you won't have to search for your keys or mail when rushing out the door.
When space is tight, look for console tables with space-saving features. For instance, a slim profile allows you to maximize your area without sacrificing functionality.
You might also think about a console table that doubles as a bench, providing extra seating for guests while still serving as a handy storage unit.
To elevate your table's functionality, add decorative baskets or bins on the shelves. They'll not only contribute to your decor but also keep clutter at bay.
With a few thoughtful touches, your console table can transform your entryway into a welcoming and organized space. Building a multi-functional console table means you'll enjoy both aesthetics and utility, creating a perfect first impression for anyone who enters your home.

