When minimalism meets bold expression, your walls can become a canvas for creativity. You might think transforming your space requires professional help, but that's far from the truth. With a few simple techniques and materials, you can craft art that not only personalizes your home but also reflects your unique style. Whether you're drawn to serene landscapes or vibrant geometric patterns, there's an approach waiting for you. So, what are the most accessible methods to get started on your DIY wall art journey?
Canvas Painting Techniques
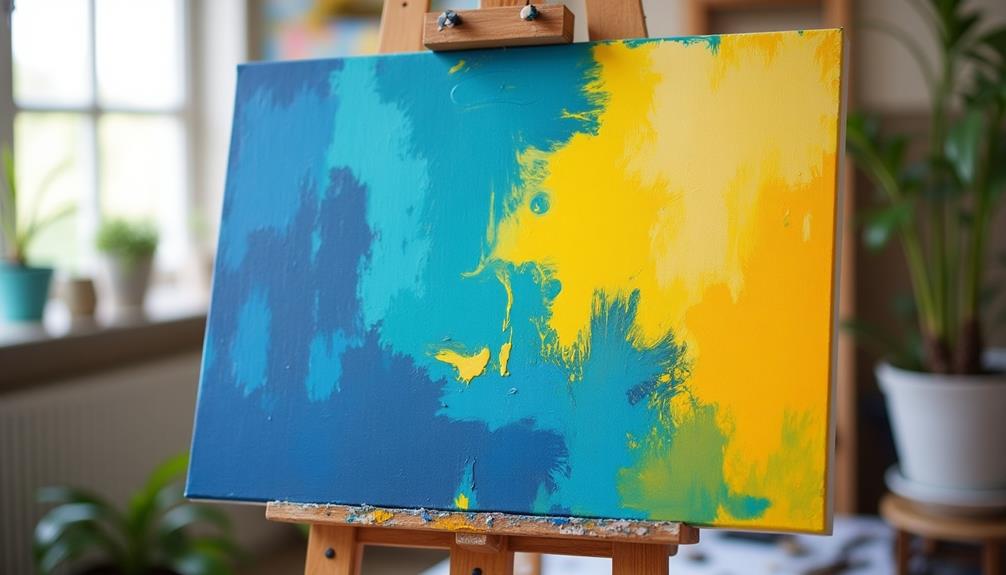
When it comes to canvas painting techniques, there are countless ways to express your creativity. You can dive into the world of abstract color blending, where you mix hues to create unique shades and gradients. This technique allows you to explore your emotional connection with colors, giving your artwork depth and vibrancy.
Start by applying a base layer and then gradually add different colors, using a brush or a palette knife to blend them seamlessly.
Another powerful method is texture layering techniques, which can add dimension to your canvas. You might use materials like sponges, brushes, or even your hands to create interesting patterns and textures.
Applying thick layers of paint or incorporating mediums like gels or pastes can make your artwork come alive. Don't be afraid to experiment; layering can produce stunning effects that draw the viewer's eye.
Framed Fabric Art
Exploring artistic expression can lead you to framed fabric art, a unique way to showcase textiles and patterns in your home. This DIY project allows you to play with fabric color combinations and create stunning visual displays.
Start by selecting a few fabric swatches that resonate with your style. Think about how different colors and patterns can evoke various moods in your space.
Next, consider textured fabric layering. By layering different fabrics, you can add depth and interest to your artwork. Choose a base fabric that complements your chosen colors, and layer on additional fabrics—like lace, burlap, or felt—for added texture.
Once you've arranged your fabrics to your liking, trim them to fit your frame. Secure the fabrics in place using fabric glue or a staple gun, ensuring everything is taut and smooth.
Photo Collage Displays
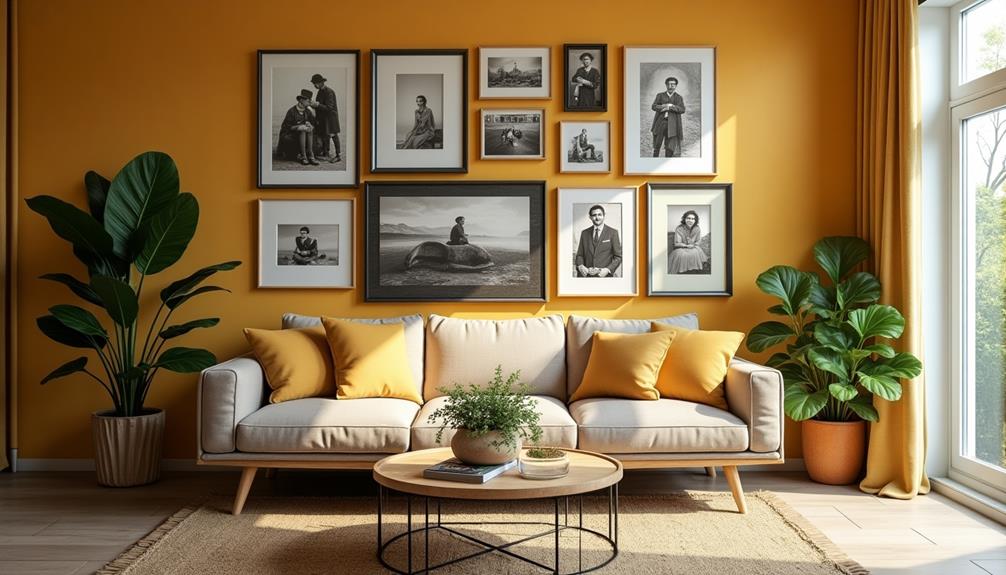
Creating a photo collage display adds a personal touch to your home, allowing you to showcase cherished memories in a visually appealing way. Start by gathering your favorite photos—these can be family snapshots, travel memories, or special occasions.
Decide on your collage themes, such as a family timeline, travel adventures, or a celebration of friends. This will help you curate a cohesive look.
Next, consider your photo arrangement tips. Lay your photos out on the floor before committing to a wall. Experiment with different sizes and orientations for added interest. You can create a symmetrical grid or a more organic, freeform style.
Once you're happy with your layout, take a picture to reference when you start hanging.
For a polished finish, choose frames that complement your decor—mix and match styles for an eclectic vibe or stick to a uniform look for a more streamlined appearance.
Don't forget to leave some space between the photos for a clean, uncluttered look. With a little planning and creativity, your photo collage display will transform your wall into a beautiful narrative of your life's most treasured moments.
Nature-Inspired Wall Hangings
Bringing the beauty of nature indoors can transform your space in stunning ways.
You can create eye-catching wall hangings using pressed flowers, natural wood sculptures, or leaf prints.
Let's explore these creative techniques that celebrate the great outdoors!
Pressed Flower Art
Pressed flower art transforms delicate blooms into stunning wall hangings that capture the essence of nature. You can create beautiful pieces by using flower pressing techniques, which allow you to preserve seasonal flowers in their vibrant colors.
Start by selecting flowers that resonate with you, keeping in mind the color combinations that will enhance your artwork. Once you've pressed your flowers flat, consider how to arrange them. Experiment with botanical arrangements that complement each other, creating a cohesive look.
When it comes to frame selection, choose frames that match your artistic styles—whether it's rustic, modern, or vintage. The right frame can elevate your pressed flower art, making it even more striking.
Think about preservation techniques too, as these will keep the colors fresh and bright over time. Lastly, don't forget the wall placement; hanging your art in a spot with natural light can highlight its beauty.
Natural Wood Sculptures
Embracing the beauty of natural wood sculptures can transform your walls into captivating displays of artistry and nature. These unique pieces not only showcase the stunning wood texture but also bring a warmth that artificial materials can't replicate.
You don't need to be a professional artist to create your own wood sculptures; with some basic sculpture techniques, you can craft eye-catching designs that reflect your personal style.
Start by selecting a variety of wood types, each offering a different texture and grain. You might want to experiment with carving or assembling pieces to construct a three-dimensional wall hanging.
Consider using reclaimed wood for an eco-friendly approach, which adds character and history to your artwork.
To enhance your sculptures, think about incorporating natural elements like twigs or branches, which can complement the wood and add depth.
Finish your pieces with a clear sealant to protect the wood and highlight its natural beauty.
Hang your creations in a way that allows for natural light to play off the textures, creating dynamic shadows and movement throughout the day.
With a little creativity, your walls will become a true reflection of nature's artistry.
Leaf Prints Techniques
Natural wood sculptures can beautifully complement another nature-inspired art form: leaf prints. This technique allows you to capture the intricate details of leaves and showcase their unique leaf color variations.
Start by collecting fresh leaves from your garden or local park; look for those with interesting shapes and textures.
Once you've gathered your leaves, you can explore various botanical printmaking techniques. One popular method is the traditional ink or paint approach. Simply apply a thin layer of ink or paint to the leaf's surface, then press it onto your chosen paper or canvas. Use a brayer or your fingers to ensure even contact, and then carefully lift the leaf to reveal your print.
If you want to experiment further, try using different colors to highlight the leaf's natural variations. You can even layer prints to create more depth.
Once you've created your artwork, frame it or mount it on a wooden background for an added rustic touch. With these simple techniques, you'll create stunning leaf prints that bring a touch of nature into your home, making for striking wall art that sparks conversation.
Stenciled Quotes and Sayings
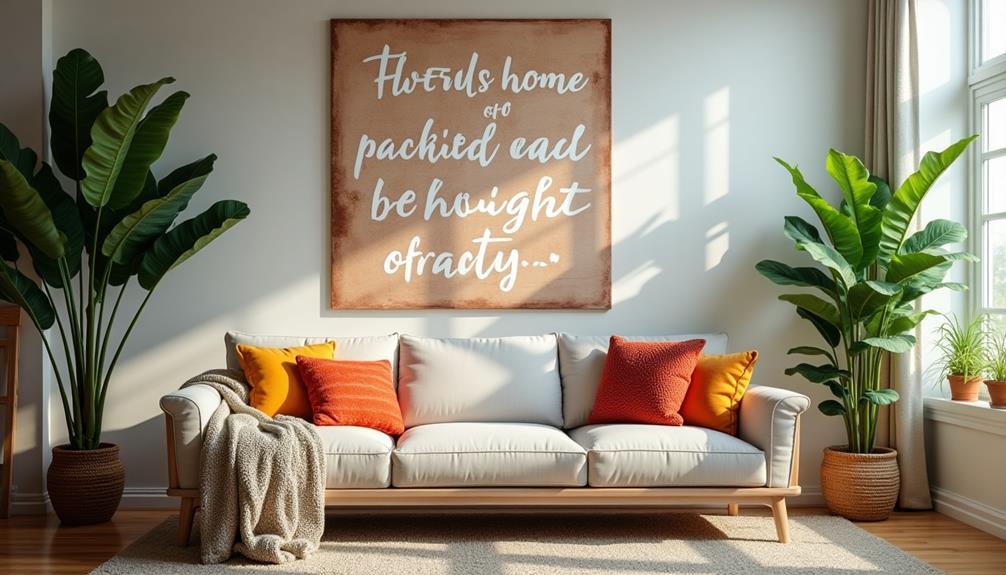
Stenciled quotes and sayings can transform a blank wall into a source of inspiration and motivation. By using custom stencil designs, you can easily create a personalized touch that reflects your style and message.
Start by choosing a space where the quote will stand out, like above a sofa or in a cozy reading nook.
Next, focus on inspirational quote selection. Think about what resonates with you—whether it's a famous saying, a personal mantra, or a line from your favorite book. Once you've chosen your quote, measure the space to ensure it fits well.
You can create your stencil by hand or purchase ready-made options online. If you're making your own, use sturdy materials like cardboard or plastic for durability. After cutting out your design, secure it to the wall with painter's tape.
Then, using a foam roller or brush, apply your chosen paint color. Once the paint dries, carefully peel away the stencil, revealing your motivational message!
This simple DIY project not only enhances your decor but also serves as a daily reminder to stay inspired. So grab your supplies and start stenciling!
Upcycled Materials Creations
Have you ever thought about transforming old fabrics or wooden pallets into stunning wall art?
With a little creativity, you can turn everyday items like cans into unique pieces that reflect your style.
Let's explore how upcycled materials can add a personal touch to your space.
Using Old Fabrics
Old fabrics offer a treasure trove of creative possibilities for your DIY wall art projects. You can transform worn-out clothes or leftover fabric scraps into stunning textile wall hangings that showcase your unique style.
Start by exploring various fabric dyeing techniques to add vibrant colors and patterns to your materials. Tie-dye, shibori, or even simple dip-dyeing can breathe new life into old textiles.
Once you've dyed your fabrics, think about how to arrange them. You could create a patchwork-style wall hanging by stitching together pieces of different textures and colors.
Alternatively, try framing smaller fabric squares in a gallery-style display, mixing and matching patterns for visual interest.
For a more three-dimensional effect, consider using fabric to wrap canvases or wooden frames, giving your art a soft, inviting look.
You might even want to add embellishments like beads or embroidery to enhance your designs further.
With a bit of creativity and some old fabrics on hand, you can easily craft beautiful, personalized wall art that brightens any space.
Repurposing Wooden Pallets
Creativity thrives when you repurpose wooden pallets, transforming them into unique and functional wall art. Start by sourcing some pallets; many local businesses or online marketplaces offer them for free or at a low cost.
Once you've got your pallets, think about what you want to create. Pallet sign making is a popular option. You can paint inspiring quotes or your family name on the wood, adding a rustic touch to your decor.
If you need more than just a sign, consider pallet shelving. You can easily modify the pallets to create shelves that not only display your favorite items but also serve as eye-catching art pieces.
Sand down any rough edges to ensure safety and give your shelves a polished look.
Don't forget to experiment with colors and finishes. Whether you choose a natural wood stain or a bold paint, your personal style will shine through.
Hang your creations in a prominent spot to enjoy your handiwork daily. With a little effort and imagination, you'll have stunning wall art that's both beautiful and practical!
Cans Into Art
Transforming empty cans into stunning art pieces can be a rewarding and eco-friendly project. You don't need a lot of supplies to create eye-catching designs; just some old cans, paint, and a bit of creativity.
Start by collecting different sizes and shapes of cans, like soup or soda cans. Clean them thoroughly and remove any labels.
Next, think about your design. You can create canned sculptures by stacking and gluing cans together. Use a hot glue gun for a strong hold, and don't be afraid to experiment with arrangements.
Once you've got your structure, it's time to unleash your artistic flair with painted cans. Choose vibrant colors or patterns that match your home decor. Acrylic paints work best for metal surfaces, so grab your brushes and get started!
To add an extra touch, consider using embellishments like beads or fabric strips.
Once your masterpiece is complete, find the perfect spot on your wall to showcase your unique creation. You'll not only beautify your space but also contribute to a more sustainable lifestyle by repurposing materials that would otherwise go to waste.
Enjoy your beautiful, one-of-a-kind art!
Geometric Wall Patterns
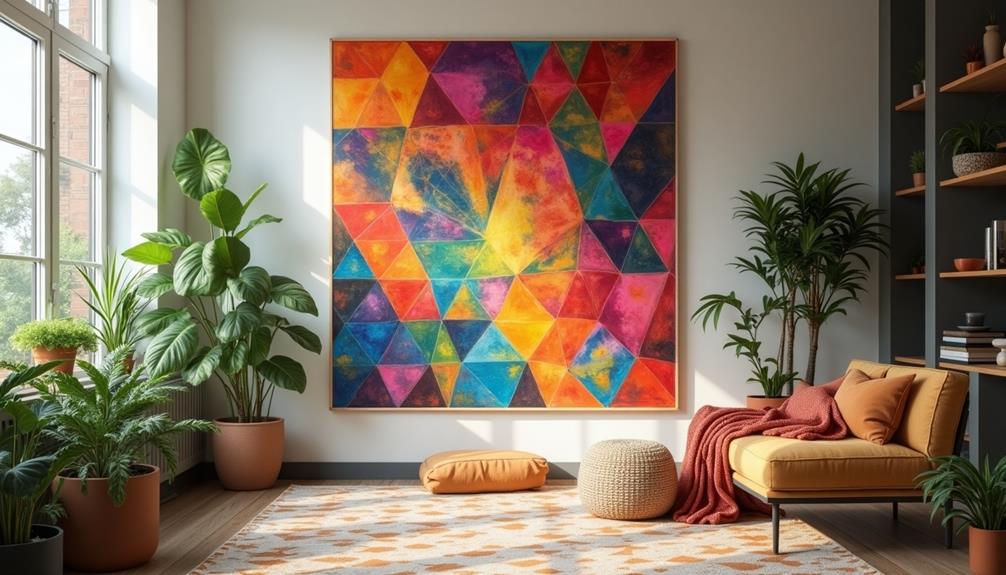
While geometric wall patterns can seem intimidating at first, they offer a unique way to add depth and interest to any space. You can easily create a striking focal point with modern geometric designs that elevate your home decor.
Start by choosing a color palette that resonates with your style—think bold hues or soft pastels.
To get started, gather some painter's tape and a level. Use the tape to mark out your desired shapes on the wall, ensuring each line is straight and even. Consider incorporating color block techniques by painting different sections in contrasting colors. This not only adds dimension but also allows you to express your personality.
Once you've painted your geometric pattern, peel away the tape while the paint is still wet for crisp lines. This DIY project doesn't just transform your wall; it also gives you a sense of accomplishment.
Plus, you can easily adapt the design if you want to switch things up later. Embrace the modern geometric trend and watch your space come alive with creativity!
Seasonal Decor Ideas
Seasonal decor ideas can breathe fresh life into your home throughout the year. By incorporating simple DIY wall art, you can easily reflect the changing seasons and celebrate various holidays.
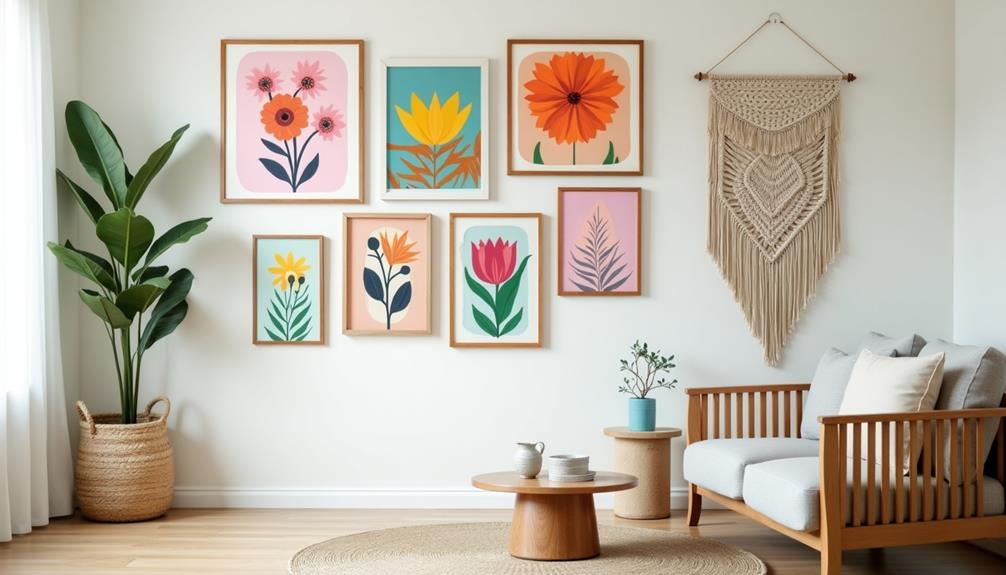
Start with seasonal themes that resonate with you. For spring, consider creating a floral canvas using vibrant colors and textures. You can use fabric scraps or paint to add dimension, making your wall art pop.
When summer rolls around, opt for beach-inspired motifs. Think of using blue and sandy hues to create a calming ocean scene. You can even incorporate seashells or driftwood for a three-dimensional effect.
As autumn approaches, warm colors and rustic elements come into play. Craft a wall hanging featuring leaves and pumpkins, embracing the cozy vibes of fall.

