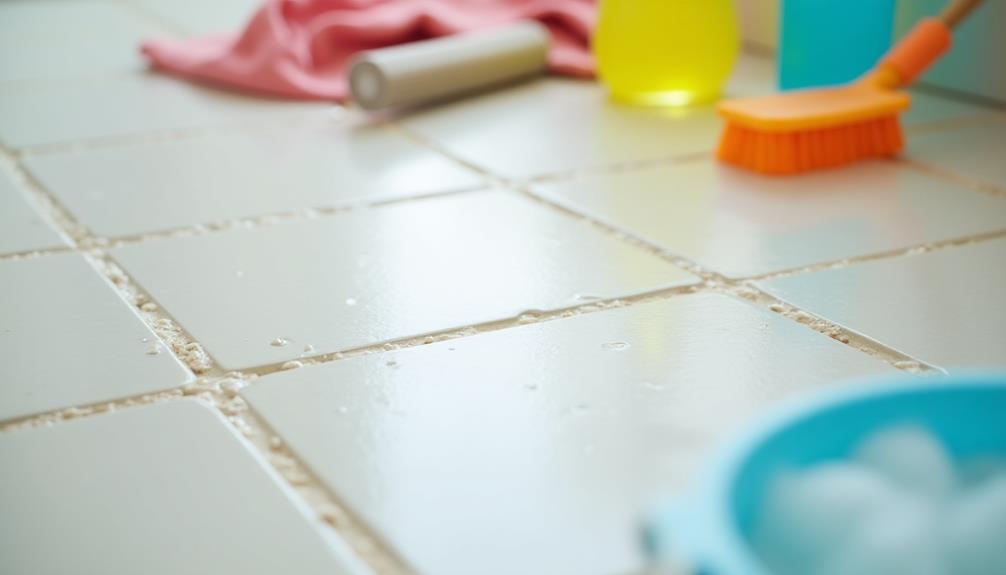
You might not realize that the type of grout in your home can significantly impact how you clean it. Understanding the differences between sanded and unsanded grout is just the beginning; the right tools and techniques can make your efforts far more effective. Have you considered how steam cleaners or homemade solutions could transform your cleaning routine? By mastering these methods, you'll be well on your way to achieving a professional-grade clean without the hassle of expensive services.
Understanding Grout Types
When it comes to grout, you might be surprised to learn that there are several types, each suited for different applications. The most common types include cementitious, epoxy, and urethane grout.
Cementitious grout, made from a mixture of cement, water, and aggregates, is versatile and cost-effective. However, its grout durability can vary based on the specific formulation and conditions it faces.
Epoxy grout, on the other hand, offers superior strength and stain resistance due to its unique grout composition, which combines epoxy resins and hardeners. This type is ideal for high-moisture areas, such as kitchens and bathrooms, where durability is crucial.
Urethane grout is another option, known for its flexibility and resistance to cracking. It's particularly useful in areas that experience temperature fluctuations or movement.
When choosing the right grout for your project, consider the intended use and the environment. Each type has its advantages and disadvantages, so understanding their characteristics ensures you select a grout that meets your needs.
Essential Cleaning Tools
To effectively clean grout, having the right tools on hand makes all the difference. Start with grout brushes; their stiff bristles get into those tiny crevices and scrub away dirt effectively.
If you're dealing with tougher stains, consider investing in a steam cleaner. The hot steam penetrates deep into the grout, loosening grime without harsh chemicals. For larger areas, electric scrubbers can save you time and effort, providing powerful scrubbing action.
Microfiber cloths are essential for wiping down surfaces once you've scrubbed, as they trap dust and dirt without scratching tiles. If you need to touch up discolored grout, grout pens can restore the color, making your grout look brand new.
For outdoor cleaning, a pressure washer can blast away dirt and mildew from grout lines on patios or driveways.
For heavy-duty cleaning, commercial cleaners designed specifically for grout can be a game-changer. Pair these with tile sponges to absorb excess moisture and ensure a thorough clean.
With these essential tools, you'll be well-equipped to tackle even the toughest grout challenges.
Homemade Cleaning Solutions
When it comes to cleaning grout, homemade solutions can be both effective and affordable.
You can whip up a simple baking soda paste or a vinegar and water mix to tackle those stubborn stains.
These natural ingredients not only clean well but are also safe for your home.
Baking Soda Paste
Baking soda paste is a simple yet effective solution for tackling stubborn grout stains. This homemade cleaner harnesses the powerful baking soda benefits, such as its gentle abrasive properties and natural deodorizing abilities.
To make your own paste, you'll need to mix baking soda with water in the right baking soda ratios. A common ratio is three parts baking soda to one part water, but you can adjust it based on the consistency you prefer.
Start by combining the ingredients in a bowl until you get a thick paste. Apply the paste generously to the grout lines using an old toothbrush or a scrub brush. Let it sit for about 10 to 15 minutes, allowing the baking soda to penetrate and lift the stains.
After the waiting period, scrub the grout vigorously. Rinse the area with warm water to remove any residue.
You'll be amazed at how easily the stains lift away, leaving your grout looking fresh and clean. Plus, using baking soda is an eco-friendly choice, ensuring that your cleaning efforts are both effective and sustainable.
Enjoy your sparkling grout with this straightforward technique!
Vinegar and Water Mix
A powerful homemade cleaning solution can be created by mixing vinegar and water, making it an excellent choice for tackling grout stains.
Vinegar benefits include its natural acidity, which helps break down dirt and grime without harsh chemicals. To make this effective cleaner, use a simple water ratio of 1 part vinegar to 2 parts water. This combination strikes the perfect balance, ensuring you get maximum cleaning power without damaging your grout.
Start by mixing the vinegar and water in a spray bottle. Once it's ready, spray the solution directly onto the stained grout lines. Let it sit for about 10-15 minutes to allow the vinegar to penetrate the stains.
Then, grab a stiff-bristled brush and scrub the grout thoroughly. The acidity of the vinegar will help lift tough stains, leaving your grout looking fresh and clean.
After scrubbing, rinse the area with warm water to remove any leftover vinegar residue. You'll not only enjoy the benefits of a cleaner surface, but you'll also appreciate the natural, eco-friendly approach to cleaning your home.
With this vinegar and water mix, you'll be well on your way to grout-cleaning success!
Step-by-Step Cleaning Techniques
Cleaning grout doesn't have to feel like a daunting task; with the right techniques, you can achieve impressive results in no time.
Start by gathering your materials: a stiff-bristle brush, a bucket, and your preferred cleaning solution. If you're dealing with tough stains, consider using advanced cleaning methods like a baking soda and vinegar paste. Mix equal parts of both to create a potent cleaning agent.
Next, apply the paste generously to the grout lines. Let it sit for about 10-15 minutes to penetrate the stains. Then, take your stiff-bristle brush and scrub the grout vigorously. You'll see the grime start to lift.
Rinse the area with warm water to remove any residue.
For grout color restoration, you might want to apply a grout sealer afterward. This helps protect your freshly cleaned grout from future stains and keeps it looking pristine. Just follow the manufacturer's instructions for application.
Preventing Future Grime
To keep your grout looking fresh, regular sealing is a must.
Don't wait too long to clean up spills, as prompt action can prevent stains from setting in.
Regular Sealing Maintenance
Regularly sealing your grout is essential for preventing future grime buildup. Grout sealing acts as a barrier, protecting the porous surface from moisture and dirt that can lead to stains and mildew.
To keep your grout looking pristine, you should schedule routine inspections to determine if your sealant needs reapplication. Typically, a good rule of thumb is to seal your grout every 6 to 12 months, depending on the type of sealer used and the amount of foot traffic in the area.
During your inspections, pay close attention to any discoloration or dullness, which can indicate that the sealant is wearing off.
When applying a new sealant, make sure the grout is clean and dry. This ensures proper adhesion and maximum protection. Use a high-quality grout sealer, and follow the manufacturer's instructions for application.
After sealing, test the grout by sprinkling a few drops of water on it; if the water beads up, you've done a great job.
Prompt Spill Cleanup
Promptly addressing spills is crucial for maintaining the integrity of your grout. When liquids seep into the grout lines, they can cause stains that aren't only unsightly but also harder to remove over time.
The key to effective stain removal lies in your immediate response. As soon as a spill occurs, grab a clean cloth or paper towel to absorb as much liquid as possible. Press down gently to ensure effective spill absorption without pushing the liquid deeper into the grout.
Once you've soaked up the spill, it's essential to clean the area with a suitable grout cleaner or a mixture of water and vinegar. This will help prevent any leftover residue from settling in, which can lead to future grime buildup.
Remember, the sooner you act, the less likely the spill will become a permanent stain.
Regularly practicing prompt spill cleanup not only keeps your grout looking its best but also extends its lifespan. By staying vigilant and addressing spills immediately, you'll save yourself time and effort in the long run while maintaining a clean and inviting space.
Professional Grout Cleaning Services
Many homeowners find that professional grout cleaning services can drastically improve the appearance of their tiled surfaces.
When you hire experts, they use advanced techniques and tools that go beyond the standard DIY methods. These professionals typically start with a thorough assessment of your grout condition, allowing them to determine the best approach for effective grout restoration.
They often employ steam cleaning or specialized cleaning solutions that eliminate stubborn stains and grime effectively. This process not only cleans but rejuvenates your grout, making it look brand new.
Additionally, many services offer grout sealing after cleaning, which protects your grout from future stains and moisture damage. Sealing your grout is a smart investment, as it can save you time and effort in the long run.
Maintenance Tips for Longevity
To keep your grout looking fresh and durable over time, it's essential to develop a consistent maintenance routine.
Start by sweeping or vacuuming your floors regularly to prevent dirt and debris from accumulating in the grout lines. This simple step is one of the most effective grout longevity strategies you can implement.
Next, consider using a pH-neutral cleaner for your regular cleaning sessions. Harsh chemicals can degrade grout over time, so stick to products specifically designed for tile and grout.
After cleaning, make sure to rinse thoroughly to remove any residue.
Another key element of effective maintenance routines is sealing your grout. Depending on your grout type, reapply a high-quality grout sealer every 6 to 12 months.
This protective layer helps to prevent stains and moisture from penetrating the grout.


