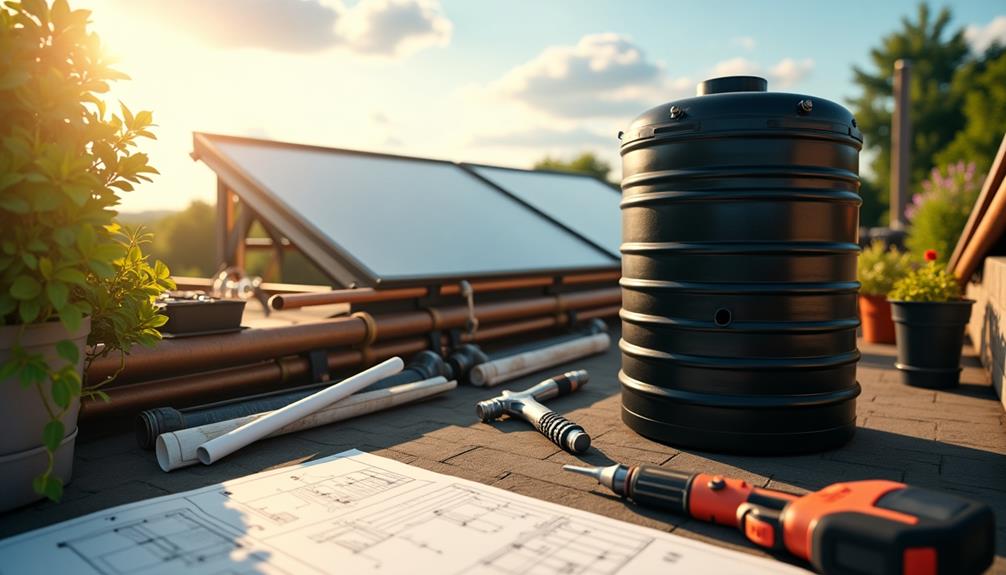
Imagine waking up to a hot shower powered entirely by the sun, just like many eco-conscious homeowners have done. To achieve this, you'll need to understand the essential components of a DIY solar water heating system, starting with selecting the right solar collectors and storage tank. You'll also have to consider factors like location and plumbing connections, which can greatly impact efficiency. But before you start gathering materials, there are crucial steps you need to know to ensure your system operates effectively and lasts for years.
Understanding Solar Water Heating
Solar water heating systems harness the sun's energy to provide hot water for your home. By using this renewable resource, you can significantly reduce your energy bills while contributing to a cleaner environment.
One of the key solar energy benefits is its ability to lower your reliance on traditional energy sources, such as natural gas or electricity, which often come with fluctuating prices.
When considering a solar water heating system, it's essential to focus on system efficiency. The efficiency of your system determines how much sunlight gets converted into usable hot water. Higher efficiency means more hot water for your needs, especially during colder months or less sunny days.
To maximize efficiency, you'll want to choose the right type of solar collectors and ensure they're installed in a location that receives ample sunlight. This not only enhances performance but also extends the system's lifespan.
With the right setup, you can enjoy the long-term benefits of solar energy, including reduced operating costs and increased property value. Embracing solar water heating is a smart move, both for your wallet and the planet.
Required Materials and Tools
To get started on your DIY solar water heating system, you'll need to gather some specific materials and tools.
First, decide on the solar collector types you want to use, whether flat-plate or evacuated tube collectors. Each has its benefits, so pick one that suits your needs. You'll also need a water storage tank that can handle the heat and pressure.
Next, gather thermal insulation materials to minimize heat loss. Insulation foam or fiberglass will work well to wrap your pipes and storage tank. Make sure to have a good sealant to prevent any leaks during installation.
In addition to the main components, you'll require a few essential tools, like a drill, wrenches, and a level to ensure everything is installed correctly. A measuring tape will help you get precise measurements for your setup.
Lastly, don't forget safety gear like gloves and goggles.
With these materials and tools on hand, you're ready to move forward with installing your solar water heating system, ensuring you have everything needed for a successful project!
Choosing the Right Location
When setting up your solar water heating system, choosing the right location is crucial.
You'll need to assess sunlight exposure and consider your roof's orientation to maximize efficiency.
A well-placed system can significantly enhance your energy savings.
Sunlight Exposure Assessment
Selecting the right location for your solar water heating system is crucial to its efficiency. To maximize your system's performance, you'll need to assess the sunlight exposure in your chosen area.
Start by conducting a solar irradiance measurement, which helps you understand how much solar energy your location receives throughout the year.
Pay attention to seasonal sunlight variations; different seasons can affect how much sunlight your system gets. For instance, winter months may have shorter days and cloudier skies, while summer provides longer days and more direct sunlight.
Look for spots that offer unobstructed access to sunlight, like open fields or rooftops without overhanging trees or buildings.
If you can, use tools or apps designed to track sunlight patterns over the course of the day and across different seasons. This data will help you identify the best site for your solar collectors, ensuring they'll capture as much sunlight as possible.
Roof Orientation Considerations
After assessing sunlight exposure, it's important to consider your roof's orientation. The ideal setup for a solar water heating system is a south-facing roof, as it captures the most sunlight throughout the day.
However, don't overlook your roof pitch; a steeper angle can enhance efficiency by allowing for better sunlight capture, especially during winter months when the sun is lower in the sky.
Conducting a shading analysis is crucial before you install your system. Look for any potential obstructions like trees, chimneys, or nearby buildings that could cast shadows on your roof.
Even partial shading can significantly reduce your system's effectiveness, so it's essential to ensure that your chosen location remains unobstructed for maximum exposure.
If you find that your roof's orientation isn't optimal, consider alternative solutions. You might install a tracking system that moves with the sun or even place your collectors on a ground mount where you can control the angle and orientation.
Ultimately, selecting the right roof orientation and addressing any shading issues will lead to a more efficient DIY solar water heating system for your home.
Setting Up the Collector
Setting up the collector is a crucial step in your DIY solar water heating system. First, you'll need to choose the right collector type for your needs. The most common options are flat-plate collectors and evacuated tube collectors. Flat-plate collectors are usually more affordable and easier to install, while evacuated tubes are more efficient in colder climates.
Next, focus on the collector orientation. Ideally, you want to position your collector to face true south (or true north in the Southern Hemisphere) at an angle that maximizes sun exposure throughout the day. A tilt angle of around 30 degrees is often recommended, but adjust based on your latitude for optimal performance.
Make sure the collector is securely mounted on your roof or another structure, allowing for sufficient drainage and airflow.
Check for any obstructions, like trees or buildings, that might block sunlight during peak hours.
Installing the Storage Tank
Now that you've set up the collector, it's time to focus on the storage tank.
You'll need to select the right tank for your system, position it for optimal efficiency, and connect the plumbing lines properly.
Each of these steps is crucial for ensuring your solar water heating system works effectively.
Selecting the Right Tank
Choosing the right storage tank is crucial for the efficiency of your DIY solar water heating system. First, consider the tank capacity. You need a tank that can hold enough hot water for your household's daily needs. A general guideline is to have at least 1 gallon of storage for every square foot of collector area. If you have a larger household or use more hot water, opt for a bigger tank.
Next, examine insulation options. A well-insulated tank minimizes heat loss, which is essential for maintaining the water temperature and maximizing energy efficiency. Look for tanks with high-quality insulation materials, such as polyurethane foam or fiberglass. These materials can significantly reduce heat loss, ensuring that your system runs effectively.
Lastly, pay attention to the tank's material. Stainless steel and glass-lined tanks tend to be more durable and resistant to corrosion, making them a better long-term investment.
Positioning for Optimal Efficiency
Positioning your storage tank correctly can significantly enhance the performance of your solar water heating system. To achieve optimal efficiency, place the tank as close to your solar collectors as possible. This minimizes heat loss during transport and ensures that hot water reaches your home quickly.
Consider the collector angle when determining the tank's location. Ideally, the tank should be situated below the collectors to take advantage of gravity, allowing hot water to rise naturally. This setup helps in maintaining a consistent flow and enhances the system's overall efficiency.
Don't forget about seasonal adjustments. If you live in an area with fluctuating temperatures, you may need to reposition your tank seasonally for maximum sunlight exposure. During winter, for instance, adjusting the collector angle to capture lower sun rays can significantly boost your system's performance.
Additionally, ensure that your tank is well insulated to retain heat, further improving efficiency.
Connecting Plumbing Lines Properly
Connecting the plumbing lines properly is crucial for ensuring your solar water heating system operates efficiently. Start by choosing the right materials for your pipes. Use high-quality, durable piping that can withstand the pressure and temperature fluctuations typical of solar heating systems. Ensure you have all the necessary fittings, valves, and connectors at hand for a seamless installation.
Next, when you connect your storage tank to the solar collectors, pay close attention to the hot and cold lines. It's essential to label these lines clearly to avoid any confusion later on. After making your connections, secure them tightly to prevent leaks.
Leak prevention is vital; even a small drip can lead to significant heat loss and wasted energy.
Don't forget about pipe insulation. Insulating your plumbing lines will help maintain the temperature of the water, reducing heat loss as it travels to and from the storage tank. Use foam or fiberglass insulation, wrapping it around the pipes for maximum efficiency.
Connecting the Plumbing
When you're ready to connect the plumbing for your DIY solar water heating system, it's crucial to ensure that all components are properly aligned and secured.
Start by laying out your pipes according to the intended flow direction. This means the hot water will move from the solar collector to your storage tank, while the cold water will flow back to the collector.
Next, use appropriate fittings to connect your pipes securely. Make sure to tighten all connections to prevent leaks.
To enhance efficiency, wrap pipe insulation around your hot water pipes. This will minimize heat loss as the water travels from the collector to the tank, ensuring you get the most out of your solar heating system.
After securing all connections, double-check the flow direction by running water through the system temporarily. This helps you identify any issues before finalizing the installation.
Once you're confident everything's in order, secure the plumbing to the structure, ensuring it's stable and won't shift over time.
With the plumbing connected properly, you're one step closer to enjoying the benefits of your DIY solar water heating system!
System Maintenance Tips
With your plumbing securely in place, it's time to focus on keeping your solar water heating system in top shape. Regular maintenance is key to ensuring efficiency and longevity.
Start with routine system checkups. Inspect the solar collectors for dirt or debris that could block sunlight. Clean them gently with water and a soft cloth to maintain optimal performance.
Next, keep an eye on temperature monitoring. Check your system's temperature readings regularly to ensure it's operating within the recommended range. If you notice any significant fluctuations, it might indicate a malfunction that needs attention.
Inspect the pipes and connections for leaks, and tighten any loose fittings. Make sure the expansion tank is functioning properly, as it plays a crucial role in preventing pressure build-up.
Don't forget to flush the system annually to remove any sediment buildup, which can hinder performance.
Lastly, consider scheduling a professional checkup every few years to catch any potential issues early. By committing to these maintenance tasks, you'll enjoy a reliable and efficient solar water heating system for years to come.

